
Elementor
Whether Elementor is ready for your store pages
no stored settingsThe first section is a health check, one row per item with its state beside it. Elementor shows the version you run; every WP EasyCart widget and template works with the free Elementor, and a version newer than WP EasyCart was tested with is flagged so you know to report anything odd. Elementor Pro is optional: without it the row says Not needed, because WP EasyCart assigns its own product and category templates. With it, a Display conditions row says whether the WP EasyCart conditions are available.
Editor V4 ( Atomic ) tells you which editor is on. The WP EasyCart widgets are classic widgets; they work next to atomic elements and sit in the widget panel under WP EasyCart. Element cache is fine either way, since WP EasyCart widgets are never cached, so prices, stock and carts stay current; leave each widget’s Advanced › Cache Settings on Default. Inline font icons only reports how icons are drawn.
Below the rows, Elementor templates opens your template library, and Guides lists the Elementor how-to guides in reading order. If Elementor is not active, the section says so instead, with a Get Elementor button.
For a step by step walkthrough, see Elementor: Connect EasyCart and Meet the Widgets.
Product pages
One Elementor layout for every product page
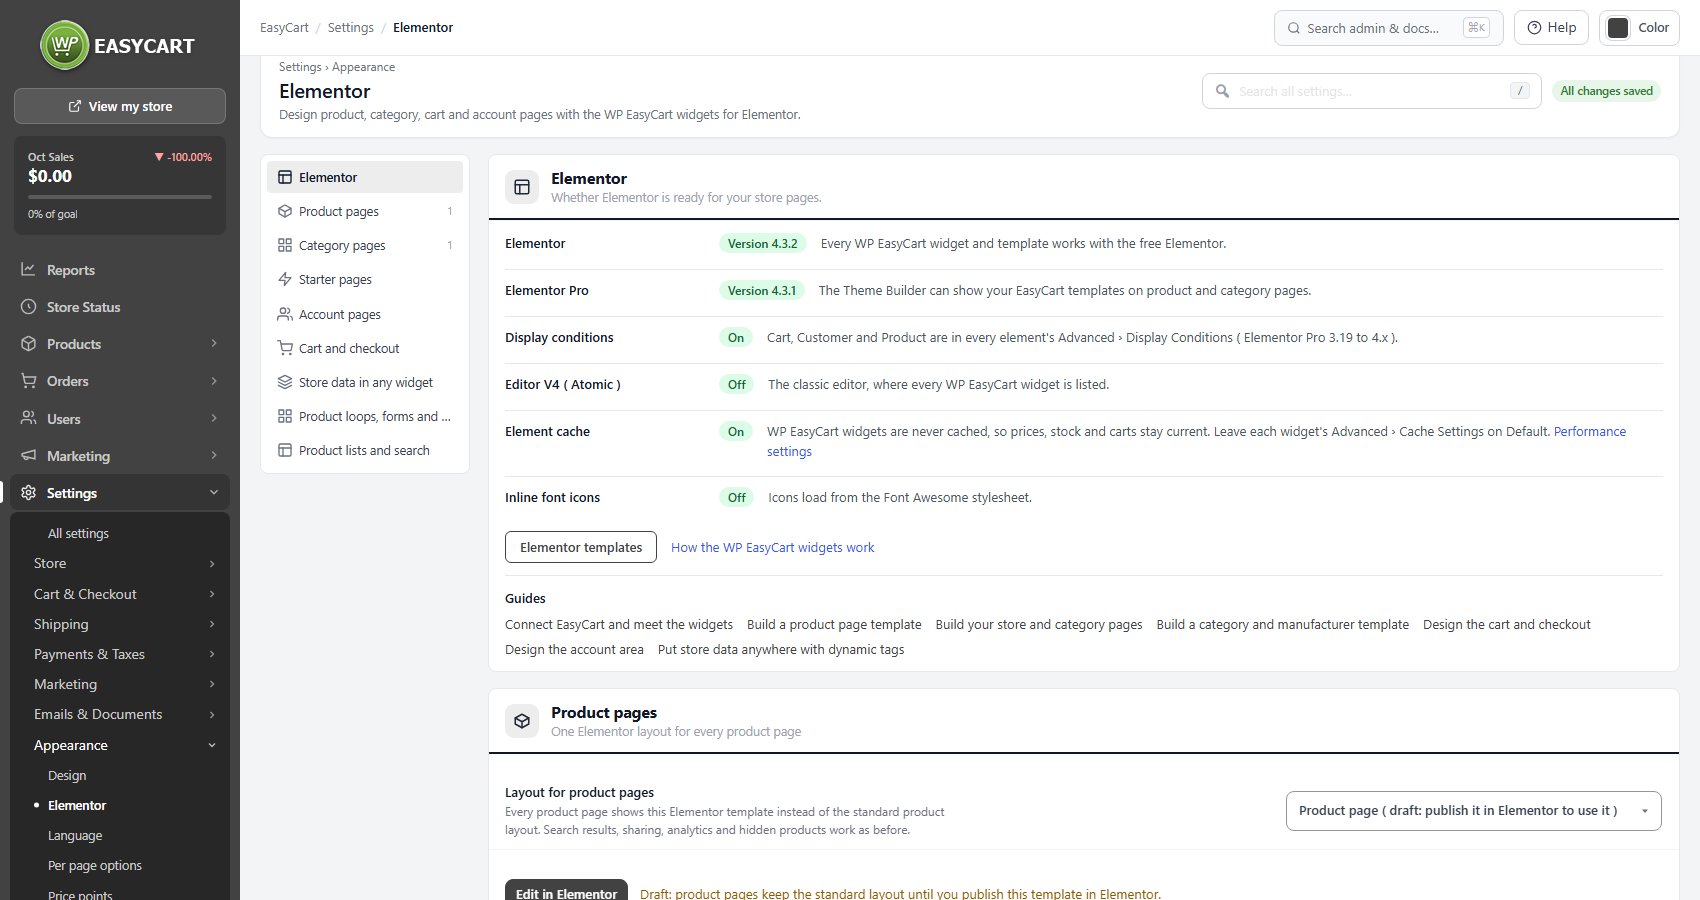
no stored settingsLayout for product pages picks the Elementor template every product page shows instead of the standard product layout, or WP EasyCart’s standard layout. Search results, sharing, analytics and hidden products work as before. A template still in draft is marked in the list, and product pages keep the standard layout until you publish it in Elementor.
Edit in Elementor opens the chosen template, with a line saying whether it is in use and a link to view a product page. Create a product template opens a new template in Elementor showing one of your products while you design; with no product template chosen yet, it becomes the one your product pages use when you publish it.
If an Elementor Pro Theme Builder template also targets product pages, a warning names it. That template wins, so the one chosen here only shows if the Theme Builder template contains a Post Content widget; remove product pages from its display conditions to use the WP EasyCart template.
For a step by step walkthrough, see Elementor: Build a Product Page Template.
Starter pages
Ready layouts for your shop, cart, checkout, account and order confirmation pages
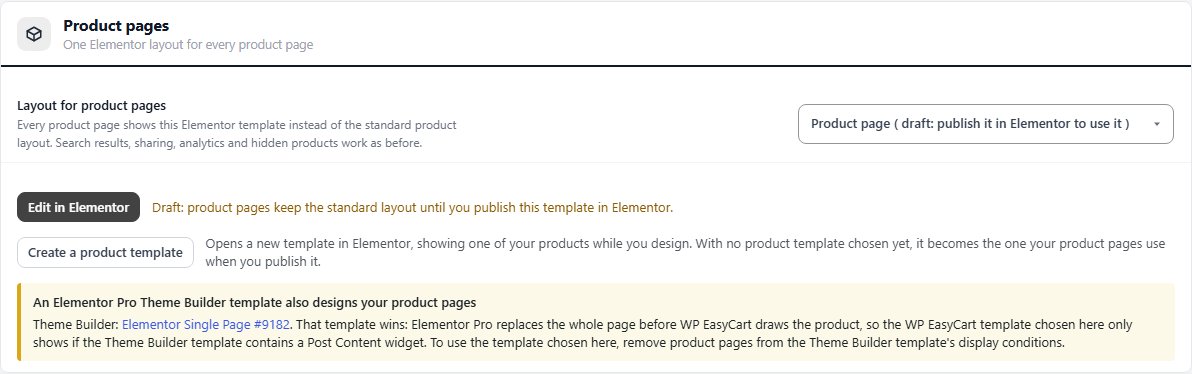
no stored settingsFive ready layouts built with the WP EasyCart widgets: Shop page, Cart page, Checkout page, My Account page and Order confirmation page. They follow your site’s colours and fonts and work without setup. Each row says whether it has been added yet.
Add the starter pages to My Templates puts them in Elementor › Templates › My Templates; nothing on your pages changes. To use one, edit a page with Elementor, open Add Template ( the folder icon ) › My Templates and insert it. The Shop layout goes on your store page and My Account on your account page. The cart, checkout and order confirmation all live on your cart page: insert those three layouts there, one below the other, and each appears at its own step.
For a step by step walkthrough, see Elementor: Build Your Store and Category Pages.
Store data in any widget
Prices, stock, images, add to cart links and the cart, in any Elementor widget
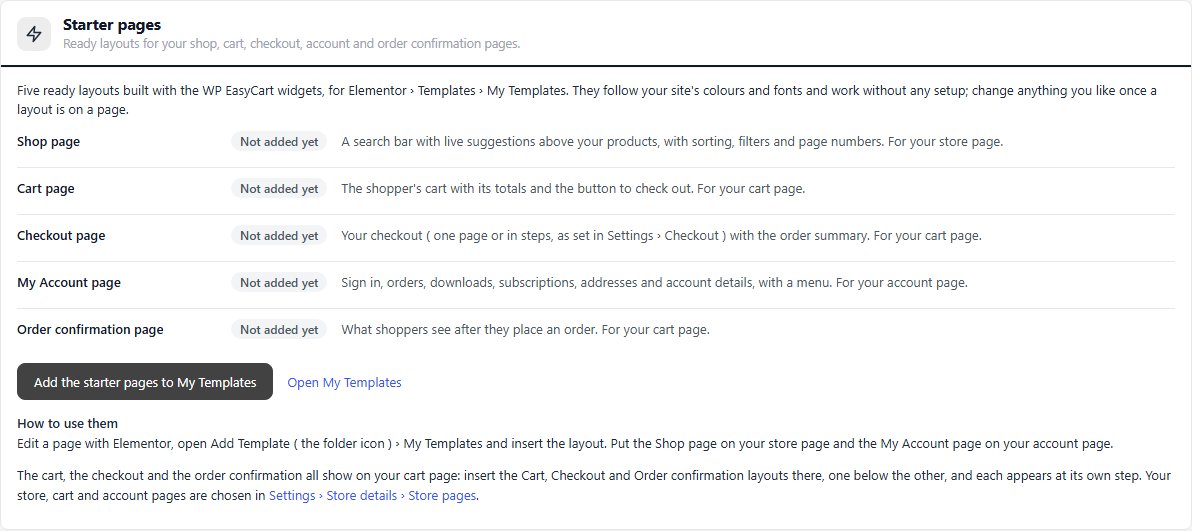
no stored settingsAny widget setting with the dynamic tags icon, a heading, text, image, button link or gallery, can pull from the WP EasyCart group. Product tags cover the title, price, regular and sale price, SKU, stock, short and full description, image, gallery, URL, Add to cart URL, rating, review count, category and manufacturer. Cart and customer tags are Cart count, Cart subtotal and Customer first name.
Product tags show the product of the page they are on: a product page, a product template or a Loop Grid card. Choose A product I choose in the tag to show another one. Price and stock follow the product page, so sale prices, customer prices and VAT come through. Point a Button, Call to Action or Price Table link at the Add to cart URL tag and it adds the product and opens the cart, or keeps the shopper on the page with a short note; products with options to choose open their product page instead.
Elementor › Site Settings › WP EasyCart sets price, sale, badge and button colours, typography, corners and spacing for every WP EasyCart widget at once, starting from your Global Colors. On a site with a page cache, show the cart count with the Cart count tag or the Menu Cart widget, which update themselves.
For a step by step walkthrough, see Elementor: Put Store Data Anywhere with Dynamic Tags.
Product loops, forms and conditions
Loop Grid product cards, a newsletter form action and display conditions, with Elementor Pro
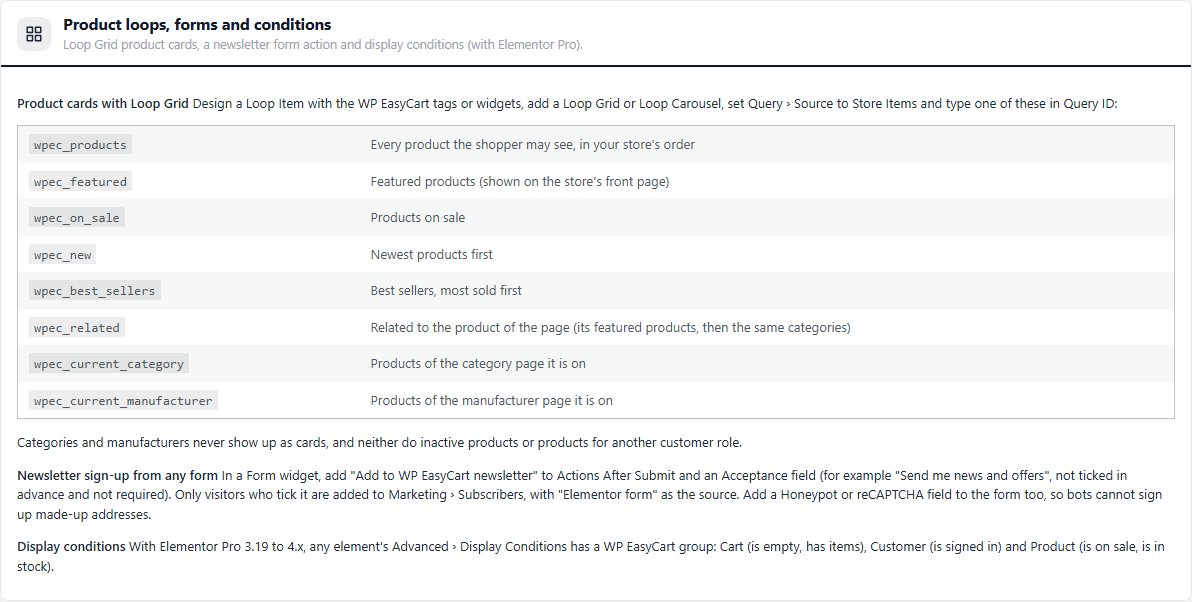
no stored settingsProduct cards with Loop Grid: design a Loop Item with the WP EasyCart tags or widgets, add a Loop Grid or Loop Carousel, set Query › Source to Store Items and type a query ID: wpec_products ( every product the shopper may see, in your store’s order ), wpec_featured, wpec_on_sale, wpec_new, wpec_best_sellers, wpec_related ( for the product of the page ), wpec_current_category or wpec_current_manufacturer. Inactive products and products for another customer role never show up as cards.
Newsletter sign-up from any form: in a Form widget, add Add to WP EasyCart newsletter to Actions After Submit, plus an Acceptance field that is not ticked in advance. Only visitors who tick it are added to Marketing › Subscribers, with Elementor form as the source. Add a Honeypot or reCAPTCHA field too, so bots cannot sign up made-up addresses.
Display conditions: on supported Elementor Pro versions, any element’s Advanced › Display Conditions has a WP EasyCart group: Cart ( is empty, has items ), Customer ( is signed in ) and Product ( is on sale, is in stock ).
Product lists and search
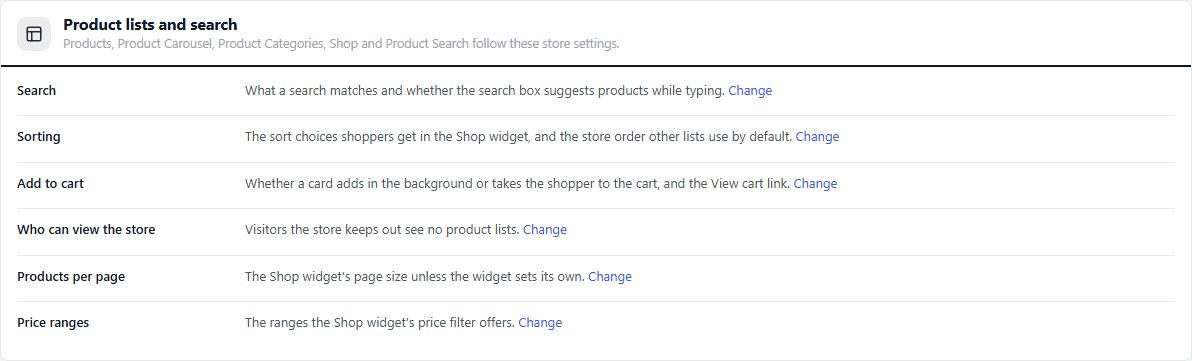
Products, Product Carousel, Product Categories, Shop and Product Search follow these store settings
no stored settingsThe product list widgets have no settings of their own here. They follow your store settings, and each row links to where that setting lives: Search ( what a search matches and whether the box suggests products while typing ), Sorting ( the Shop widget’s sort choices and the default store order ), Add to cart ( whether a card adds in the background or goes to the cart ), Who can view the store, Products per page ( the Shop widget’s page size unless the widget sets its own ) and Price ranges ( the ranges the Shop widget’s price filter offers ).
Ready to run your store on WP EasyCart?
Everything in this guide works with the free plugin. PRO and Premium add subscriptions, memberships, wholesale pricing and more. Try every PRO feature free for 14 days.
