The product and product details pages offer a variety of adjustments that may be made here.
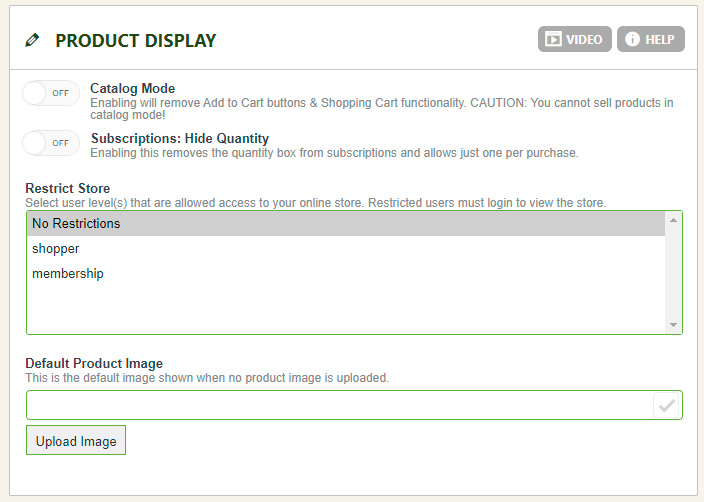
Product Display
- Catalog Mode: This will remove the ‘Add to Cart’ from products and the cart system, making the products viewable, but not able to be purchased.
- Hide Quantity from Subscription Purchase: Because subscriptions by their nature are a sign-up, not a purchase of a retail item, there is often no need for a quantity and it may be hidden here.
- Restrict Store to User Level: By default, shopper is the normal status of users and there are no restrictions to viewing the store. If you would like to restrict access to the store, you may do so by user level. Customers would need to sign-in via their account before viewing the store if restricted.
- Default Product Image: This image will represent any default image should you not have individualized images for a product. A good solution here is to upload a company logo or generic box image so as to brand your product. Every product DOES require an image, so this is an easy way to customize the default.
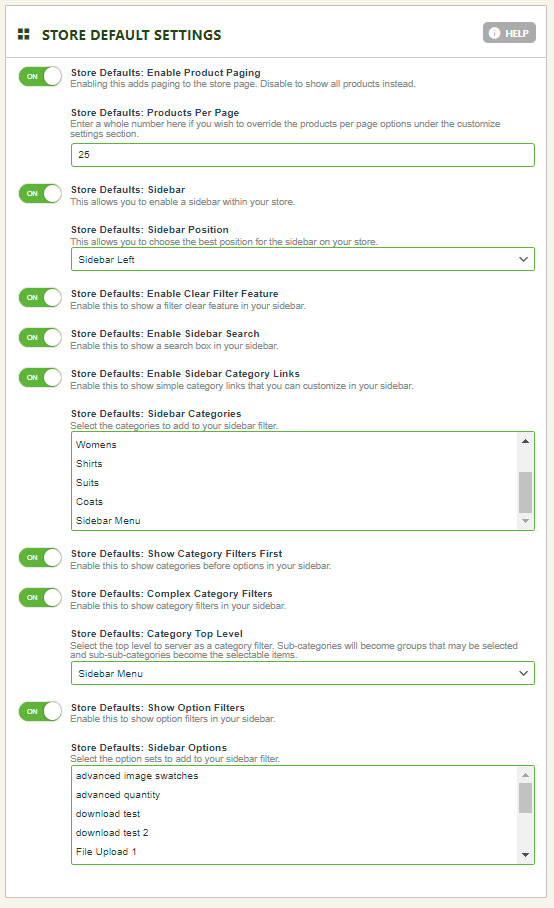
Store Default Settings
- Store Defaults: Enable Product Paging – Choose to enable or disable paging on your store.
- Store Defaults: Products Per Page – Set the default products per page as an override. You can use this without paging to limit to the first x items.
- Store Defaults: Sidebar – This allows you to enable a sidebar directly on your store. This is great to use when a theme’s sidebar is hard to use. This also has a lot of great built in features that are better than the theme sidebar.
- Store Defaults: Sidebar Position – Choose to have a static sidebar on the left or right OR have a slide out sidebar from the left or right.
- Store Defaults: Enable Clear Filter Feature – Enable if you wish to have a way to clear category and option filters.
- Store Defaults: Enable Sidebar Search – Enable to add a search bar to the top of the sidebar.
- Store Defaults: Enable sidebar Category Filters – Enable to allow categories in the sidebar. You may then choose the categories from a list to have all or just some of your categories.
- Store Defaults: Sidebar Categories – Select a list of categories to show in your sidebar. Use control+click or command+click to add or remove items from the list.
- Store Defaults: Show Category Filters First – Enable this to show categories above options, or disable to have options above categories.
- Store Defaults: Complex Category Filters – Category Filters allow your users to filter products based on the grouping you create in a custom filter structure. This is a three tier category system you can create and users will be able to select/filter each section on. For more information, read our full docs here.
- Store Defaults: Category Top Level – This is a single top level category that represents your entire filter system. Read our full docs here on how to implement the full category filter system.
- Store Defaults: Show Option Filters – Enable this to show option filters on your sidebar.
- Store Defaults: Sidebar Options – Select a list of option sets to show in your sidebar. Use control+click or command+click to add or remove items from the list. This allows a customer to choose things list sizes or colors to filter results.
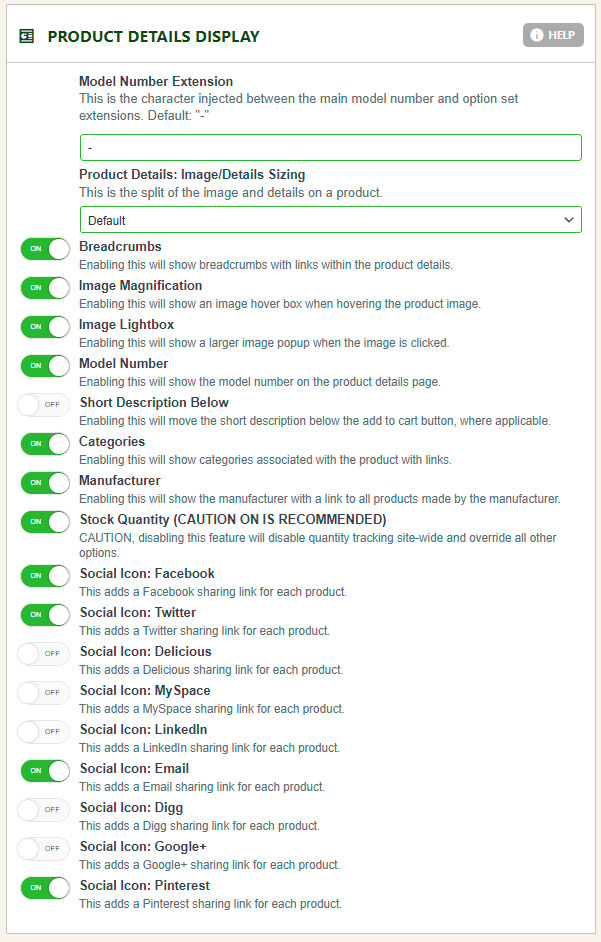
Product Details
- Model Number Extension: If you utilize option sets with custom model number variables, you can adjust the extension. For example: – dash would look like SKU: tshirt123-medium. It takes the SKU/model number and then adds this symbol + the option variables to your product. Default: – (dash)
- Product Details: Image/Details Sizing: By default, the product image consumes 50% of the content area, and the product title/model/add to cart consumes the other 50% of your 2 column layout. You can choose to change those proportions easily here with various combinations and percentages.
- Show Breadcrumbs: You may turn on/off the ability to show breadcrumb feature on details page.
- Show Magnification Box: You may turn on/off the roll-over magnification system on the product images.
- Show Large Image Popup: You may turn on/off the large image popup that is used when a customer clicks on the image.
- Show Model Number: You may turn on/off the model number from showing on the product details page.
- Show Categories: You may turn on/off the categories that the product exists in. These are often good for SEO.
- Show Manufacturer: You may turn on/off the manufacturer from showing on the product details page.
- Show Stock Quantity: You may turn on/off the stock quantity from showing on the product details page. This WILL disable stock quantity tracking throughout your entire site since it is removed.
- Social Icons: This will turn on/off the display of various social icon links for each product details page.
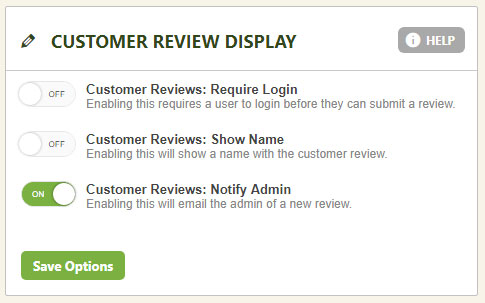
Customer Review Display
- User Must be Logged in to Review: You may turn on/off the ability to require a user to be logged into easycart in order to leave reviews. Often a good choice to have on if SPAM is becoming a problem.
- Show Users Name on Review: You may turn on/off the display of the users name or you may leave them anonymous.
- Notify Admin on New Review: If you wish to have your easycart admins receive a notification on a new review, you may enable here. The admin email on file is setup in our settings -> email setup panel.
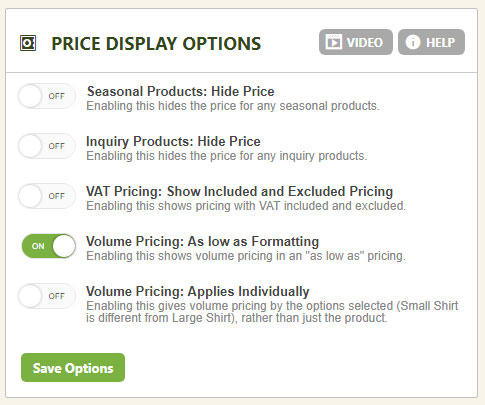
Price Display Options
- Hide Price for Seasonal Products: If you edit a product and have it selected as a seasonal product, you can choose to turn on/off the price from displaying for these products.
- Hide Price for Inquiry Products: If you edit a product and have it selected as an inquiry product, you can choose to turn on/off the price from displaying for these products.
- Show BOTH VAT included and VAT excluded Prices: If using VAT you can choose to show both include and excluded pricing at the product details view.
- Volume Pricing format: If selected, it will show the ‘As Low As’ to the pricing of items, giving the customer an indication that there is alternative pricing available.
- Volume Pricing Applies Individually: If you have volume pricing enabled on a product and use different options to a product, you may specify that volume pricing applies globally to a product, or it applies to individually selected options differently.
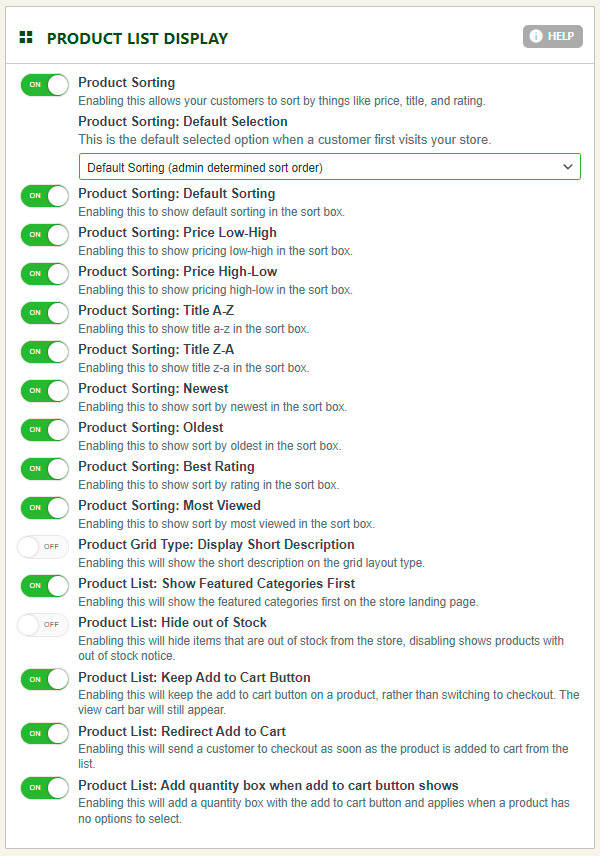
Product List Display
- Product Sorting: You may choose to show or hide the product sort feature on the product page.
- Default Product Sort: You may choose to have a default sort, or specify which sort order you would like customers to start with. IF you choose anything other than ‘Default Sorting’, the ability to manually sort products from the front-end will be ignored.
- Product Sort Box Options: This is the list of sortable options that are predefined and customers may choose from. You can specify here if you want to enable/disable each of them individually, though it is often best to leave them all on for customers to decide.
- Show Product Short Descriptions on Grid Layout Type: This will allow you to have some textual information listed on a product while in the grid view. The short description field is edited on the product and is what is used to display here.
- Product List: Show Featured Categories First: If selected, there will be featured categories listed at the top of the product page.
- Product List: Hide Out of Stock: If your items is tracking quantity and out of stock, this will hide the item and make it not appear in your store of products. If you leave this on, the user may still see the product and you can engage backordering in our product ->shipping panel OR they can see that it’s simply ‘Out of Stock’.
- Product List: Keep Add to Cart Button: If enabled, when a user adds an item to their cart, it will not switch to the ‘Checkout’ button, but instead remain ‘Add to Cart’ as text.
- Product List: Redirect Add to Cart: If enabled, the user will go directly to the shopping cart when they add an item to the cart. If this feature is off, the user will remain on the same page and the item will go to the cart discreetly without ever leaving the page.
- Product List: Add quantity box when Add to Cart button shows: EasyCart will show ‘Add to Cart’ when there are no options/variants/modifiers on a product, so users can quickly add to cart from the product panel. This option allows you to show a quantity box when that situation is valid. If your product buttons show ‘Select Options’ then the user must enter the product details here to select appropriate options, configure their product, then add to cart… so Quantity boxes are not valid when ‘Select Options’ is shown.
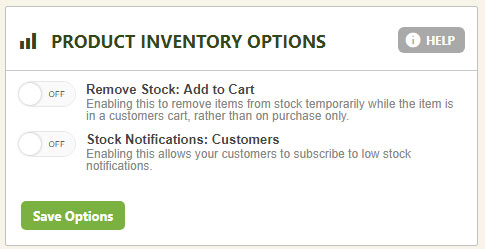
Product Inventory
- Remove Stock When Added to Cart: If you enabling Quantity Tracking at the product level, either Overall Quantity Tracking or Option Item Quantity Tracking, the normal situation is to remove the items from inventory when the order is placed. However, you can enable this feature, and your EasyCart will temporarily remove the items from inventory when the user ‘Adds to Cart’. You can specify how long that item will remain in their cart per hour basis.
- Time Before Returning Cart Stock: If enabled, the time will look at when the user put the items in their cart and remove them back to the public after this amount of time has expired.
- Stock Notifications: This option will give the user a entry spot for their email and submit button on a product that is out of stock. Once you update inventory to something, it will automatically send an email to the user that it’s back in stock.