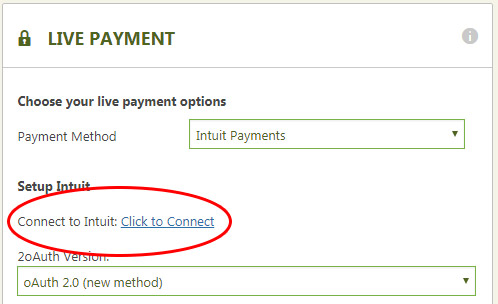
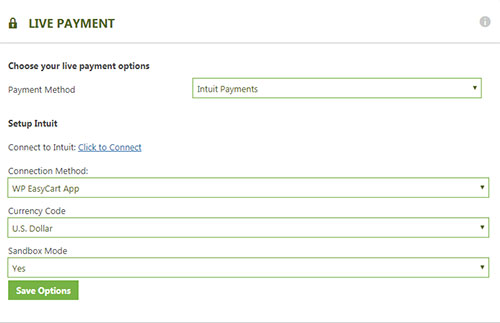
WP EasyCart — Intuit V3 Connection Type
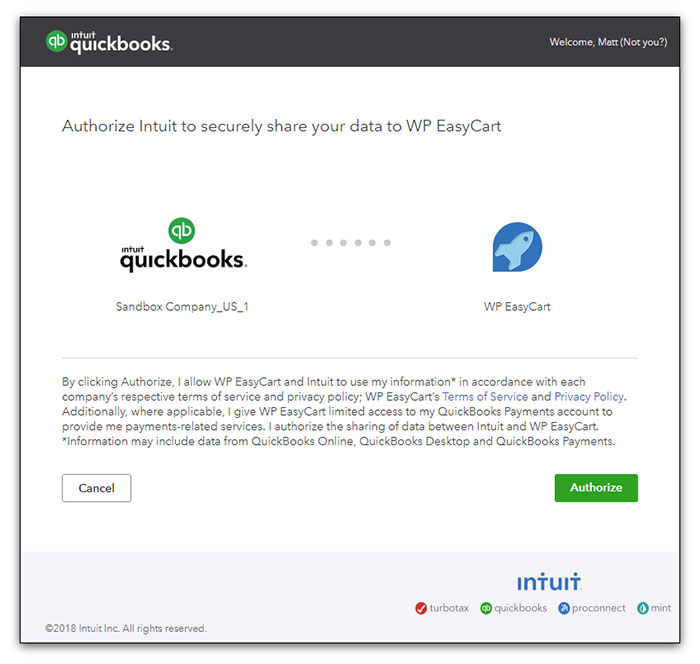
Intuit — Authorize QuickBooks Online
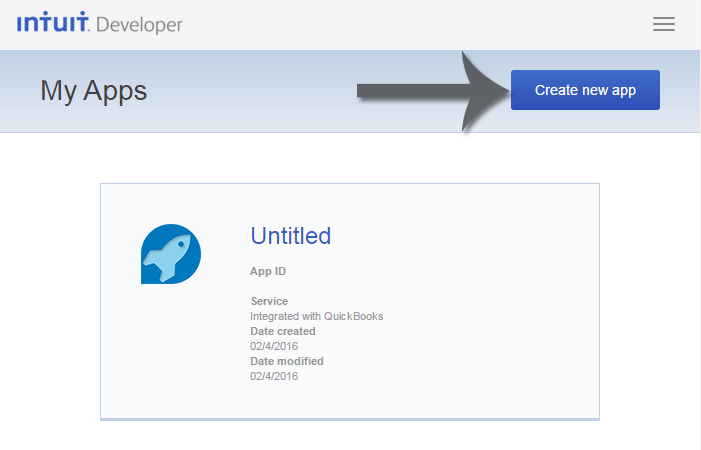
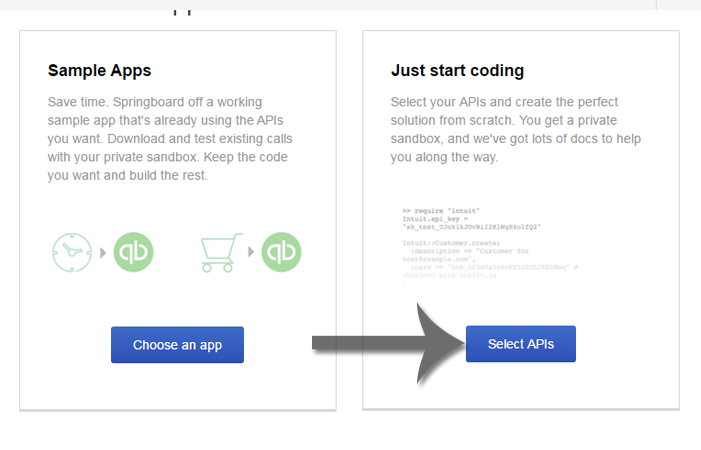
Intuit Developer — Create New App
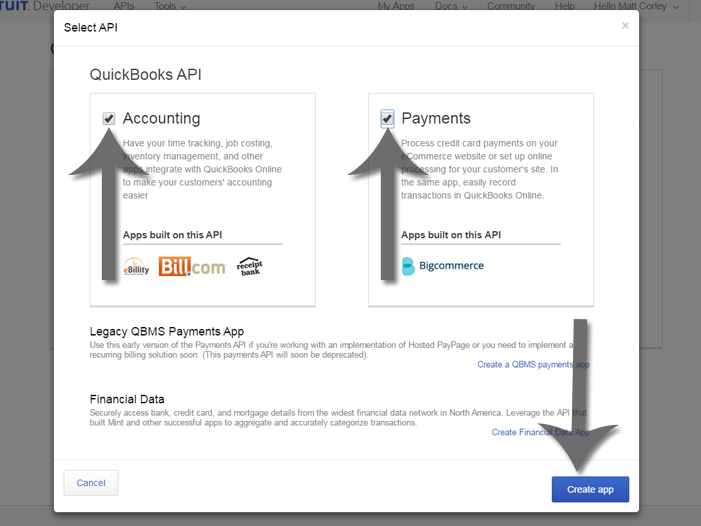
Intuit Developer — Select APIs
Intuit Developer — Accounting & Payments APIs
Intuit Developer — App Settings Tab
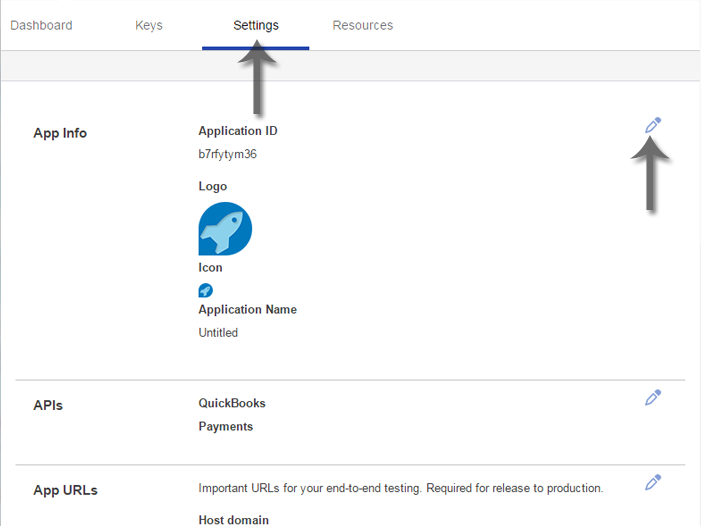
Intuit Developer — App Name
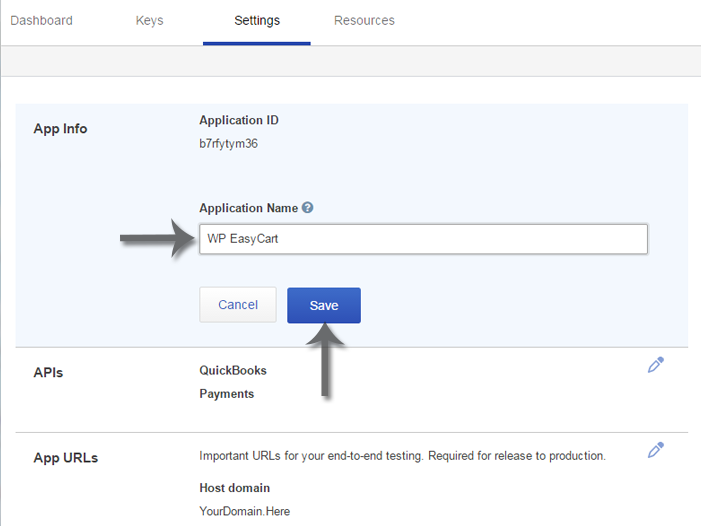
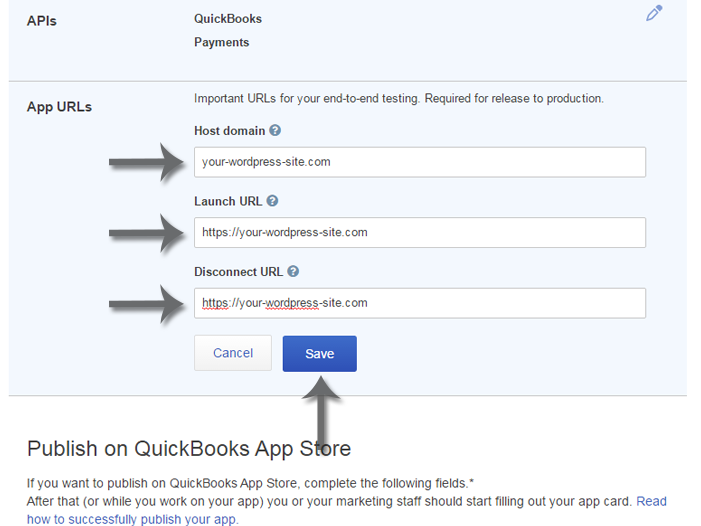
Intuit Developer — App URLs Section
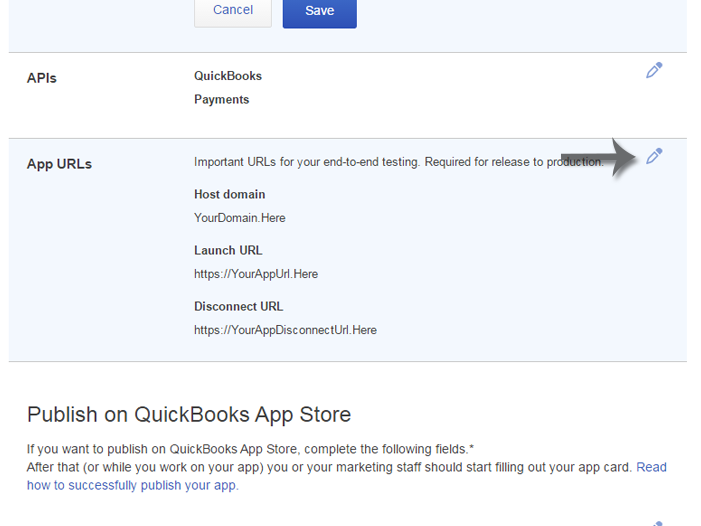
Intuit Developer — Home, Launch & Disconnect URLs
Intuit Developer — Keys Section (oAuth 1.0)
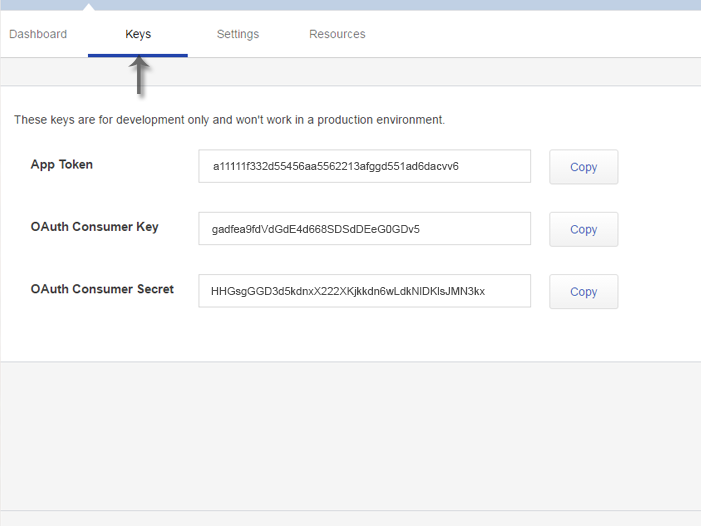
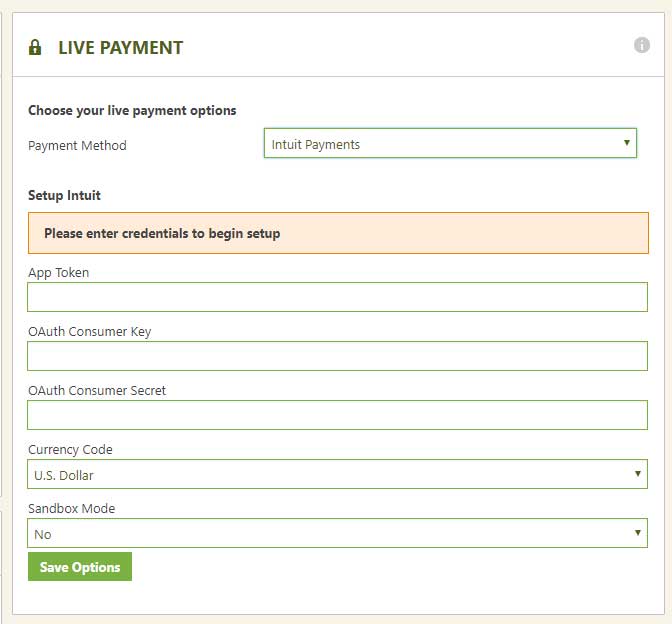
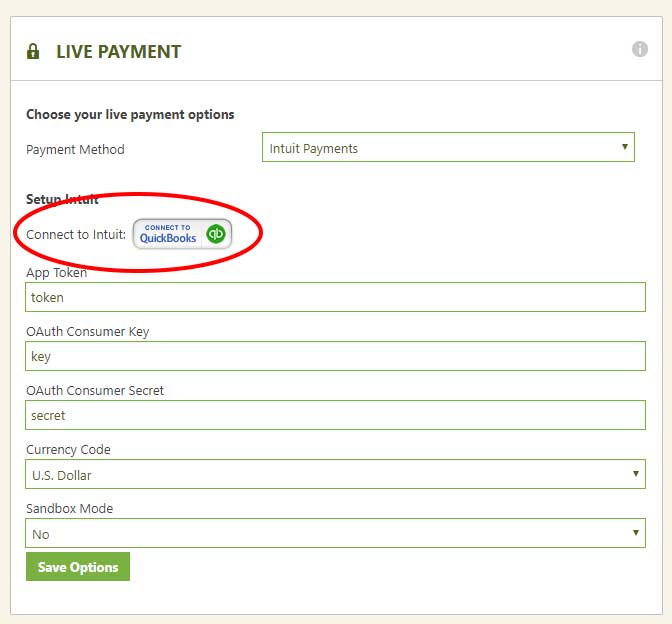
WP EasyCart — Intuit Key Fields & Connect to Quickbooks
Intuit — Authorize Connection Prompt
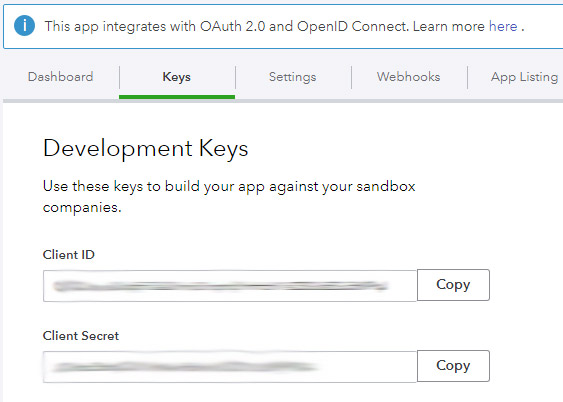
Intuit Developer — Keys Section (oAuth 2.0)
WP EasyCart — Intuit oAuth 2.0 Key Fields

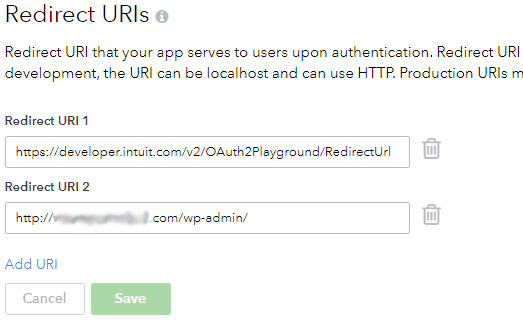
WP EasyCart — Redirect URI
WP EasyCart — Click to Connect