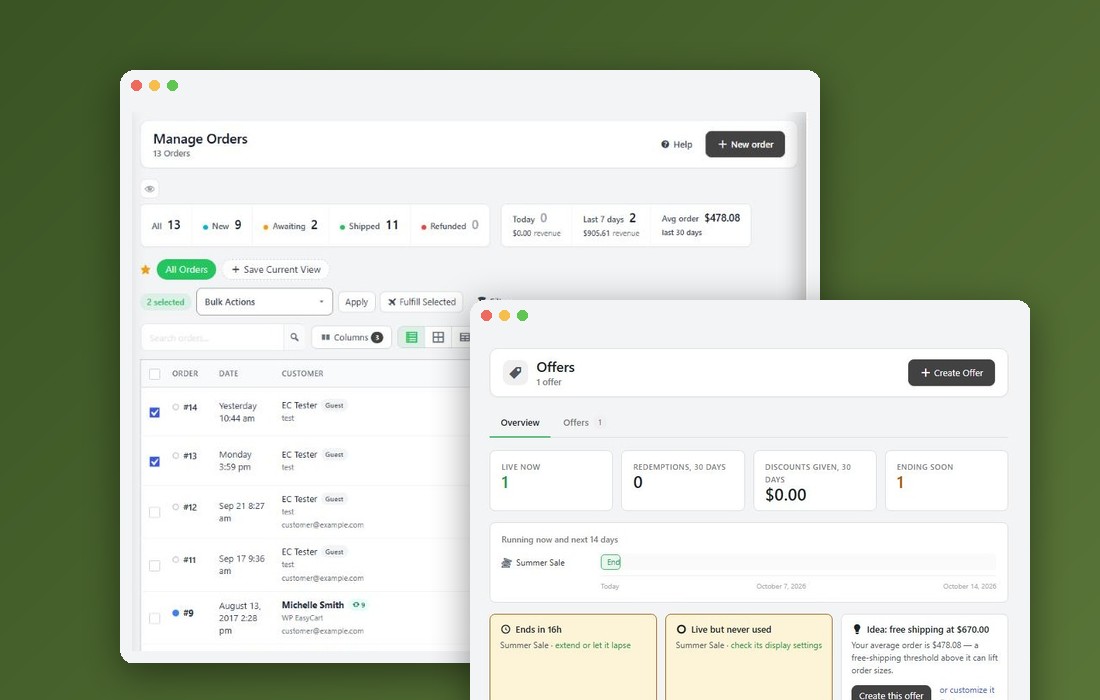
Where do parcels leave from?
One ship-from address for every carrier
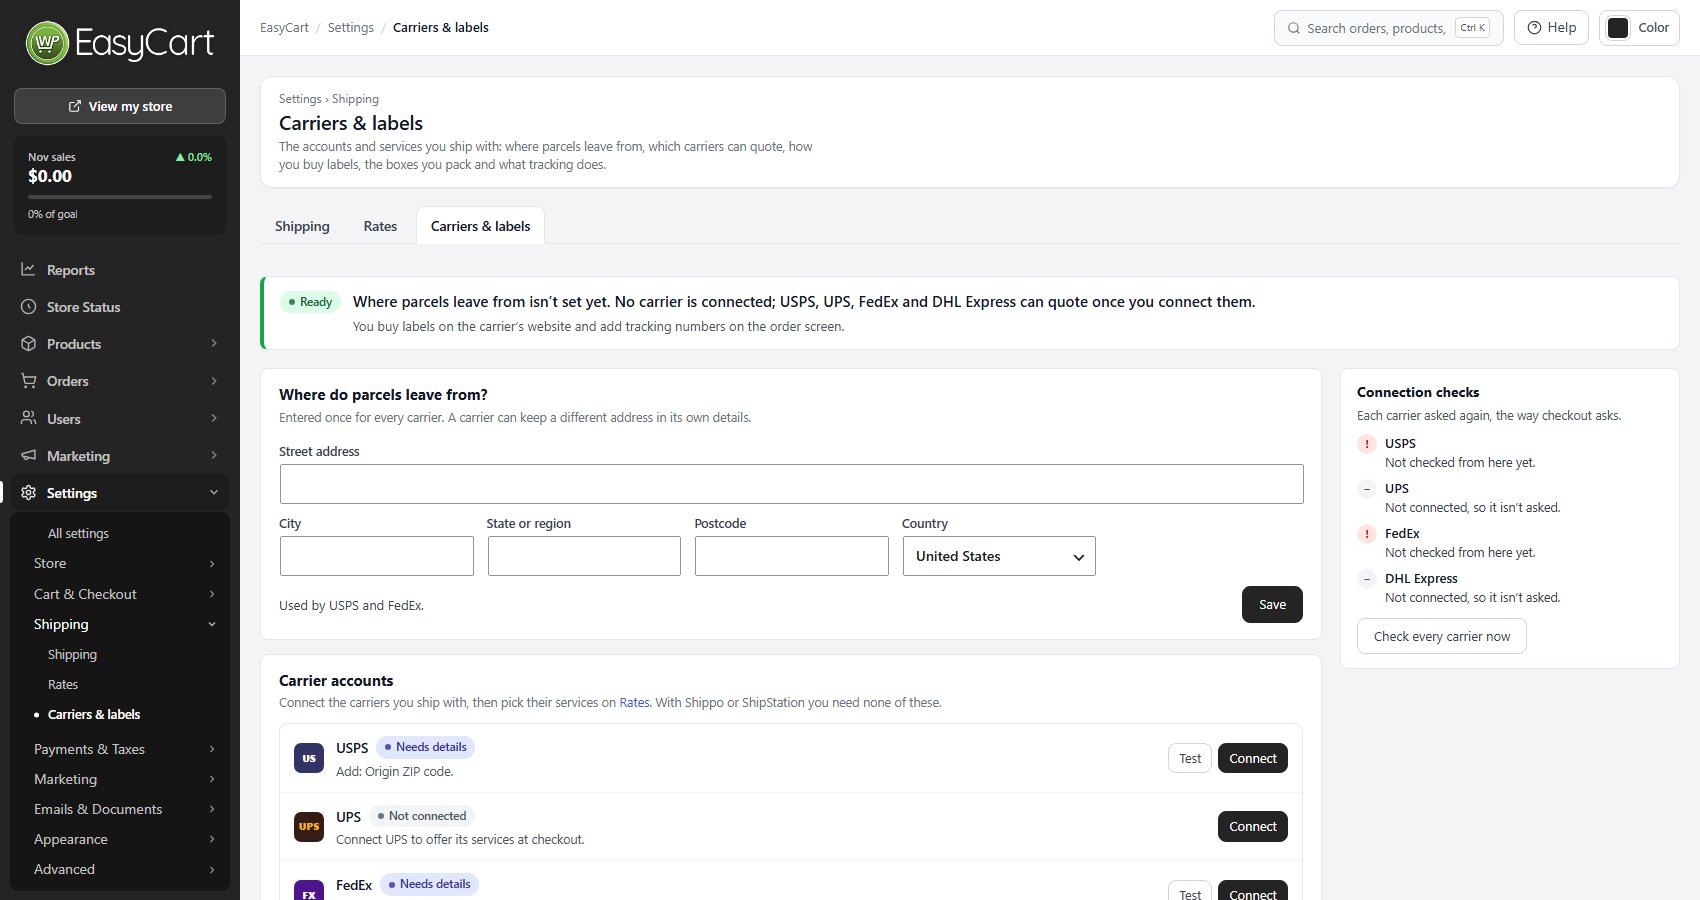
no stored settingsThe line at the top of the page sums it up: where parcels leave from, which carriers are connected and which can quote once you connect them, and how you buy labels.
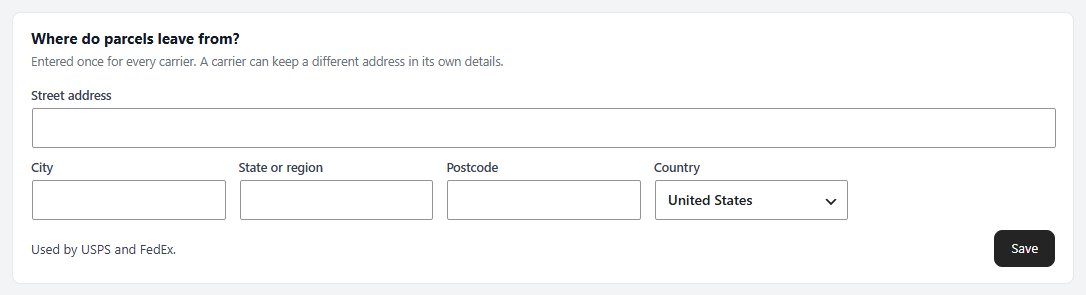
The first card is your ship-from address, entered once for every carrier: Street address, City, State or region, Postcode and Country. Press Save. Each carrier you connect starts from it: it fills that carrier’s own origin details when they are empty or still hold the address saved before. The line under the address says which carriers use it, and a carrier that keeps a different address in its own details is named with that address, so one that ships from somewhere else keeps its own.
Live rates are quoted from this address, so the page flags it when it is not set.
Carrier accounts
Connect the carriers you ship with
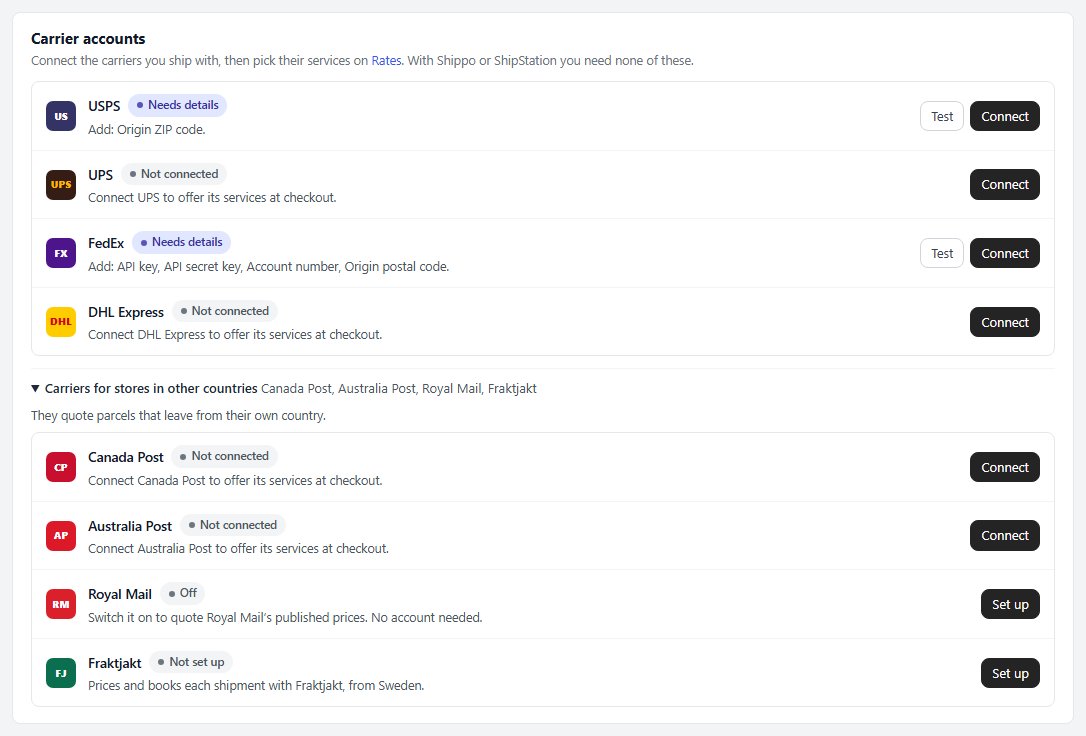
no stored settingsOne row per carrier, the ones for your store’s country first: USPS, UPS, FedEx and DHL Express for a US store. Each row has a chip for its state: Connected ( with the postcode it quotes from ), Needs details ( it lists what to add, such as Add: Origin ZIP code ), Not connecting ( it did not answer the last time it was asked ) or Not connected.
Connect ( Details once connected ) opens the carrier’s details. Test asks the carrier now, the way checkout asks, and the row then says what it answered and when it was checked. Once a carrier is connected, pick the services checkout offers on Rates. With Shippo or ShipStation you need none of these accounts.
Carriers for stores in other countries folds away the rest: Canada Post and Australia Post, which quote parcels that leave from their own country, then Royal Mail ( for UK shops, Off or On ) and Fraktjakt ( for Swedish shops ), each with Set up. A carrier you already use stays in the main list wherever your store is.
Carrier accounts, Royal Mail and Fraktjakt need WP EasyCart PRO; on a store without it each row offers the upgrade instead.
Each carrier’s details
The account, where it quotes from and how its prices are adjusted
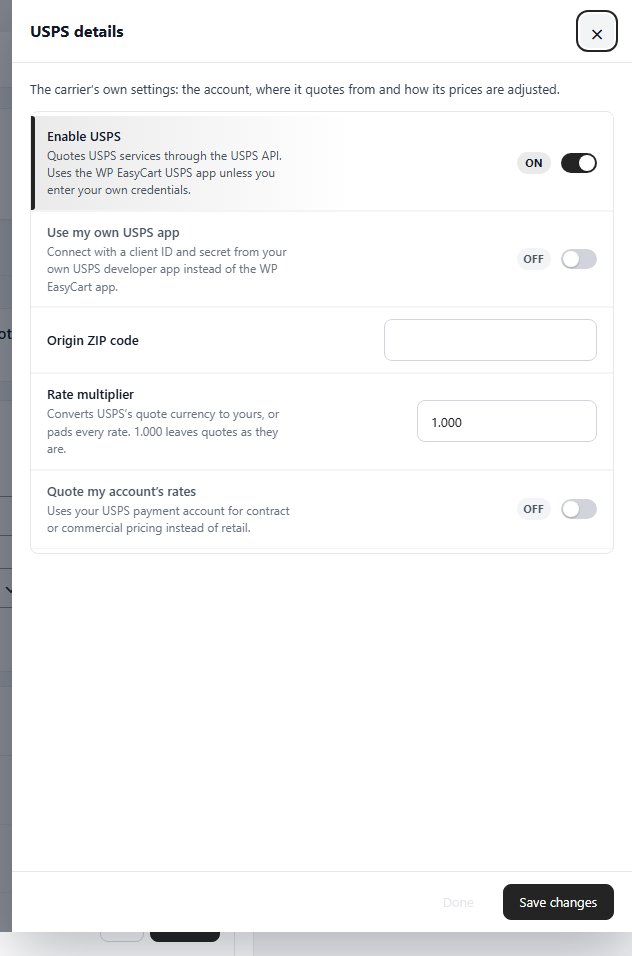
no stored settingsConnect or Details opens a drawer named for the carrier, such as USPS details. It holds that carrier’s own settings, the same ones the older Shipping settings page listed under Carrier accounts. Change them and press Save changes.
USPS: Enable USPS, Origin ZIP code and a rate multiplier; no USPS account is needed. UPS: Enable UPS, then link your UPS account and add the shipper details. FedEx: Enable FedEx, then the API key and API secret key from your FedEx developer project, your account number and origin. DHL Express: Enable DHL, then the MyDHL API key and secret, account number and origin. Canada Post and Australia Post: their API details and origin postal code.
Royal Mail details holds Offer Royal Mail at checkout, the price list, the services and what each costs, and Check for new Royal Mail prices with Check now. Fraktjakt details holds your Fraktjakt account and where parcels leave from.
Each carrier has its own guide: USPS, UPS, FedEx and Royal Mail.
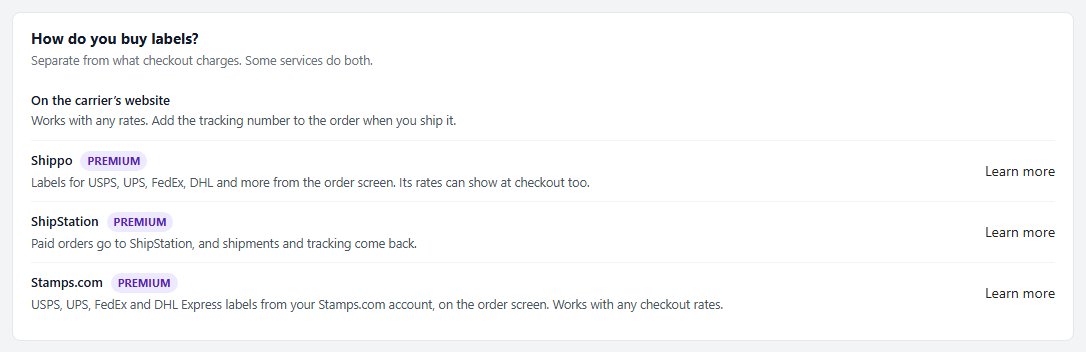
How do you buy labels?
Separate from what checkout charges
no stored settingsBuying labels is a different question from what shoppers pay, and some services do both. The card lists your choices: On the carrier’s website works with any rates; add the tracking number to the order when you ship it. Shippo buys labels for USPS, UPS, FedEx, DHL and more from the order screen, and its rates can show at checkout too. ShipStation receives your paid orders and sends shipments and tracking back. Stamps.com buys USPS, UPS, FedEx and DHL Express labels from your Stamps.com account on the order screen, with any checkout rates.
Shippo, ShipStation and Stamps.com are Premium extensions; Learn more opens each one’s card on the Extensions page, and the one in use opens its own settings. The summary at the top says which way you buy labels now.
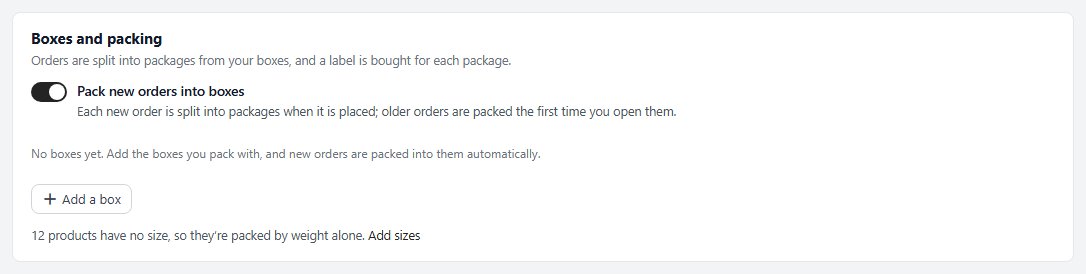
Boxes and packing
The boxes you ship in, and packing orders into them
no stored settingsPack new orders into boxes ( on by default ) splits each new order into packages from your boxes when it is placed, so the order screen already shows what goes in which box and a label can be bought for each package. Older orders are packed the first time you open them.
Below it is your box library. Add a box takes an optional Name ( leave it empty to name it by its size ), a Type ( Box, Envelope or mailer, Poly bag or soft pack ), the Inside size, the Empty box weight and Most it holds. A Carrier box, such as a flat rate box, makes labels buy at that box’s price. Tick Default box for the box used when an order cannot be packed by size, and untick Use this box when packing orders to keep a box on file without packing into it. Press Save box.
When some products that ship have no size, the card counts them, since they are packed by weight alone, with Add sizes to fix it.
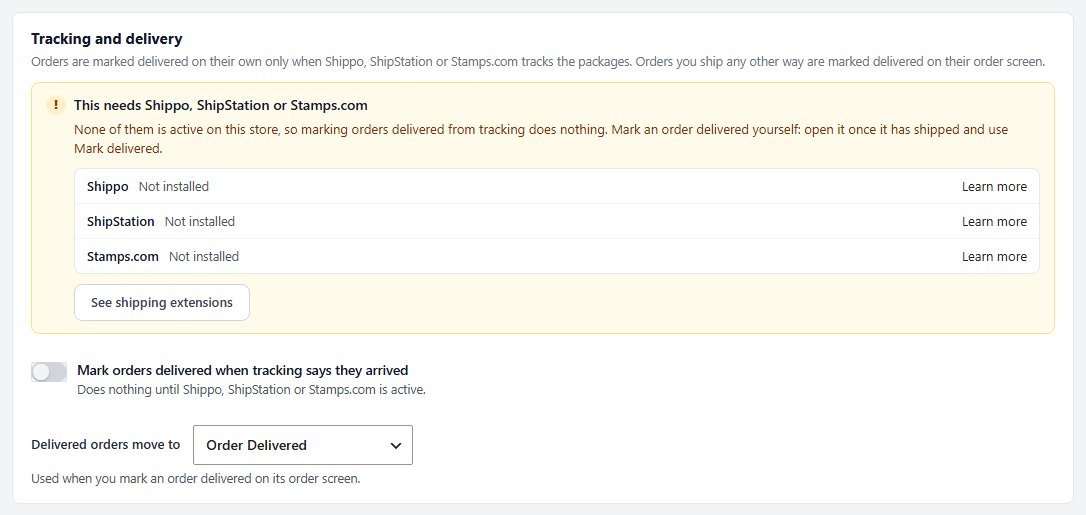
Tracking and delivery
What happens when tracking says an order arrived
no stored settingsOrders are marked delivered on their own only when Shippo, ShipStation or Stamps.com tracks the packages. The card lists each of them with its state ( active, installed but switched off, or not installed ) and See shipping extensions. While none is active it says so: marking orders delivered from tracking does nothing, and you mark an order delivered yourself by opening it once it has shipped and using Mark delivered.
Mark orders delivered when tracking says they arrived: when the active service’s tracking says every package on a paid order arrived, the order moves to the status below. Delivered orders move to picks that status, which is also used when you mark an order delivered on its order screen. A store without one gets an Order Delivered status made for it; rename it or change its colour under Order statuses rather than picking a status that means something else.
Connection checks
Each carrier asked again, the way checkout asks
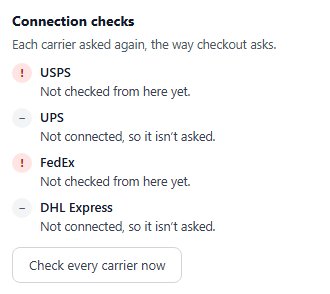
no stored settingsBeside the cards, Connection checks lists each of your carriers with its last answer and how long ago it was checked, Not checked from here yet, or Not connected, so it isn’t asked. Check every carrier now asks every connected carrier at once. A carrier that answers can quote at checkout; one that does not shows what it said, so you can fix its details.
Ready to run your store on WP EasyCart?
Everything in this guide works with the free plugin. PRO and Premium add subscriptions, memberships, wholesale pricing and more. Try every PRO feature free for 14 days.