
Settings › Customize
Price Points
The price ranges shoppers filter your store by, built as a ladder of rows with live product counts and warnings for gaps and overlaps. 3 parts.
Before you start
Where it lives, and how the panel works
From your WordPress dashboard open EasyCart › Settings, then pick Price Points under Customize.
WP Admin › EasyCart › Settings › Customize › Price Points
Search instead of hunting
The search box at the top of the page filters it as you type, and it matches hidden keywords as well as names. The same box on the Settings home searches every panel at once.
Jump between sections
A section list sits beside the page and follows you down it, so you can move straight to the part you came for without scrolling through everything between.
Advanced settings are folded away
Each section hides its rarely-changed settings behind a Show N advanced settings link, naming the first few so you know whether it is worth opening. 0 of the 0 settings on this page start folded.
Dependent settings appear as needed
Settings shown indented here only exist once the setting above them is switched on. The ranges defined here only appear on your store once the sidebar price filter is switched on, which is a setting on the Products panel.
Saving
Switches and dropdowns save the moment you change them. Anything you type collects in a save bar at the foot of the page that counts your unsaved changes and warns you before you navigate away.
Locked settings
Rows marked with a padlock need WP EasyCart PRO or Premium. They stay visible so you can see what the upgrade adds. Nothing on this page is locked.
The ladder
Ranges, checks and where they show
Building the rows, reading the counts and warnings, and switching the filter on.
The price ranges
One row per range, dragged into the order shoppers see
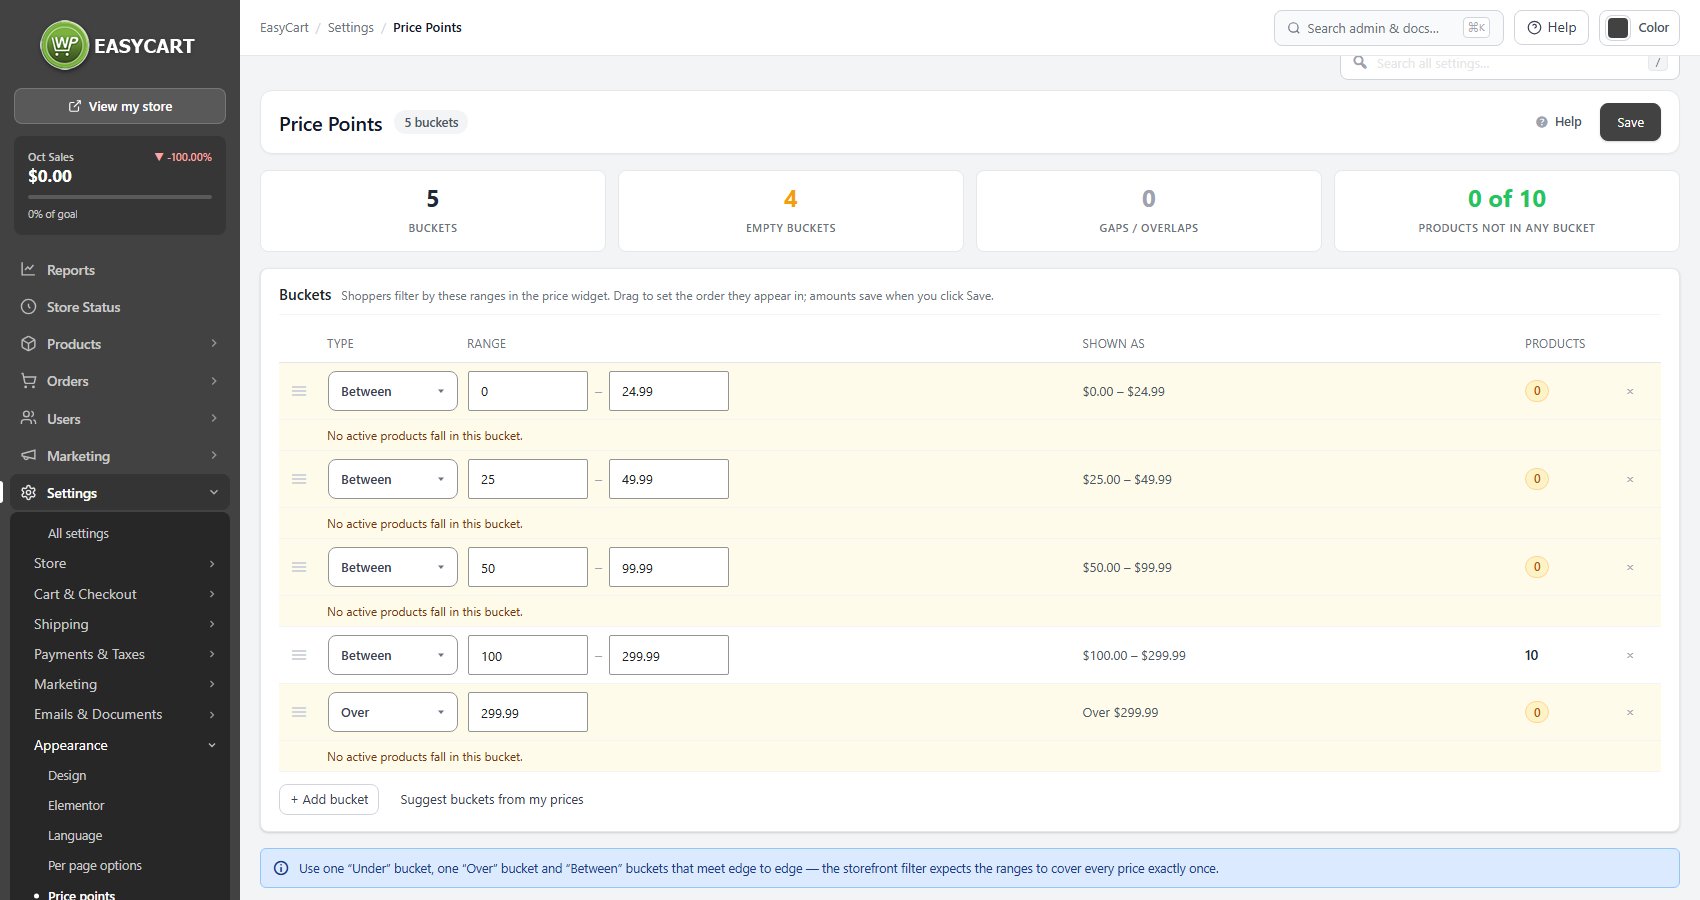
no stored settingsEach row is one range in the price filter, and there are three kinds. Under takes a single amount and catches everything below it. Between takes a low and a high. Over takes a single amount and catches everything above. A normal ladder is one Under row, several Between rows, and one Over row.
Drag rows to reorder them, and that order is what shoppers see in the sidebar, so put them in ascending price order unless you have a reason not to. Everything on the screen saves together rather than row by row, so you can restructure the whole ladder and commit it in one go.
The storefront expects at most one Under row and at most one Over row, since more than one of either is ambiguous, and the panel warns you if you create a second.
Counts and warnings
Live feedback as you type, so a broken ladder never reaches the storefront
no stored settingsEvery row shows how many active products actually fall inside it, recalculated as you edit. A row reading zero is a range no shopper will ever usefully click, which normally means your ladder does not match your pricing.
Three problems are called out explicitly. A gap between two adjacent rows is reported with the number of products that fall into it, because those products appear in no price filter at all and are effectively invisible to anyone filtering by price. An overlap is reported too, since products in the shared span show up under both ranges and shoppers see the same item twice. And a Between row whose high amount is below its low amount is flagged as a range that can never match anything.
If you have enough priced products, the panel can suggest a set of ranges for you, which is usually a better starting point than round numbers picked by instinct.
⚠️ Careful: A gap between two ranges hides products from price filtering entirely. The panel tells you how many products fall into the gap, and that number is the number of products a price-filtering shopper will never see. Close gaps before you publish the filter.
Showing the filter
Where these ranges actually appear
no stored settingsDefining ranges here does not by itself put anything on your store. The price filter is switched on in the store sidebar settings, and it lists these ranges with a live count of matching products beside each one. The same filter is available as an option on the Elementor Store element if you build your store page that way.
The order is worth getting right: define the ranges first, then turn the filter on. A filter switched on with no ranges behind it simply shows nothing, which reads as a bug rather than a configuration gap.
💡 Note: The price filter itself is switched on under Settings › Products, in the Store sidebar section. Define your ranges here first, or the filter appears empty.
Keep going
Related panels
The store sidebar, where the price filter is switched on.
Page sizes, the other panel that shapes a product listing.
Category filters, which sit alongside the price filter.
How the store sidebar and product grid are laid out.
Option filters, the third kind of sidebar filter.
Manufacturer links, also listed in the sidebar.
Try the PRO features free for 14 days
Anything marked PRO comes with WP EasyCart PRO or Premium. Take the whole thing for a run on your own store before you decide.
