ShipStation — API Settings Menu

Next, generate API keys to acquire the API key and API secret. Simply click the button to generate those keys.
ShipStation — Generate API Keys

ShipStation — API Key & Secret

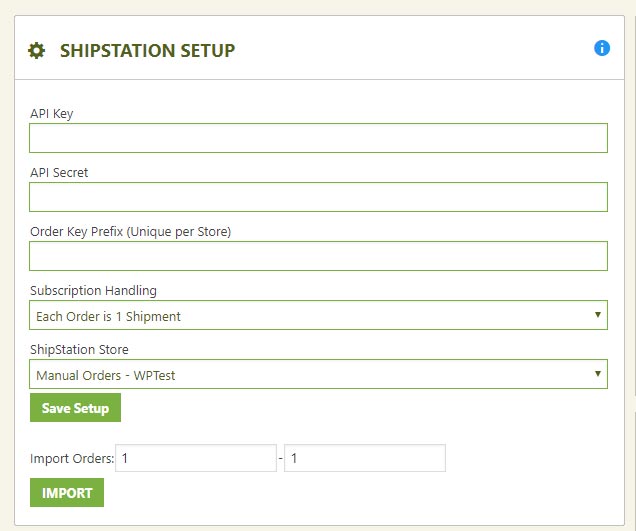
WP EasyCart — ShipStation Settings
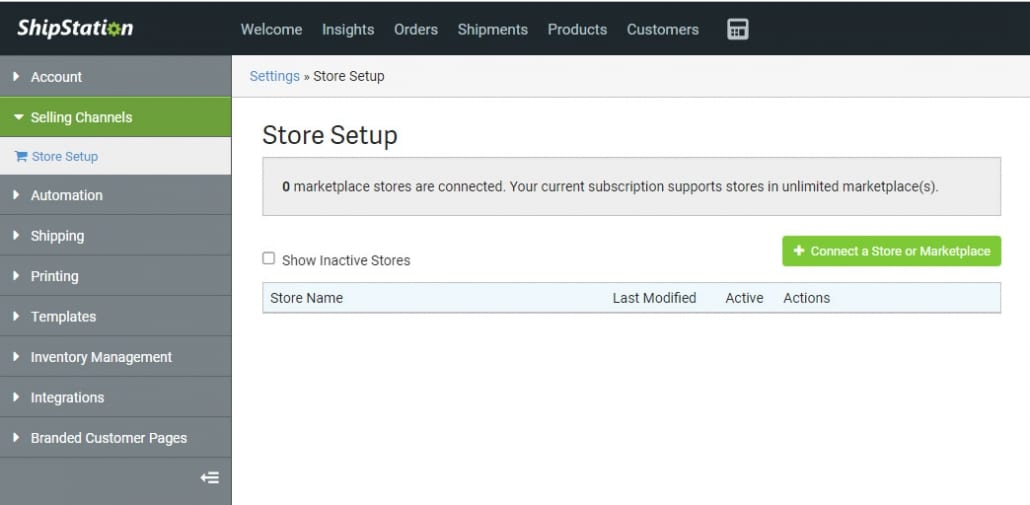
ShipStation — Connect a Store or Marketplace
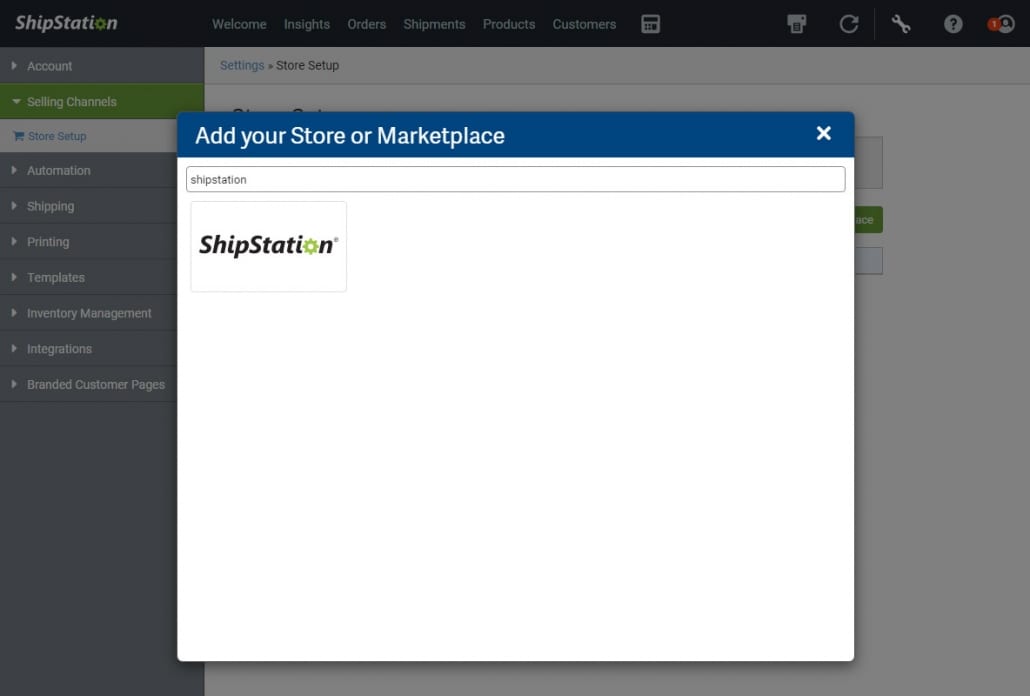
Now choose “ShipStation” as your store type. This store type is the most basic version — we use the ShipStation API to send all the orders, accounts, and products to your new store. When you ship an item, tracking codes and shipping methods are sent back to EasyCart automatically.
ShipStation — Choose Store Type
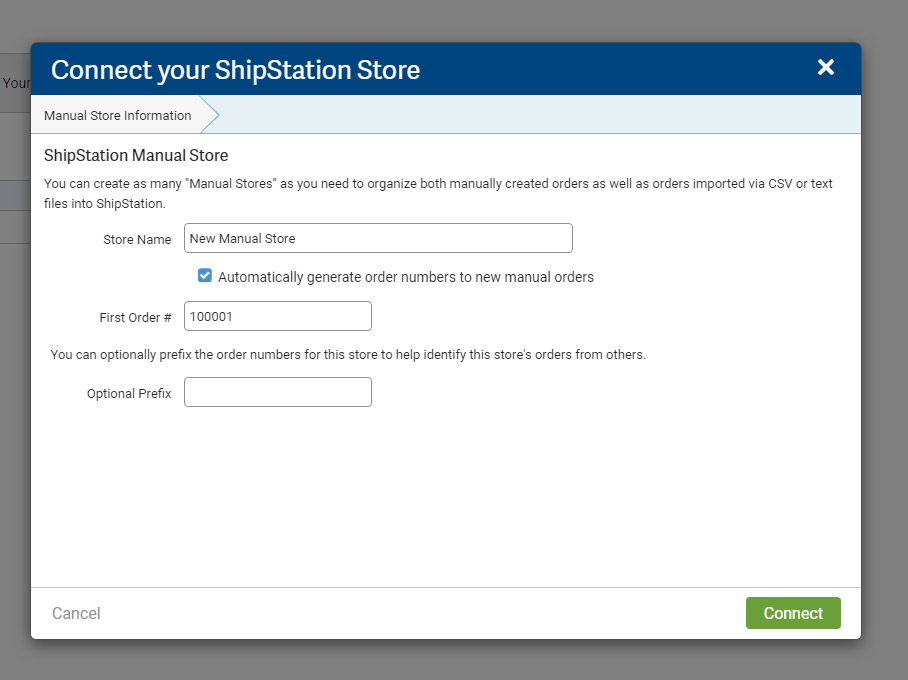
Lastly, enter a store name and optionally set a manual starting order ID. This will be separate from EasyCart.
ShipStation — Store Name & Manual Options
ShipStation — Branded Shipment Tracking Page

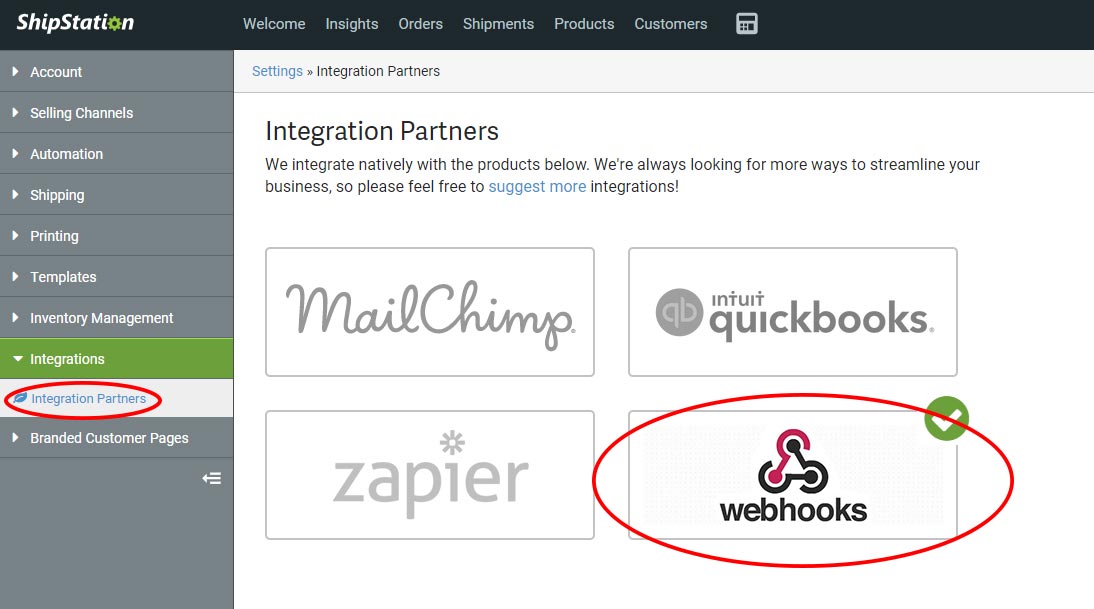
ShipStation — Webhooks Panel
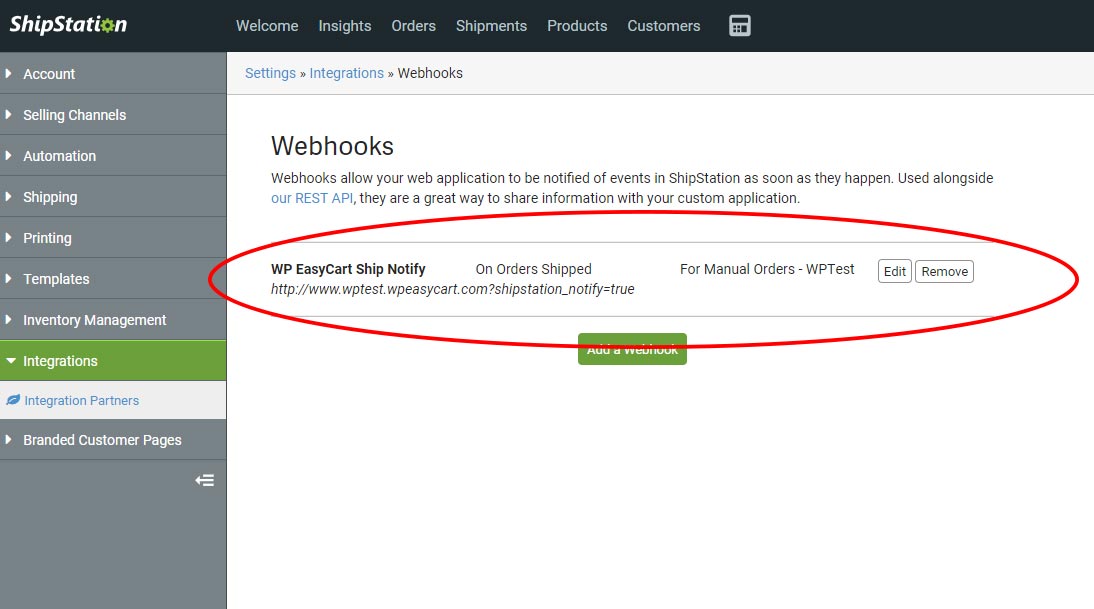
You should see a URL similar to this, but with your address in it. You can always remove this webhook — or go back and save your settings in EasyCart to rebuild it should it be missing. Syncing back to EasyCart will not work if there is no webhook set here.
ShipStation — Registered Webhook URL
Only label creation triggers the webhook
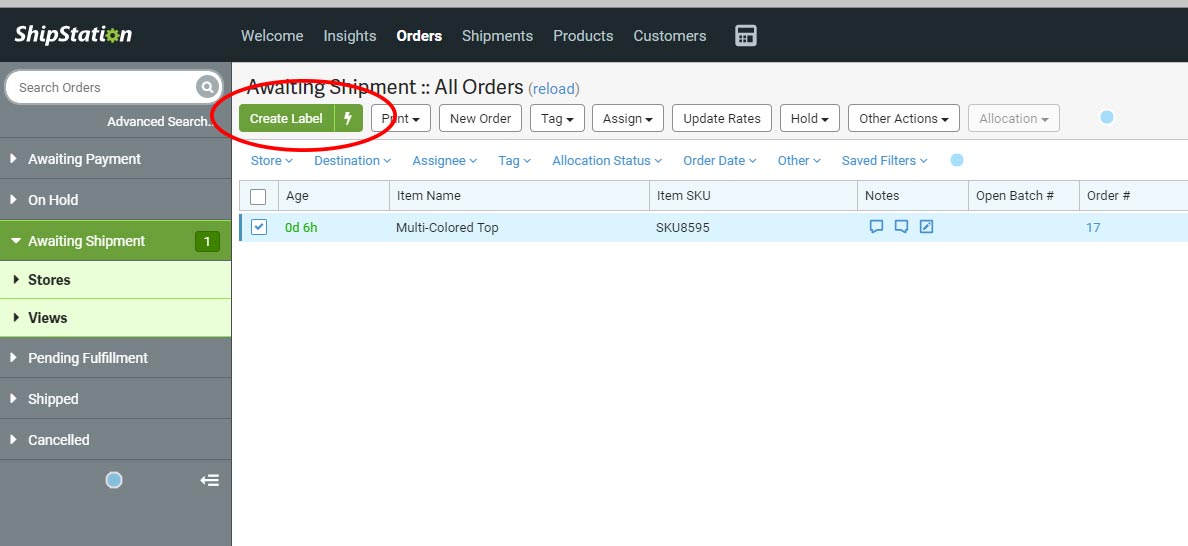
The only time ShipStation communicates back to your EasyCart system is when a label is created — that’s what triggers the actual sending that a shipment was created and shipped. Just changing an order in ShipStation to ‘Marked as Shipped’ will not trigger their webhook system!
ShipStation — Create Labels
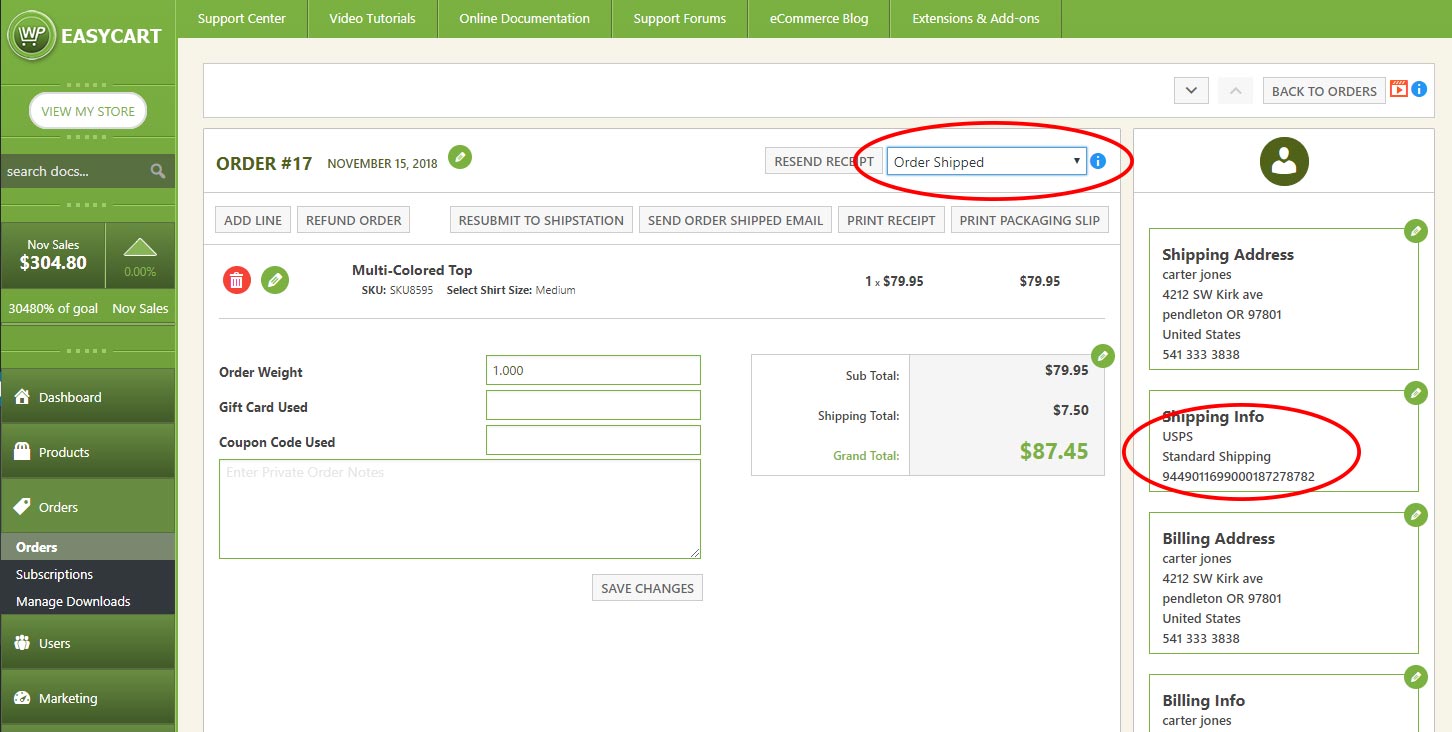
Once the webhooks fire, you should see orders in EasyCart automatically change to ‘Order Shipped’ along with a ‘Carrier’ and ‘Tracking Number’ when applicable — not all shipments have tracking numbers. From here, you can let ShipStation send further emails to your customers about shipping and tracking information; their services are set up well for this type of communication. For more information on ShipStation and the options within your account, visit the ShipStation help guide.
WP EasyCart — Order Updated by ShipStation