
WP EasyCart — Store Landing Page
WP EasyCart — Cart Display Page
WP EasyCart — Account Display Page
WP EasyCart — eCommerce Goal Setup
WP EasyCart — Install/Uninstall Demo Data
WP EasyCart — Currency Setup
3 min read
Panel Settings
The EasyCart system runs on three simple pages — Store, Cart, and Account — each wired up with a single shortcode. Connect them once and your entire shopping system comes alive in WordPress.
Prefer to watch? This short video walks you through installing WP EasyCart Free Edition in about five minutes.
Download the free plugin from WordPress. It takes 5 minutes to walk through the 5-step wizard and get a full eCommerce shopping cart running in your WordPress today.
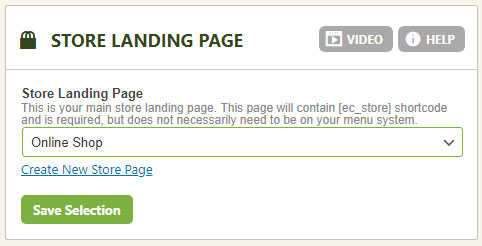
Give shoppers a page to browse your products.
This page needs the shortcode [ec_store] on it. Press ‘Create New Store Page’ and EasyCart automatically builds a new WordPress page with the shortcode already in place — or add it manually to any page you choose.
WP EasyCart — Store Landing Page
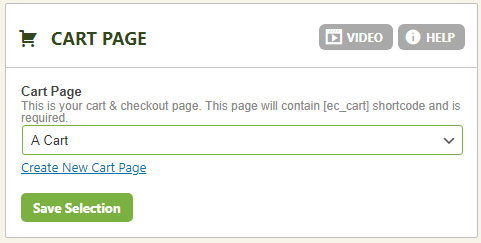
Give shoppers a page that shows their shopping cart.
Same idea, different shortcode: place [ec_cart] on the page that should display the shopping cart. Press ‘Create New Cart Page’ for an instant, pre-built page, or add the shortcode to a page of your own.
WP EasyCart — Cart Display Page
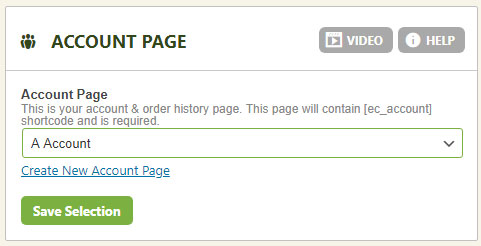
Give shoppers a page to manage their account.
Finish the trio with [ec_account] on your account page. Press ‘Create New Account Page’ to generate it automatically, or select an existing page and add the shortcode yourself.
WP EasyCart — Account Display Page
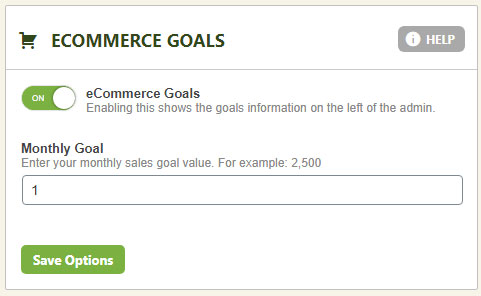
Give yourself a monthly sales target and watch progress from your EasyCart sidebar.
Set a monthly value you want to reach in total sales, minus any refunds. It displays right in your left EasyCart sidebar so progress is always in view. Don’t want the feature? Set Enabled to NO and it disappears.
WP EasyCart — eCommerce Goal Setup
Load sample products and orders to test-drive EasyCart before you add real inventory.
Flip on demo data and EasyCart populates your store with sample products and orders so you can see the system in action right away.
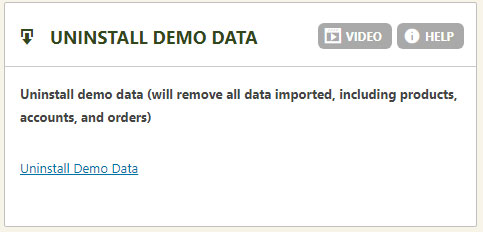
Uninstalling Demo Data Removes Everything
Uninstalling demo data deletes all products and orders in one shot. If you’ve added real products you want to keep, delete the demo items individually instead of running the full uninstall.
WP EasyCart — Install/Uninstall Demo Data
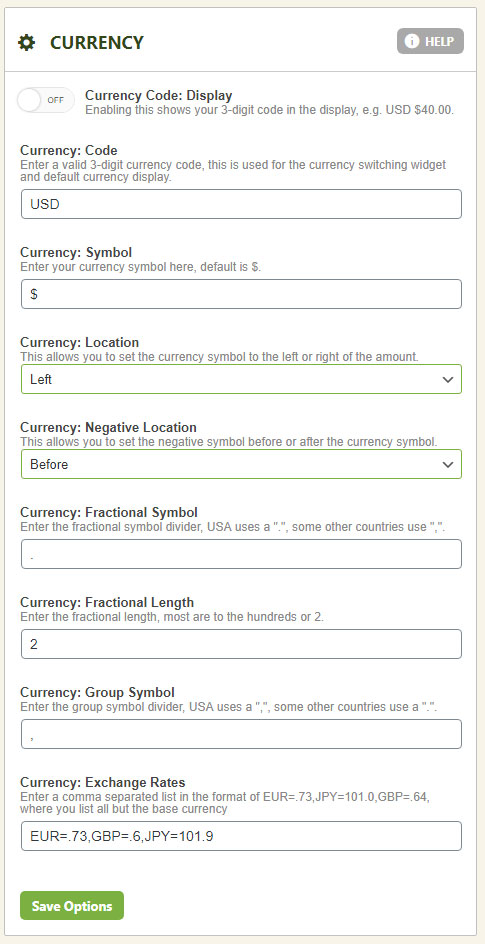
EasyCart controls how money looks on your site — your payment gateway still decides what currency you actually process in.
EUR=.73,GBP=.6,JPY=101.9WP EasyCart — Currency Setup
Three pages, a few settings, and your EasyCart store is live. If anything doesn’t click into place, our support team is one click away.