
Integration Guide
WP EasyCart × MailerLite
MailerLite is a clean, easy-to-use email marketing platform that’s a perfect match for WP EasyCart. Connect the two and every checkout opt-in flows directly into your MailerLite subscriber list — ready for campaigns, automations, and product-based targeting.
Watch the Setup Walkthrough
Prefer to watch? This short video walks you through the entire MailerLite integration setup in just a few minutes.
MailerLite Setup
We walk you through the quick setup of getting your EasyCart and MailerLite accounts connected with this simple video.
Before You Begin
An active MailerLite account is required to use this integration. If you don’t have one yet, sign up at mailerlite.com. You can also pair this integration with MailerLite’s own WordPress plugins or popup tools — EasyCart focuses on the checkout-opt-in flow, but the two approaches combine for a complete solution.
Step 1 — Enable Newsletter Sign-up in EasyCart
Turn on the opt-in checkbox so shoppers can subscribe during checkout and account creation.
Turn on Subscribe to Newsletter
In WordPress, go to EasyCart › Settings › Accounts and toggle “Subscribe to Newsletter” to ON. This adds the opt-in checkbox to the checkout flow and the customer account creation form — every shopper now gets a chance to join your list without leaving the checkout.
Step 2 — Generate Your MailerLite API Token
Create an API token in MailerLite so EasyCart can authenticate with your account.
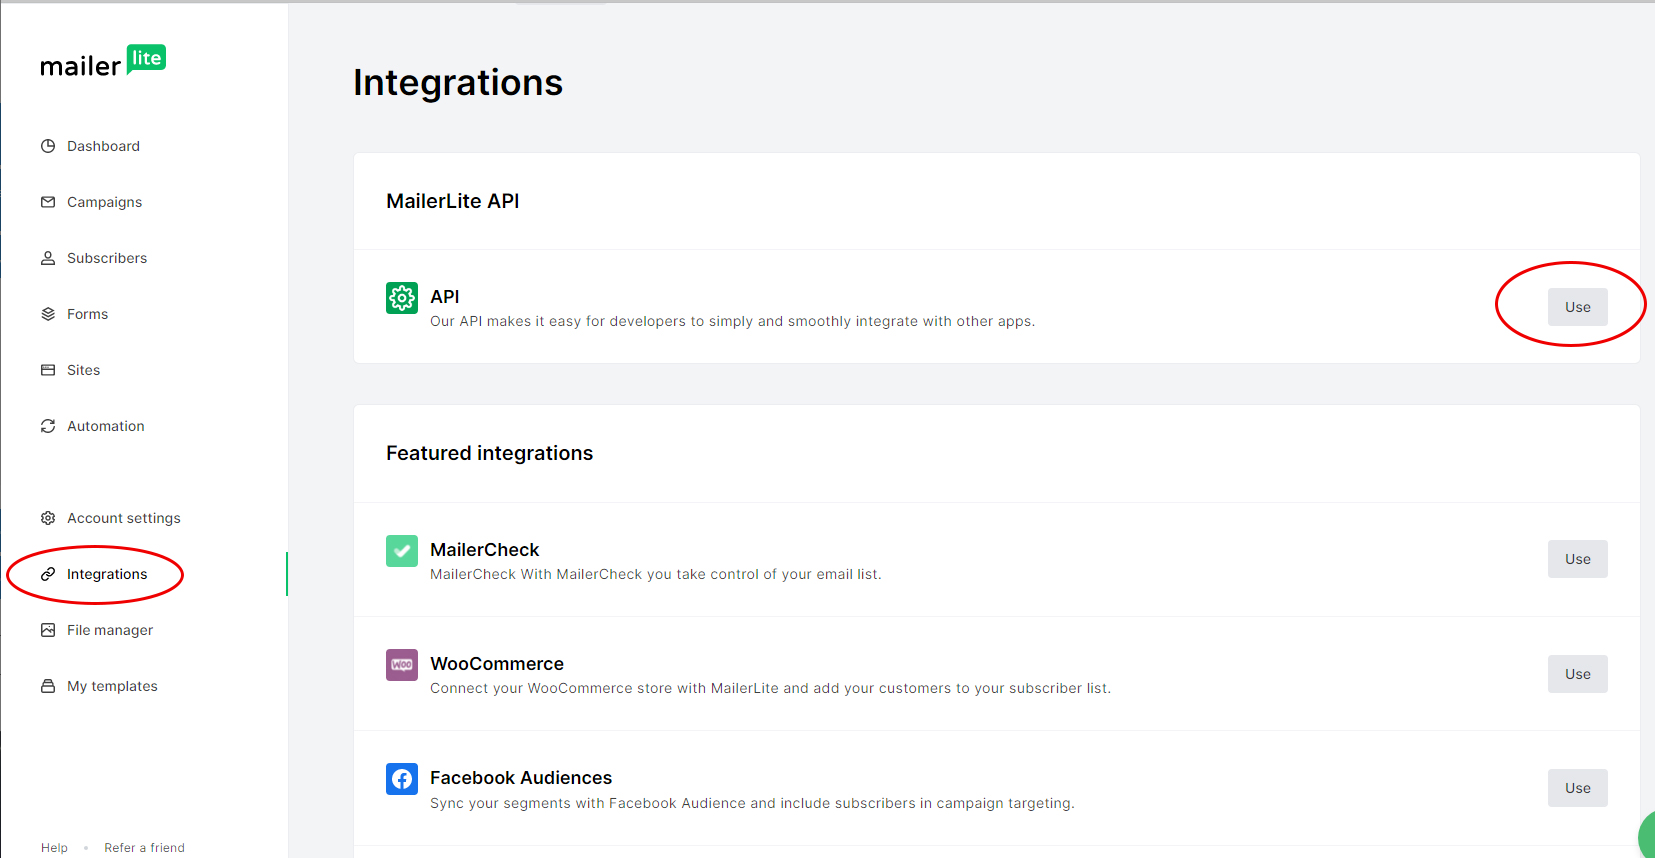
Open Integrations › API
Log into your MailerLite account and navigate to Integrations › API, then click “Use”. Create a new API token by giving it a name (something like “EasyCart” works well), then copy the generated token — you’ll paste it into EasyCart in the next step.
MailerLite — Integrations API Panel
Step 3 — Connect EasyCart to MailerLite
Paste your token into EasyCart and your subscribers will start flowing automatically.
Paste Your API Token & Save
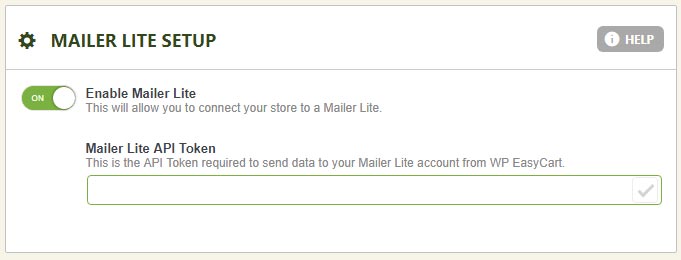
In WordPress, navigate to EasyCart › Settings › Third Party › MailerLite. Paste in your API token and save. That’s it — every shopper who opts in during checkout will now appear in your MailerLite Subscribers section, ready for your next campaign.
EasyCart — MailerLite Integration Settings
What Success Looks Like
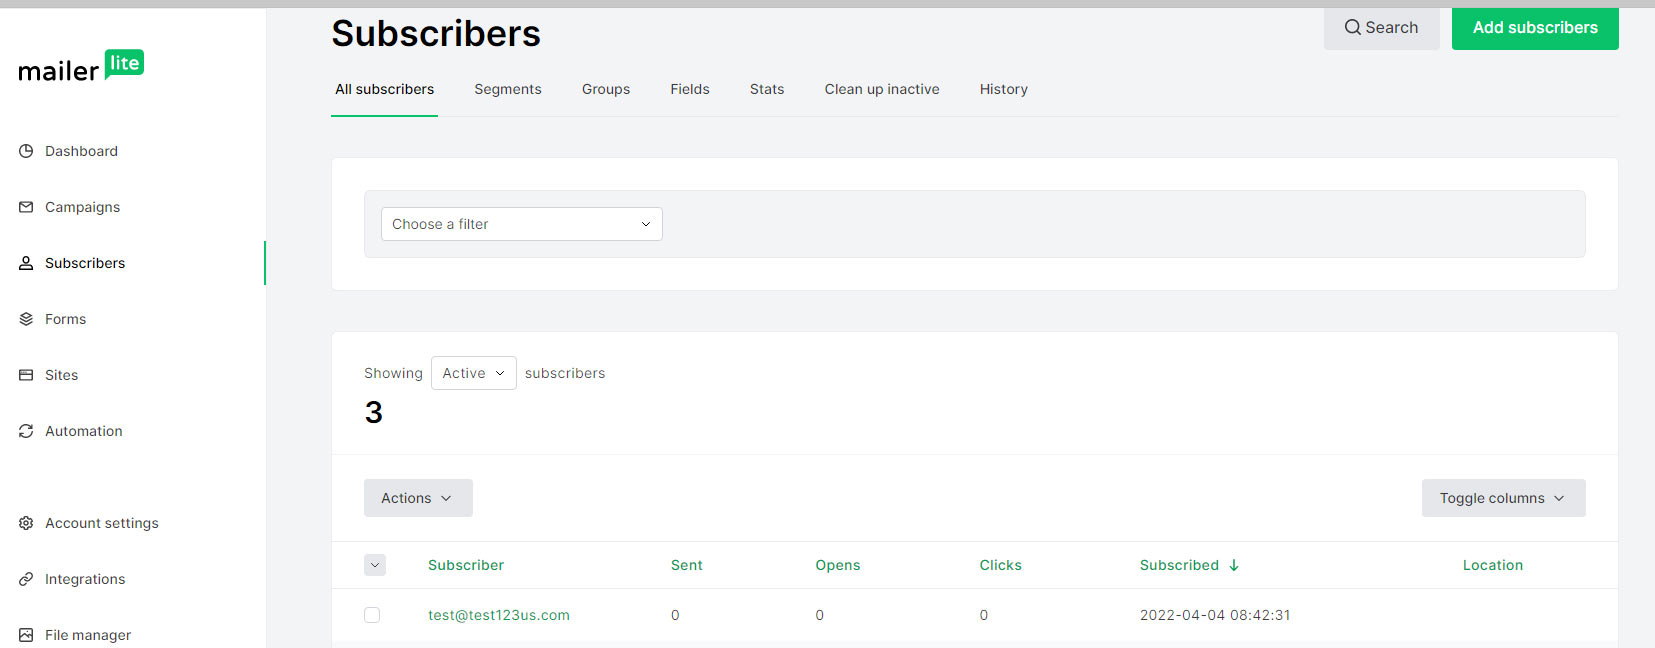
Once a shopper opts in at checkout, they’ll show up in your MailerLite Subscribers panel within seconds — ready to receive your next campaign.
MailerLite — Subscribers Panel
Power Feature
Assign Subscribers to Groups Based on What They Buy
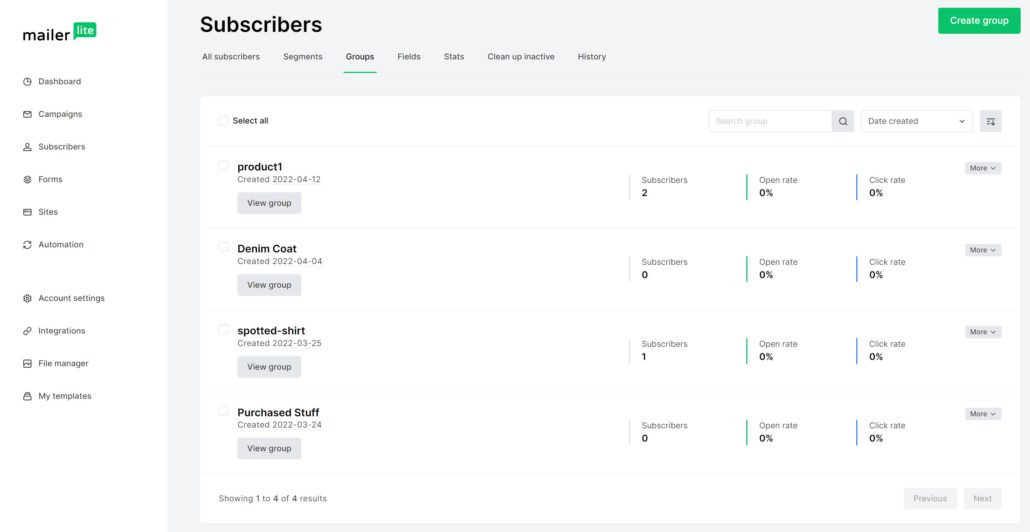
MailerLite Groups let you segment subscribers automatically based on their purchases — perfect for retargeting customers who bought specific products with tailored campaigns. Set it up once and EasyCart handles the assignment from then on.
- In MailerLite, go to Subscribers › Groups and create one or more groups for the segments you want to build
- In WordPress, open the product you want to track and expand the Basic Settings tab
- Enter the MailerLite group name into the MailerLite Groups field on the product
- Save the product — from now on, any subscriber who buys this product will be assigned to the matching group
💡 Tip: Only shoppers who opt in to the newsletter at checkout get assigned to groups. Build your group names to match real campaigns you’ll send — e.g. “Coffee Buyers” or “Course Students” — so future you knows exactly who’s in each list.
WP EasyCart — Product MailerLite Groups Field
Start Building Your Subscriber List Today
Combine WP EasyCart with MailerLite to capture more subscribers at checkout, segment customers by what they buy, and send campaigns that convert.