Concepts
How categories are used
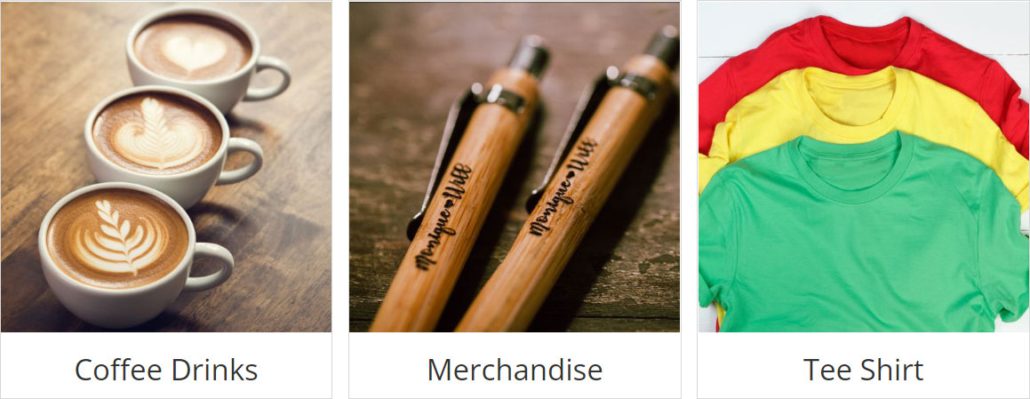
Start by creating a category and giving it a name. Featured categories appear above your store if you turn on the “show featured categories” setting in product settings. Parent categories let you organize categories into sub-categories (another common approach is the menu system, nesting children under one another for display). Priority settings let you rank categories — priority 1 shows ahead of priority 5 — so you control their order in shortcode displays.
For example: a main group called “Clothing,” then “Women’s Clothing,” then “Women’s Tops,” and so on — then display that hierarchy on menus, sidebars, and wherever you like.
Category hierarchy display
Reference
Adding & editing categories
Categories live under WP EasyCart › Products › Categories. Click “Add New,” or edit by clicking the pencil icon or the category title. Each category offers these fields:
- Is Category Active — enable or disable the category in your store.
- Is Featured Category — highlighted by shortcodes and store settings.
- Category Name — the title shown in your store.
- Priority — a whole number for default sort order; you can also drag and drop.
- Link Slug — the URL slug for SEO; lowercase, numbers, and dashes only, and must be unique.
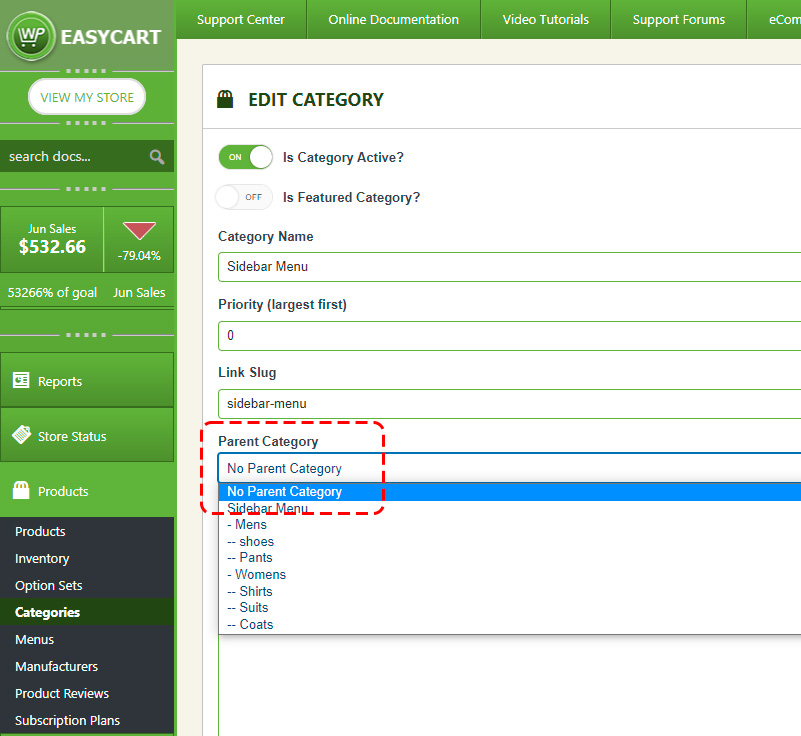
- Parent Category — organize display with parent and child categories.
- Banner Image — displayed above products and in the featured-category display.
- Short Description — used for SEO.
- Post Excerpt — used for SEO.
- Post Featured Image — often shown in search results (theme dependent) and for SEO.
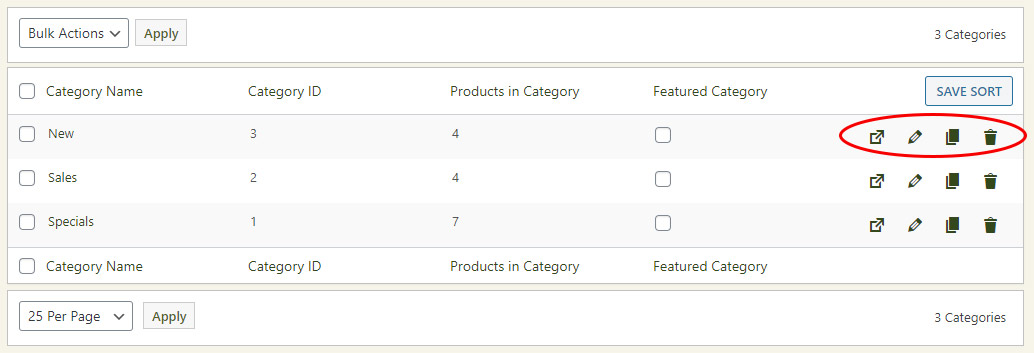
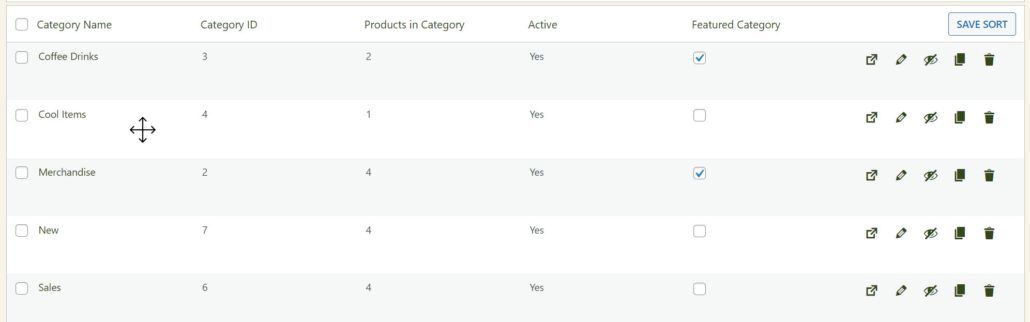
You can deactivate or activate a category anytime by clicking the eye icon in its row, or by setting it while editing the category itself.
WP EasyCart — Categories list
Workflow
Managing products in a category
From the categories list, open a category’s products by hovering its title and clicking the edit-product-list link, or the outbound-arrow icon on the right. You’ll land on “manage products for ‘[category]’,” where you can add new products or remove existing ones — use bulk actions to delete several at once.
Manage products for a category
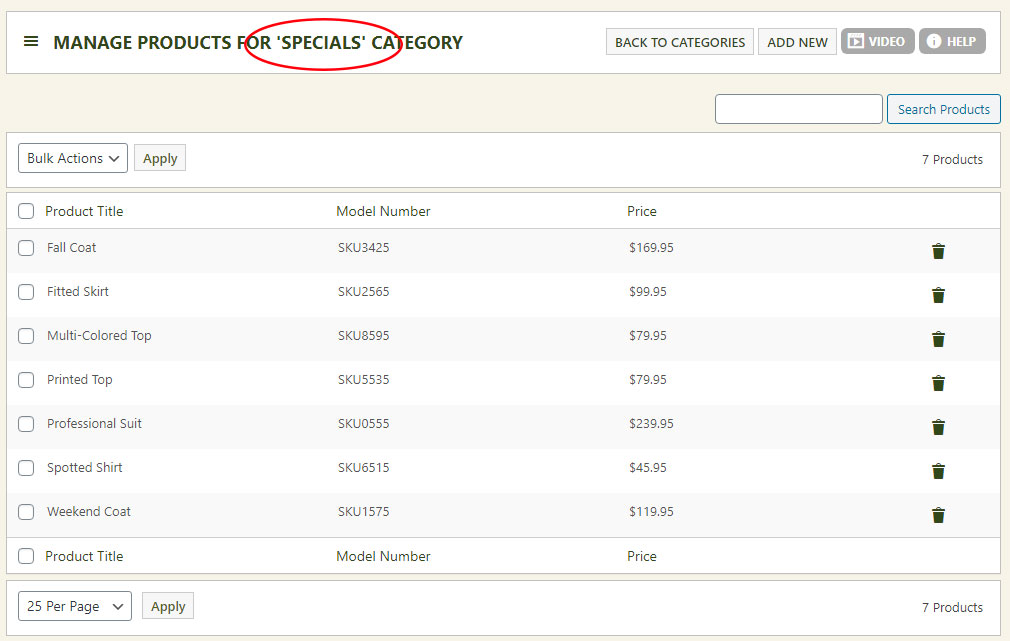
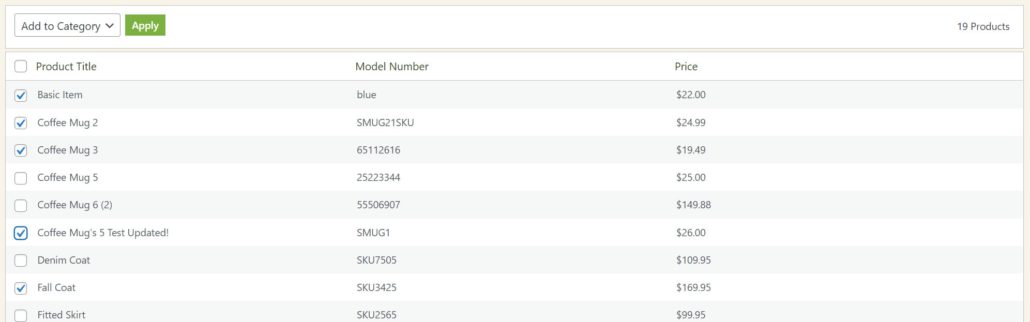
When viewing the full product list, use the checkboxes to select products, then use Bulk Actions to add them to the category in bulk.
Bulk-adding products to a category
Adding a category to a product
You can also work the other direction. Go to WP EasyCart › Products, edit a product, scroll to the categories section, and add categories to that product one at a time.
Adding categories on a product

Setting category sort order
With 500 or fewer categories, drag and drop them on the Products › Categories panel — hover a row, then click and drag it into place. Be sure to click Save Sort when you’re done. You can also set sort order by editing a category and entering a value; lower numbers appear first.
Drag-and-drop category sort order
Top-level category — no parent
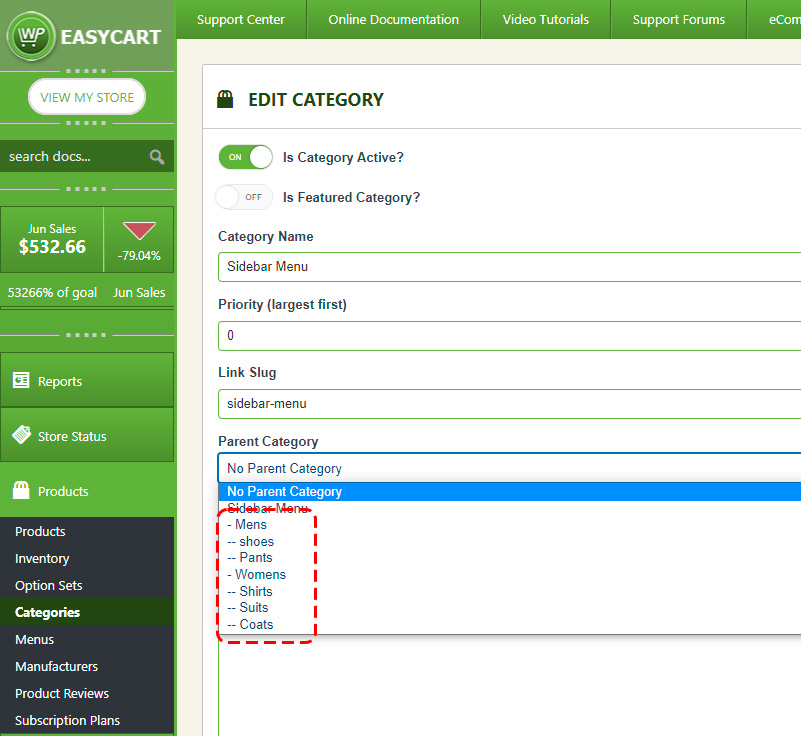
Second & third level categories
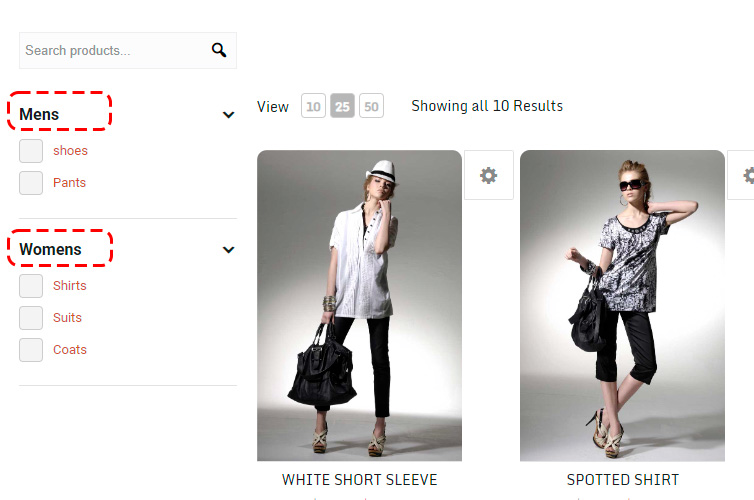
Storefront — sidebar headings
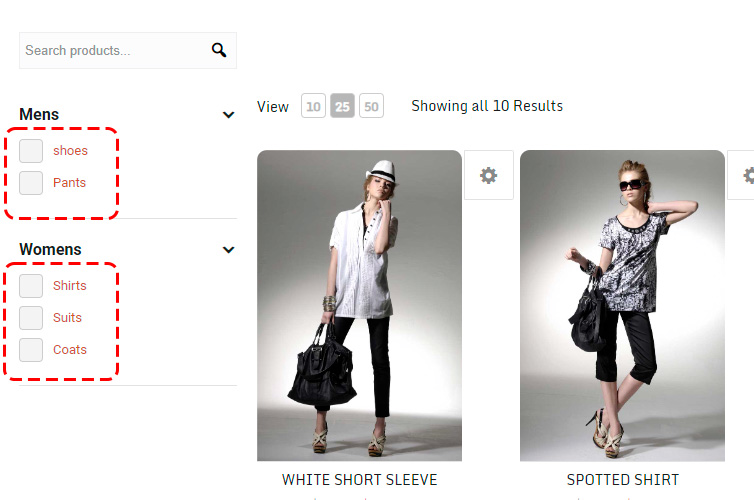
Storefront — third-level filters
Multi-select filter results
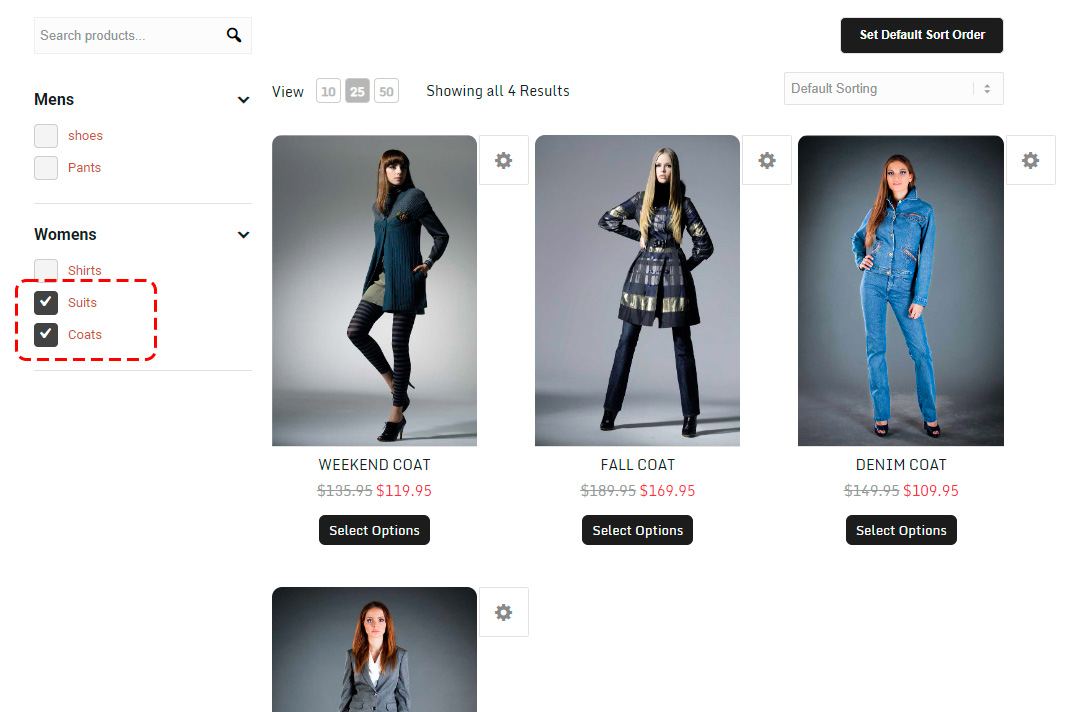
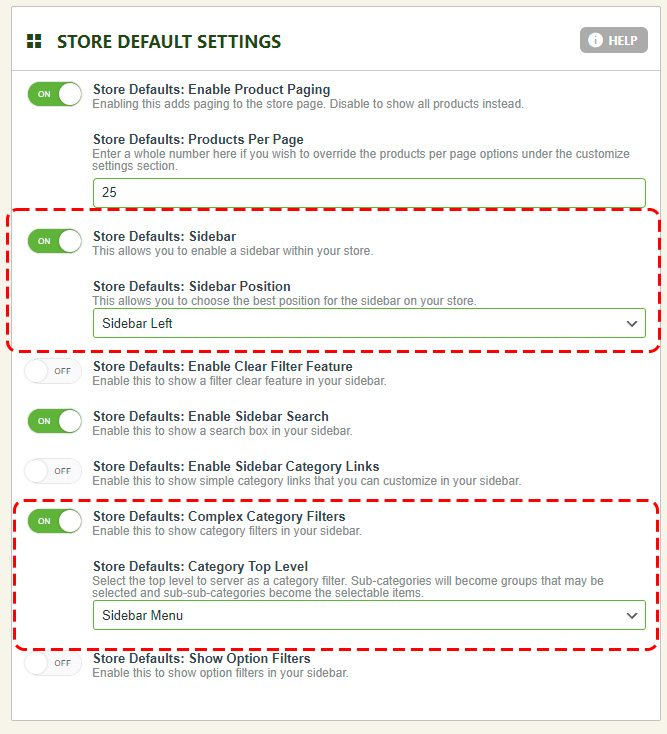
Engaging the complex category filters
Finally, tell EasyCart which category represents your filter tree. Go to WP EasyCart › Settings › Products, turn ON the store sidebar, engage the Complex Category Filters system, and choose the top-level category you created. That’s it — your filterable sidebar is live.
Complex category filter setting