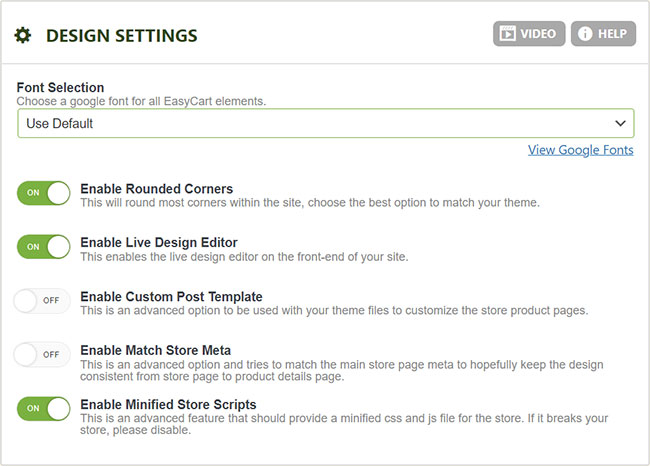
Design Settings
- Font Selection: You can choose from a wide variety of google fonts to match your sites look and need. These will apply to EasyCart pages.
- Display Rounded Corners: Displaying rounded corners on buttons and text items, or disable for a more square appearance.
- Enable Live Design Editor: If you have a theme conflict, this allows you to turn off the ‘white gear’ live design editor on the front end. By being logged into WordPress and visiting the front end of your store, many of these settings can be adjusted while you view your store pages, making for live easy editing of basic design features such as columns and colors.
- Enable Custom Post Template: Many themes offer a custom post template, which can change the layout and look of your products and product details pages. You can enable that here, but you should know if your theme supports this feature.
- Enable Match Store Meta: If you would like product details pages, which are custom posts, to look like your store page, which is a WordPress page, then you should enable this section and EasyCart will try to use the same Meta as the store.
- Enable Minified Store Scripts: This feature allows you to load a minified version of the store’s css and js files. We recommend this feature for better load times and speed scores.
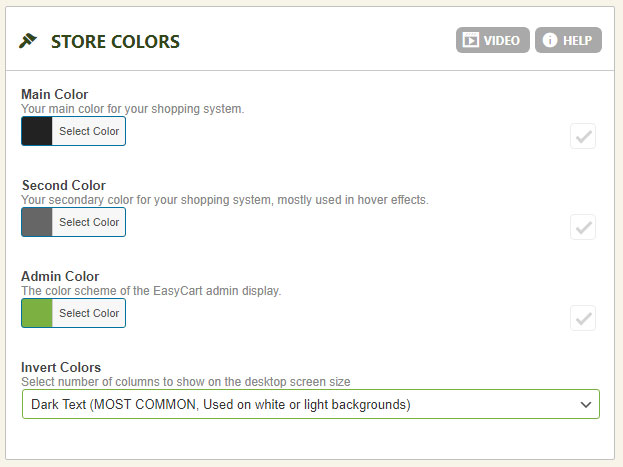
Store Colors
- Main Color: Select the main color you want EasyCart to utilize.
- Second Color: Select the secondary color you want EasyCart to utilize.
- Admin Color: Select what color you wish for the WordPress admin area. This option is also available in the top right corner when you are working within the WordPress administrative tool.
- Invert Colors: This section lets you invert most of the text color easily and quickly from dark to light. IF you have a dark background website, EasyCart will turn text white. If you have a light background website, EasyCart can turn text dark.
Custom CSS
This section lets you add custom CSS to the EasyCart system and it will retain these changes even after an upgrade of the plugin. This is the preferred place to save custom EasyCart CSS and not worry about losing all your work after an update.
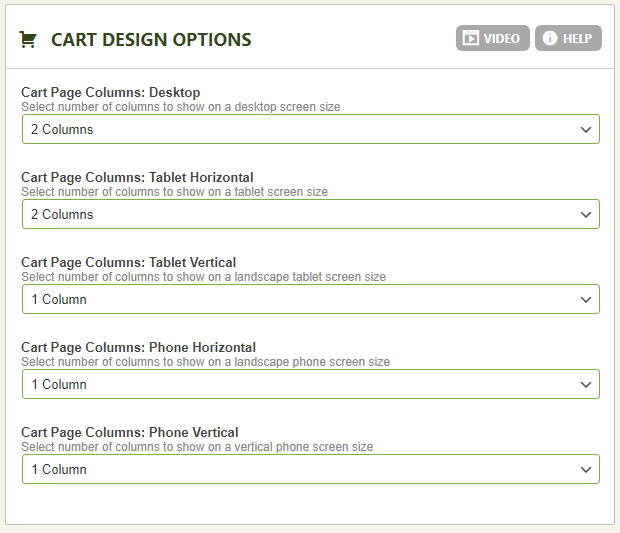
Cart Design Options
The shopping cart & checkout display can appear in a 2 column or 1 column layout. You can also decide which layout to appear based on the basic device (desktop, tablet, phone) being used. We also find that many themes come with sidebars, which decrease the content space significantly, making it nice to adjust to a 1 column layout should you need the extra spacing.
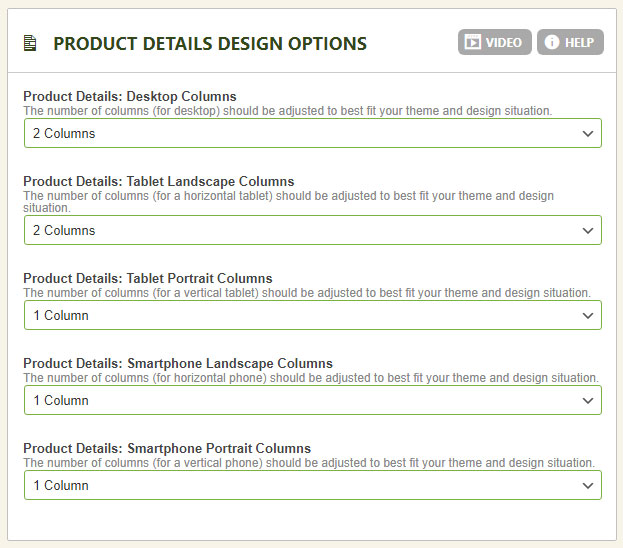
Product Details Design Options
The product details display can appear in a 2 column or 1 column layout. You can also decide which layout to appear based on the basic device (desktop, tablet, phone) being used. We also find that many themes come with sidebars, which decrease the content space significantly, making it nice to adjust to a 1 column layout should you need the extra spacing.
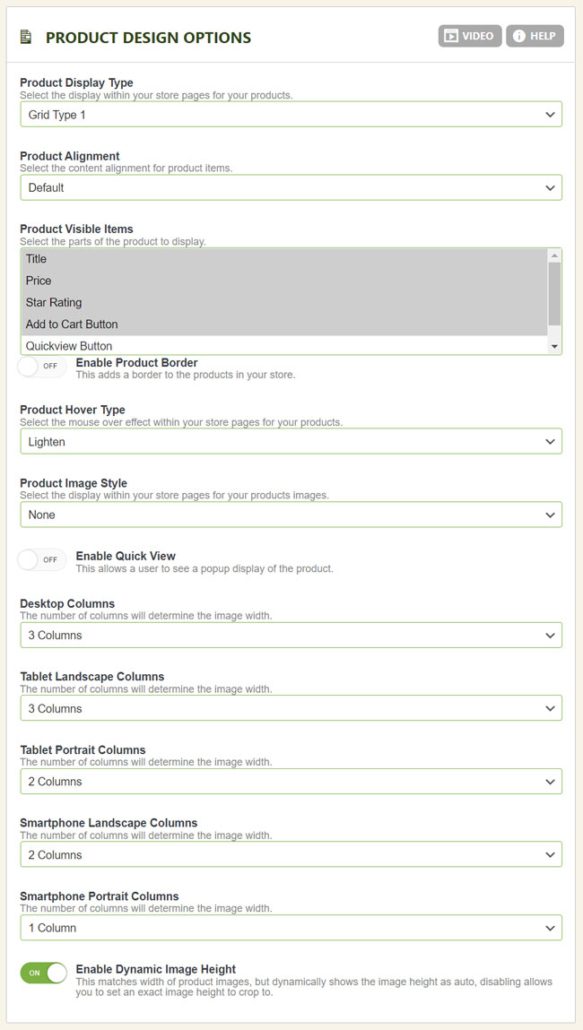
Product Design Options
This section lets you choose from several pre-built template designs used to display products in the grid format of your store.
- Product Display Type: Choose from several different display types here for your products. These are prebuilt designs, and you can tweak them using CSS in the above custom CSS section should you choose.
- Product Alignment: Choose from the default for the selected design, or force content to the left, center, or right.
- Product Visible Items: You can enable the default product list display to include or exclude any of the title, price, star rating, add to cart button, quick view button, and or short description. You should control click or command click to add/remove items from the list.
- Enable Product Border: Set the default to show/hide the product border on the product list display.
- Product Hover Type: Choose what type of hover effect occurs on the product image. Some effects require that 2 images be uploaded in order to cross fade between effects, while others require just 1 image to grow, shrink, lighten or darken.
- Product Image Style: This effect adds a border or shadow to the entire product when hovered over.
- Enable Quick View: This setting will turn on a quick view button that appears on the image when hovering. The quick view will open a small dialog box on the product without the user having to go to the entire product details page.
- Columns: Each major device can have different column and image heights based on your product needs. Set between 1 and 5 column layouts depending on your themes content area provided and the product look you are going for.
- Use Dynamic Image Heights (Recommended in most situations): Image heights will adjust based on each product image uploaded. Some images may be taller or shorter than others, and the product title and pricing will adjust automatically. The only drawback is that the products may have a staggered look to them if image heights are vastly different… so we give you the option to enable or disable this feature.
- Image Height (pixels): If you have dynamic image heights turned off, then the image section will set it’s height based on your setting here. This makes for a consistent even grid look to your products when used.
Special Tip: We recommend users always pre-process images and their heights/widths to a uniform and consistent size. Whether you choose a nice clear image size of 1000×1000 pixels or 800×900 pixels, we recommend you stay consistent and crop all images to the same proportions and sizes using a photo editor. This will provide a consistent product grid and a consistent product details image display effect.
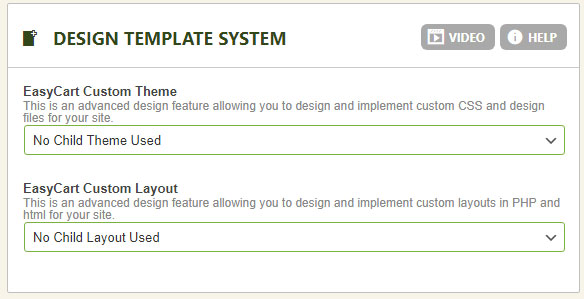
Advanced Design Template System
For the most flexibility in design, web designers may need to customize layout files to their liking. While you can always customize around the EasyCart shortcode for the store, cart, and account pages, sometimes you need maximum flexibility in design by using a child system similar to that found in WordPress.
What is a EasyCart Child Theme and Child Layout?
This is a great option to help developers keep their clients?? stores up to date and functional at a single click of the button. With this great new feature we know developers still need the ability to override certain files, images, css, etc?¦ In order to make the store customized for their specific project (a great example of this is customizing the email receipt).
This is where a child layout becomes an extremely important feature! Child themes and layouts allow you to specify a child theme or layout folder in which you can place individual files to override a specific functionality of the store, while simultaneously allowing your theme and layout to keep the latest features for the rest of store.
How Does the Store Find a Layout or Theme File?
Every file loaded from the design folder of your shopping cart system goes through the following check to find the correct file:
- Does the file exists in the plugins folder at wp-easycart-data/design/layout/{your selected child layout}/file.php?
- If not, use the latest file in the wp-easycart/design/layout/base-reponsive-v3/file.php
This applies exactly the same to the theme folder and can be useful for specifying a custom image not found file.
How to Set Up and Specify a Child Design
Setting up and specifying a child theme or child layout is quick and easy! First, add a new folder in the wp-easycart-data/design/layout/ folder (something like my-custom-layout) and repeat this for the wp-easycart-data/design/theme/ folder. Next, go to the WordPress Admin -> WP EasyCart -> Settings -> Design area and select your newly added custom theme and/or layout folders in the drop down boxes.
That is it! Your store will now look first in your custom child theme folder and next to the latest files in the main plugin. To override any files you should first copy the file you are editing to your custom theme folder and make your corrections there (custom changes should be in the wp-easycart-data folder).