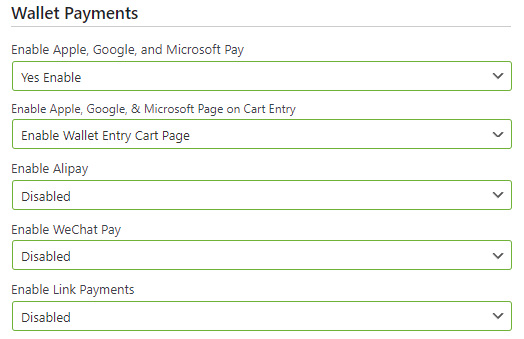
WP EasyCart — Stripe Wallet Payment Settings
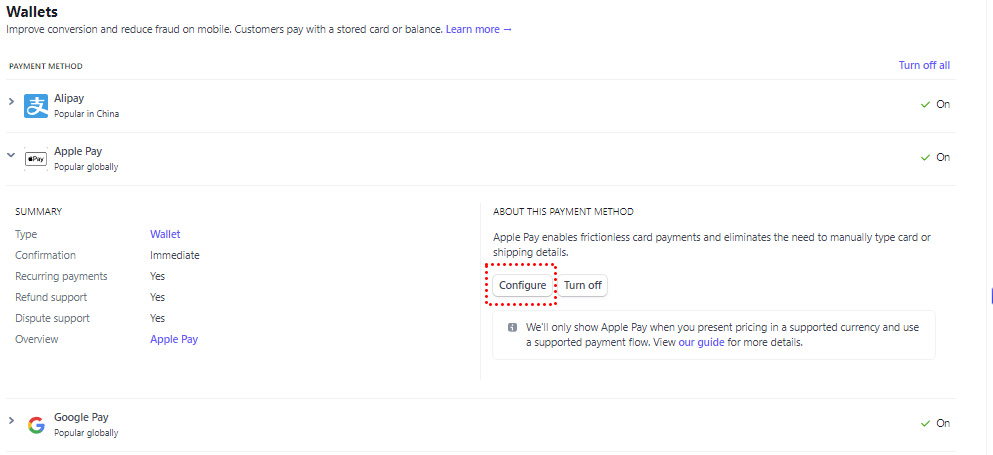
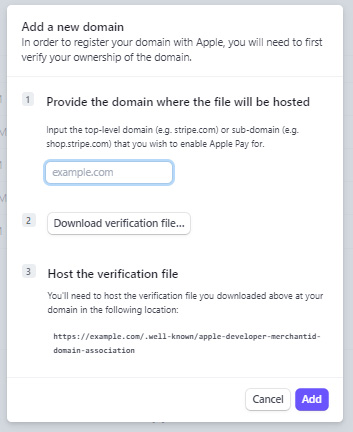
Stripe — Configure Apple Pay Verification
Stripe — Apple Pay Verification Steps
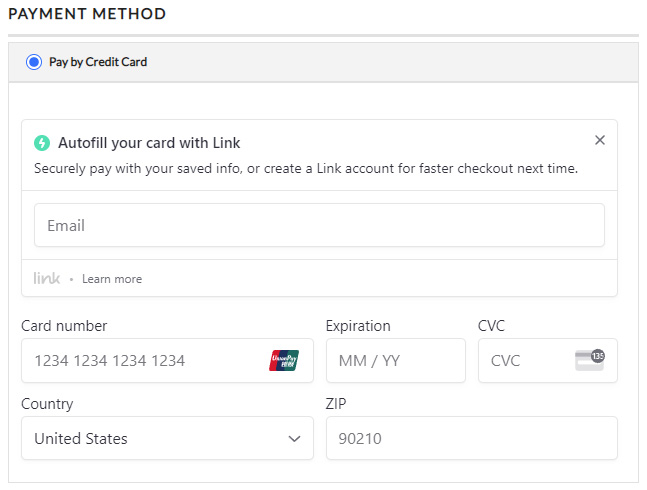
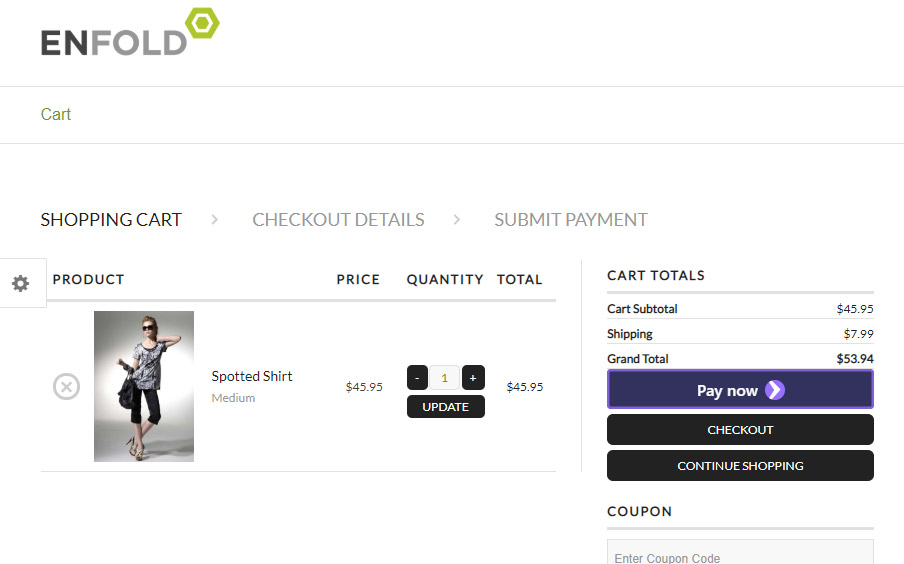
WP EasyCart — Wallet Pay Button at Checkout
WP EasyCart — Stripe Wallet Payment Settings
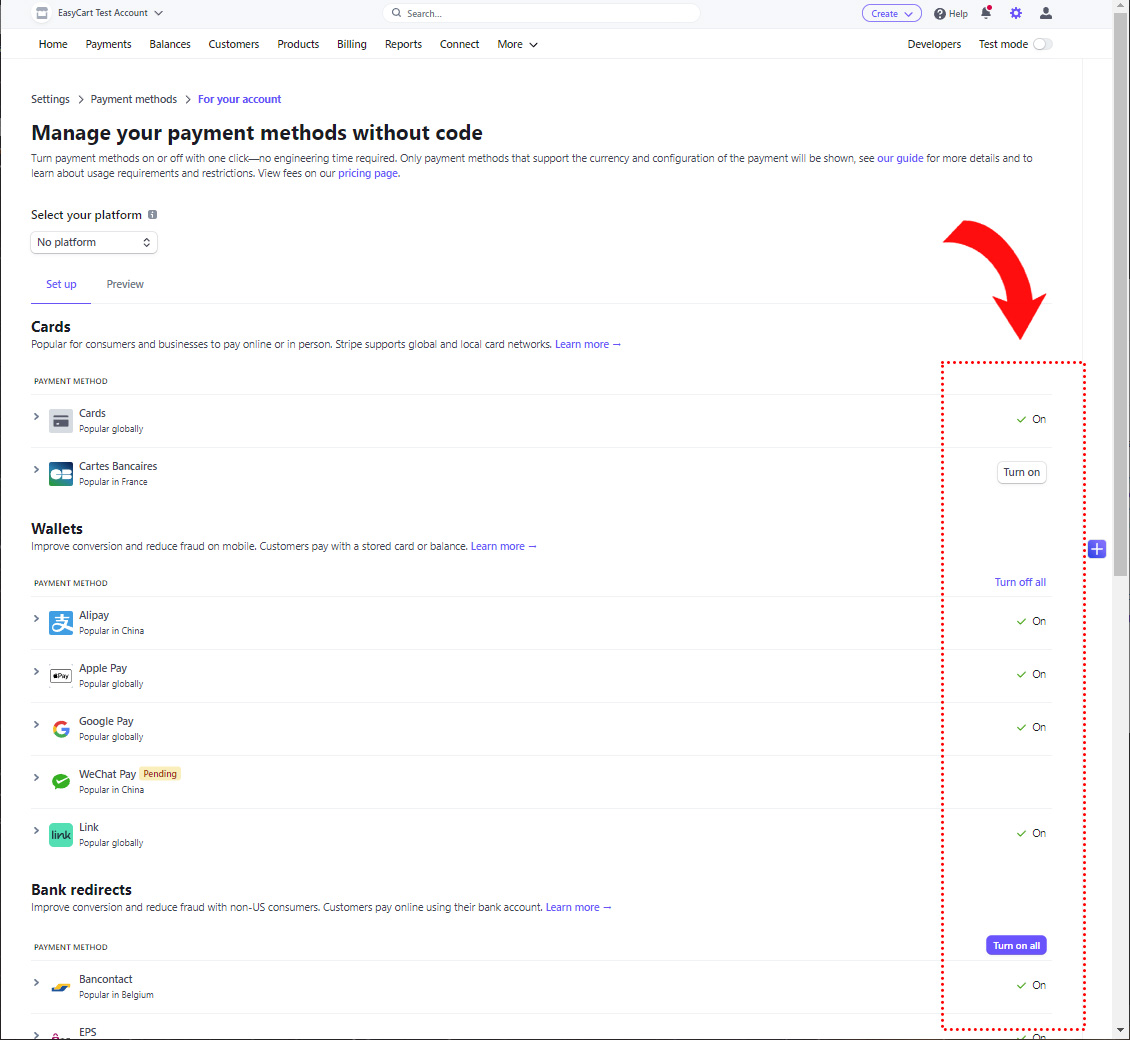
Stripe — Enable Payment Methods
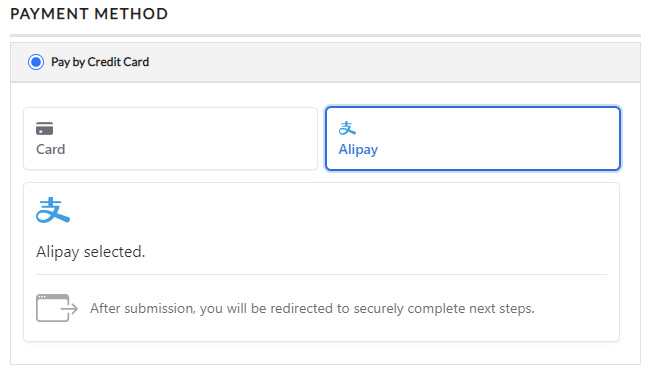
WP EasyCart — AliPay at Checkout
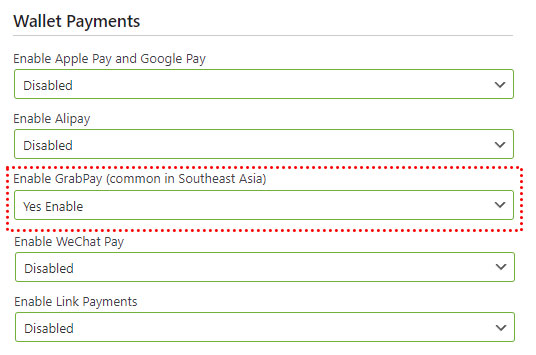
WP EasyCart — GrabPay Setting
Stripe — Enable Payment Methods
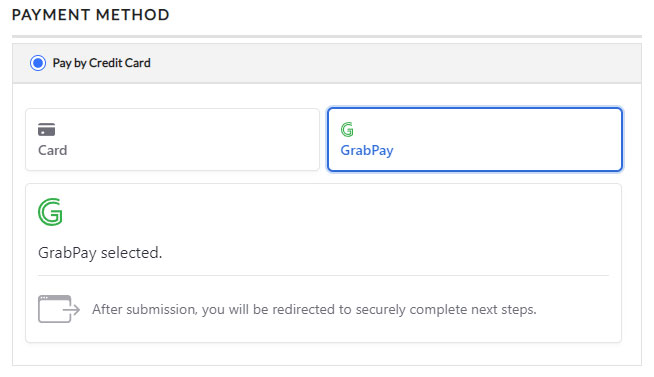
WP EasyCart — GrabPay at Checkout
WP EasyCart — Stripe Wallet Payment Settings
Stripe — Enable Payment Methods
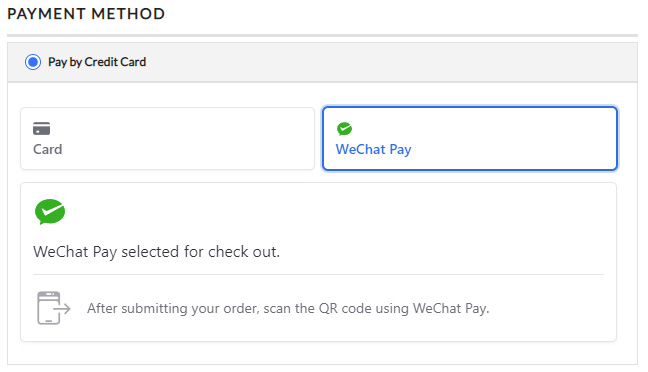
WP EasyCart — WeChat Pay at Checkout
WP EasyCart — Stripe Wallet Payment Settings
Stripe — Enable Payment Methods
WP EasyCart — Link Payments at Checkout