Popular Themes
Molla Theme
Molla’s ThemeForest demos were built to show off WooCommerce — but with a little setup, you can pair its design with WP EasyCart instead. Here’s the import path, the shortcode swaps, and the quirks worth knowing.
See the Demo
This guide isn’t an end-all solution — it’s the path we used to get Molla working smoothly with WP EasyCart.
Take a look at our own build: wpeasycartdemos.com/molla1.
Step 1 — Import the Molla Demo Data
Start with Molla’s own import process, then hand the data over to EasyCart.
Import, Then Switch to EasyCart
Follow Molla’s own instructions to import their demo data. The theme installs running on WooCommerce — to switch it to WP EasyCart, go to WP EasyCart › Settings › Cart Importer and run the WooCommerce Importer to bring that demo data straight into EasyCart.
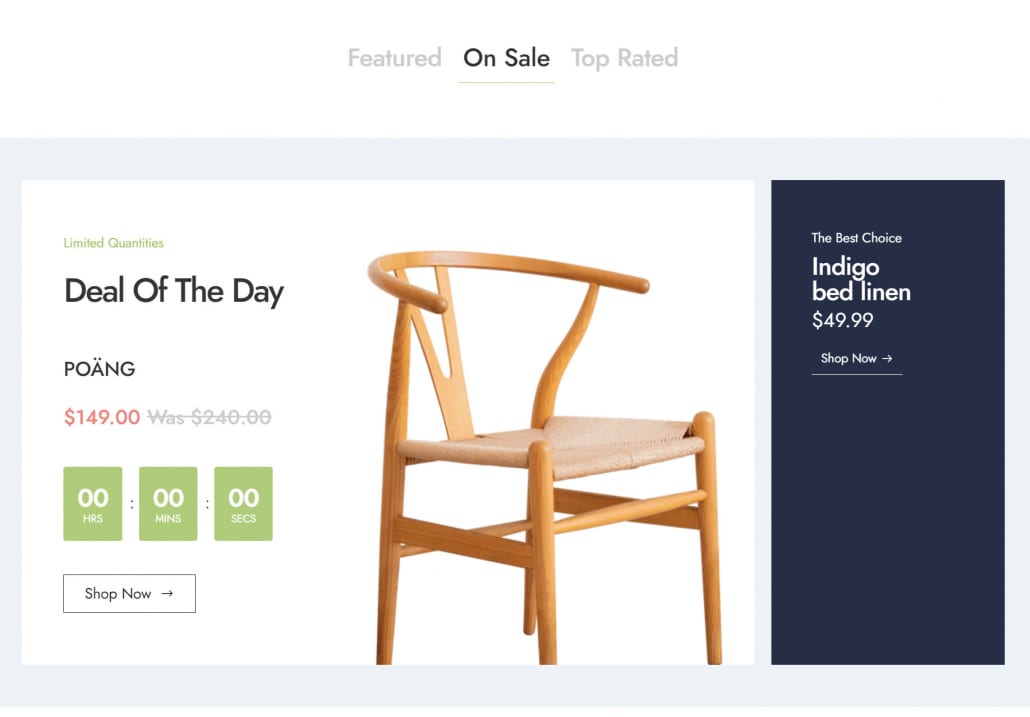
With data imported, start swapping shortcodes. Edit each page — beginning with the home page — and look at sections like “Featured,” “On Sale,” and “Top Rated.” Each can be replaced with the matching category or product.
Molla — Home Page After Import
Step 2 — Build Category & Store Pages with Elementor
EasyCart’s Elementor widgets give you full custom store and category landing pages.
Drop in the WP EasyCart Widgets
Create a new page and open the Elementor sidebar — look for ‘WP EasyCart’. Our store and product grid widgets come loaded with options: sidebar filtering, product sliders, and column or list layouts among them.
Elementor — WP EasyCart Widget Choices

Elementor Layouts in Action
Two example layouts — both built entirely with WP EasyCart’s Elementor widgets.
Molla — Product Grid with Slideout Filter
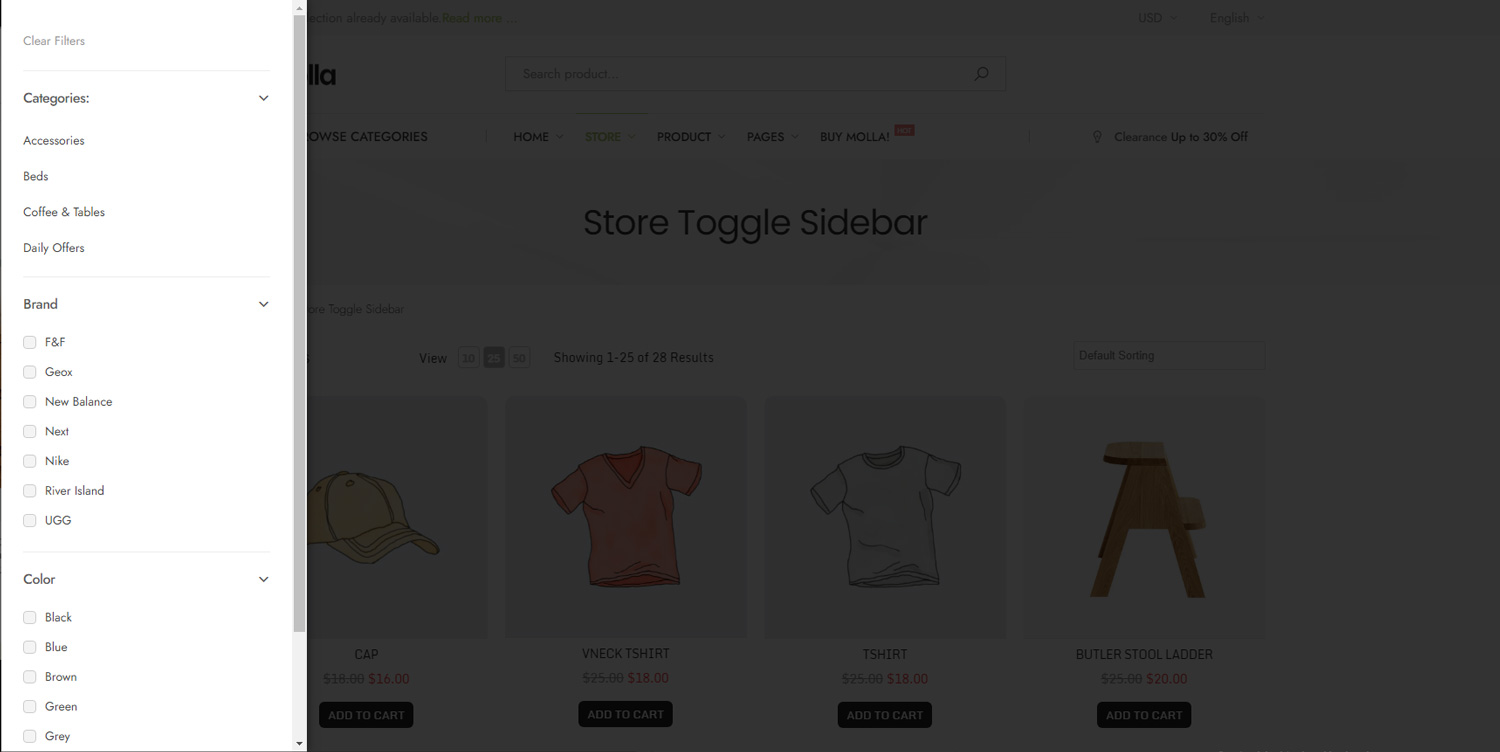
Molla — Always-Open Sidebar with Filters

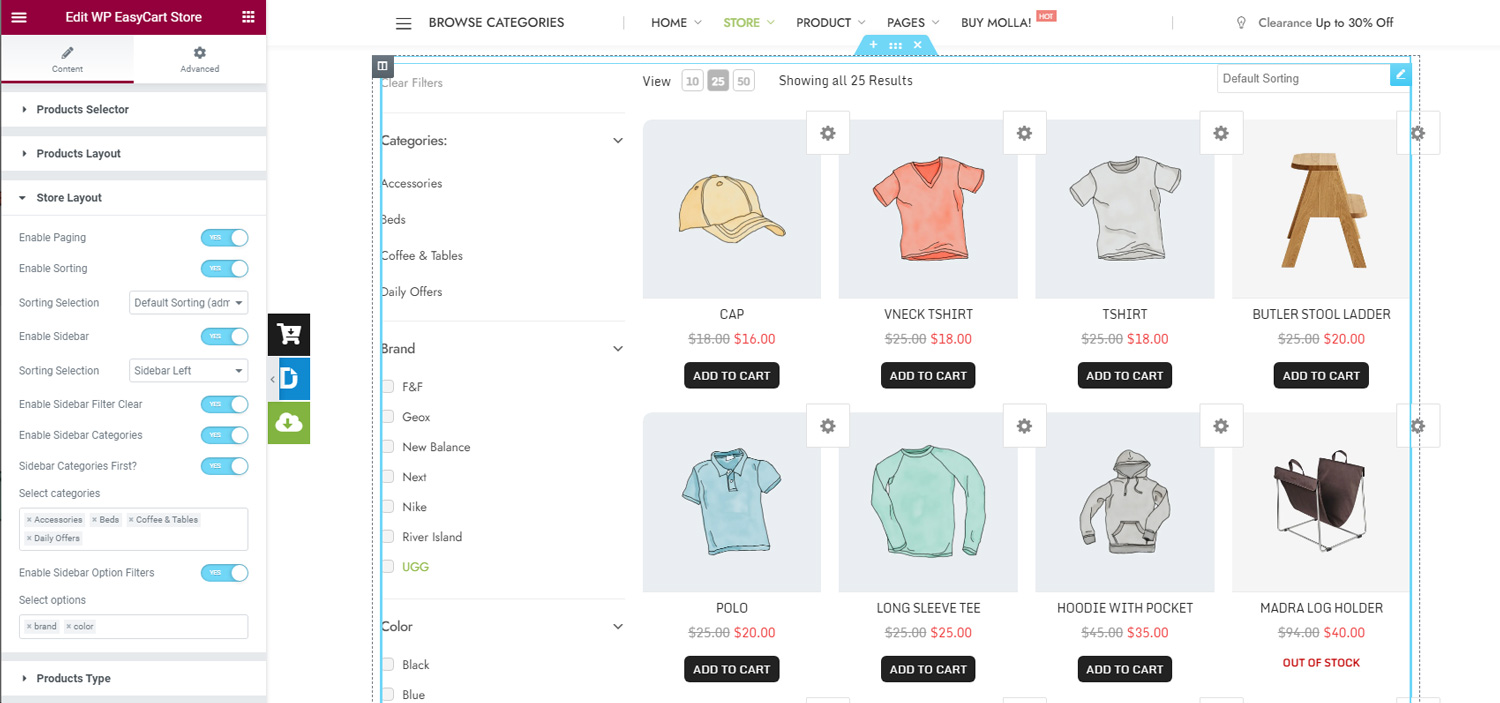
Configuring Elementor Elements
Every widget opens into a full set of options for shaping your product display exactly how you want it.
Elementor — Configuring a WP EasyCart Element
Ready to Pair Molla with EasyCart?
Get the design you want from Molla and the eCommerce power of WP EasyCart underneath. Our support team can help with the setup.
