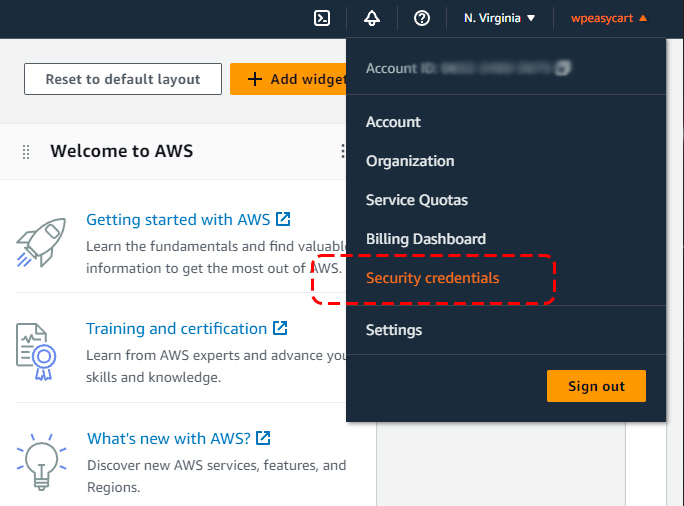
AWS — Security Credentials Menu
AWS — Users Panel

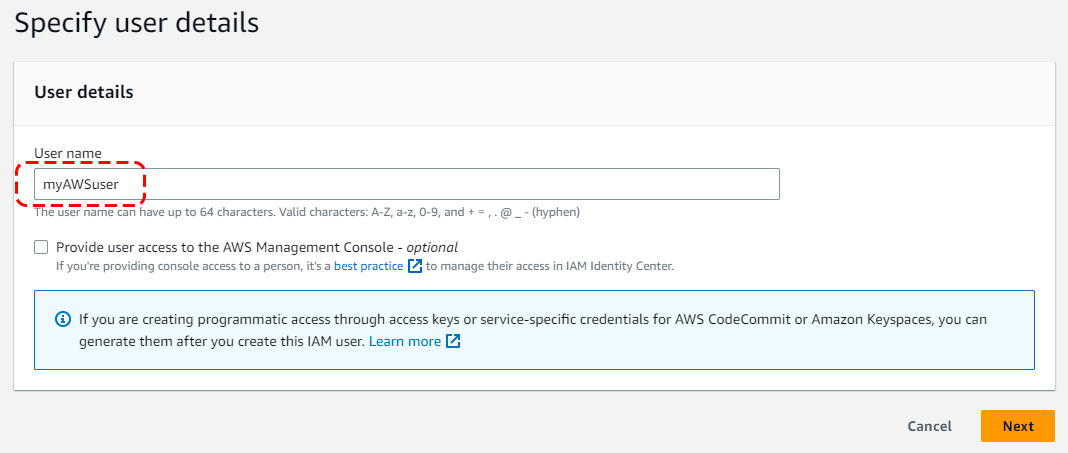
AWS — Add User Button
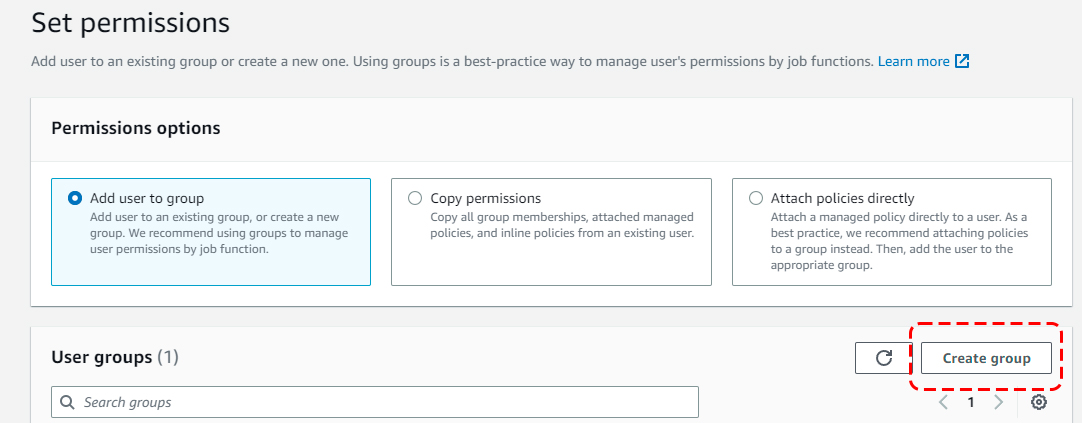
AWS — Create Group
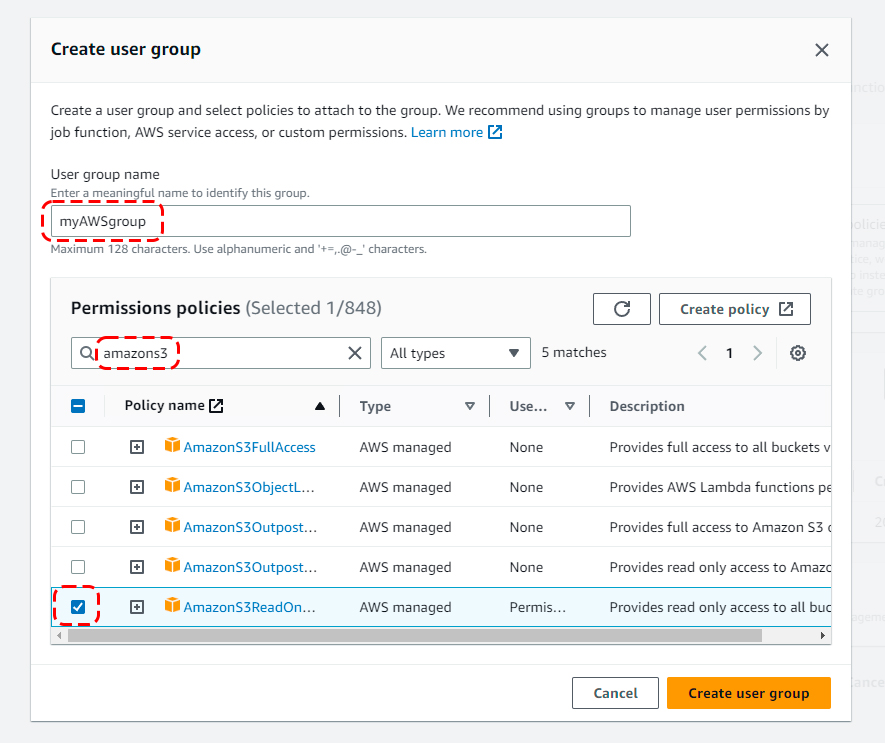
AWS — Group Permissions
AWS — Review the New Group

AWS — User Security Credentials Tab

AWS — Create Access Key

AWS — Third-Party Service Key Type

AWS — Access Key ID & Secret

AWS S3 — Create Bucket

AWS S3 — Name Your Bucket

WP EasyCart — Amazon S3 Settings

AWS S3 — Upload Files

WP EasyCart — Download Options with Amazon S3
