WordPress — Templates › Theme Builder Menu

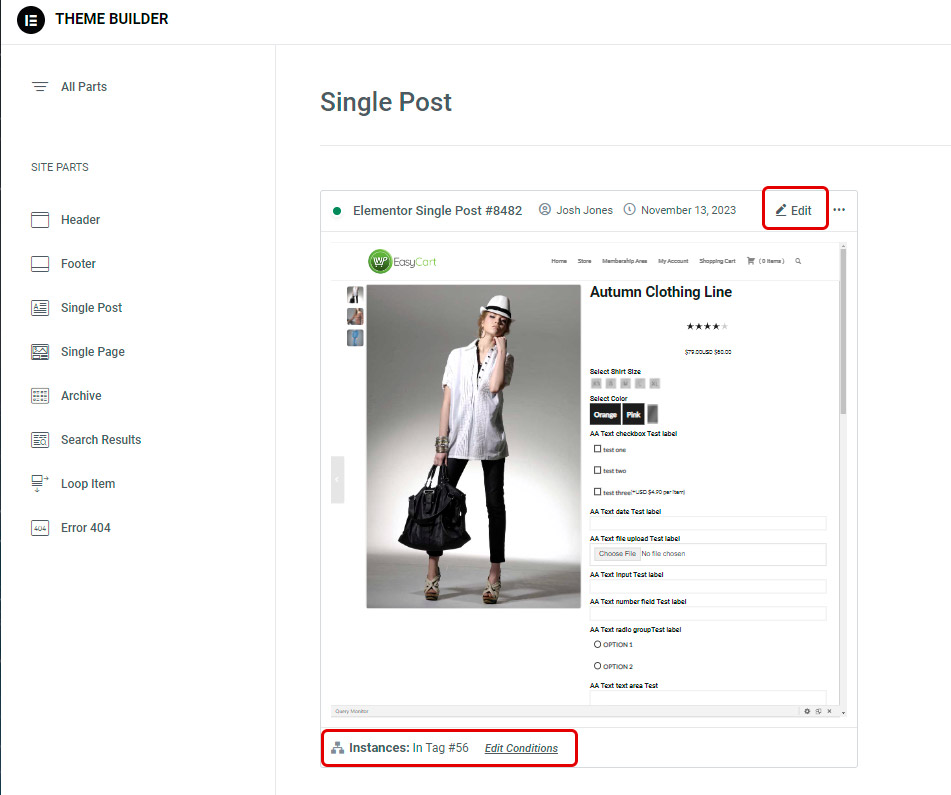
Elementor — Single Post Template Selection

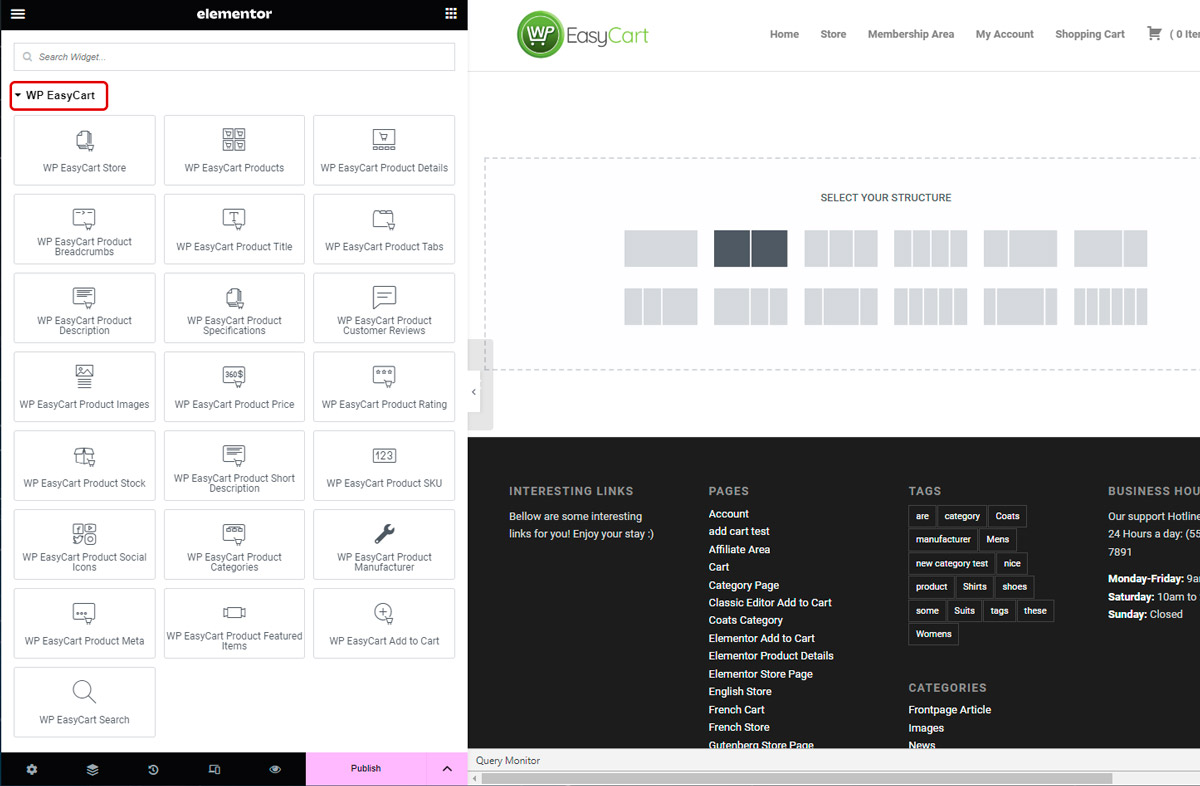
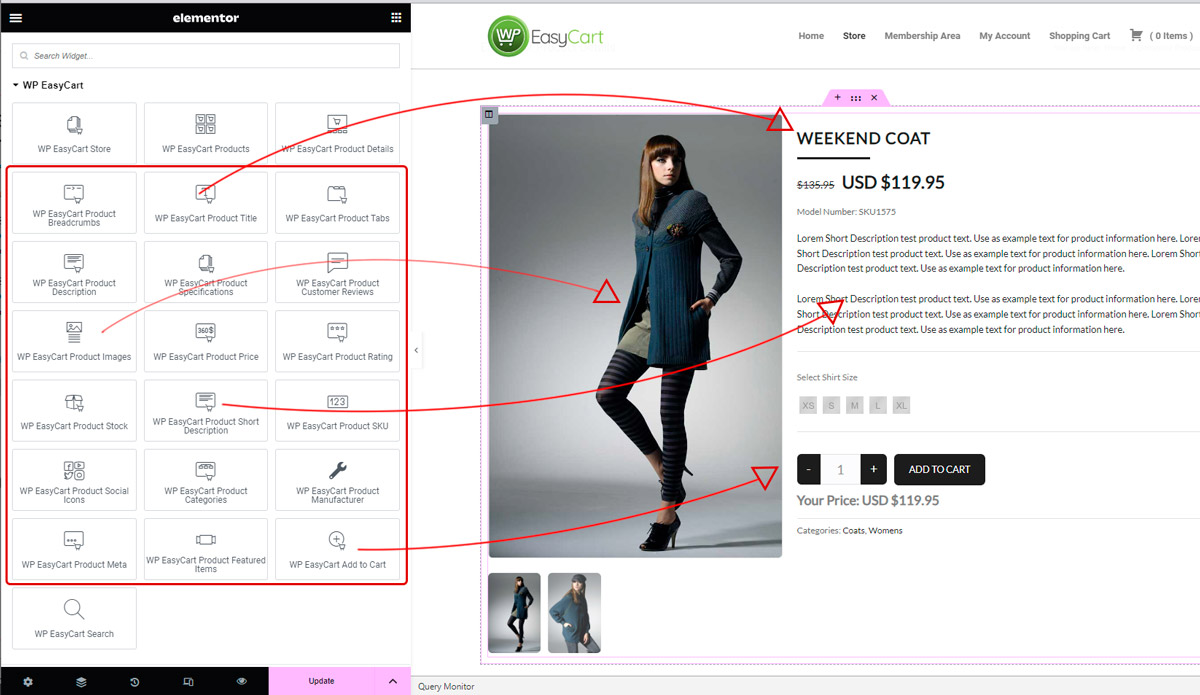
Elementor — WP EasyCart Modules & Layout Choice
Elementor — Use In Template Option
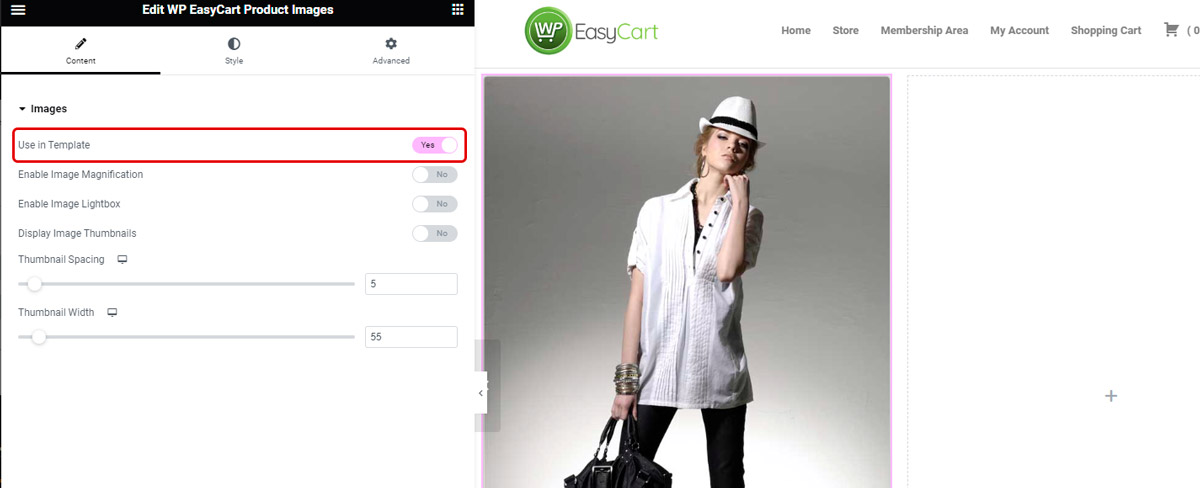
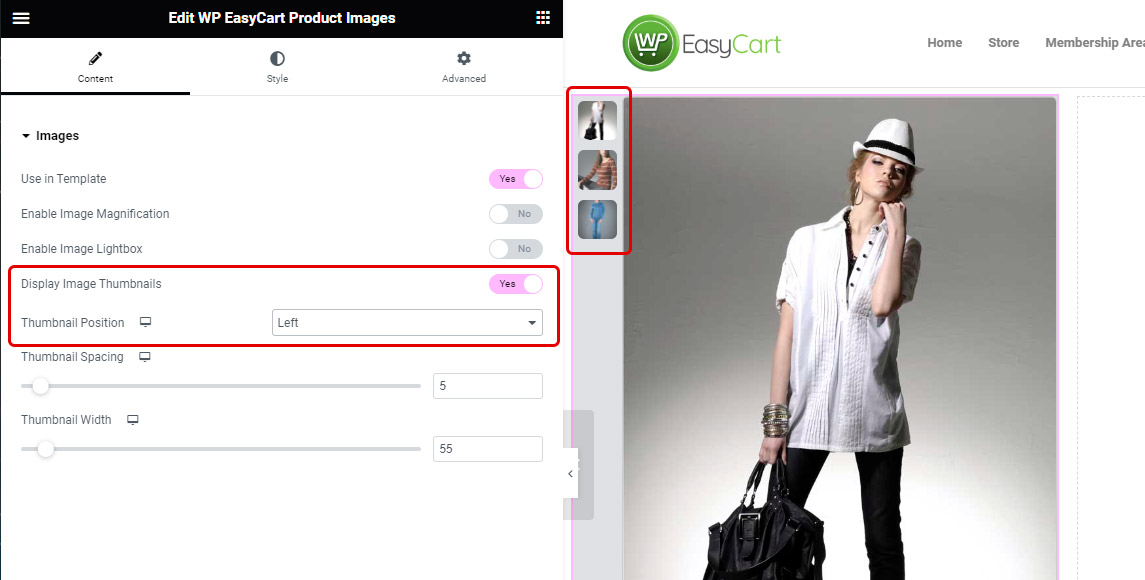
Elementor — Module Content Settings
Elementor — Module Style Settings

Elementor — Building the Template with Modules
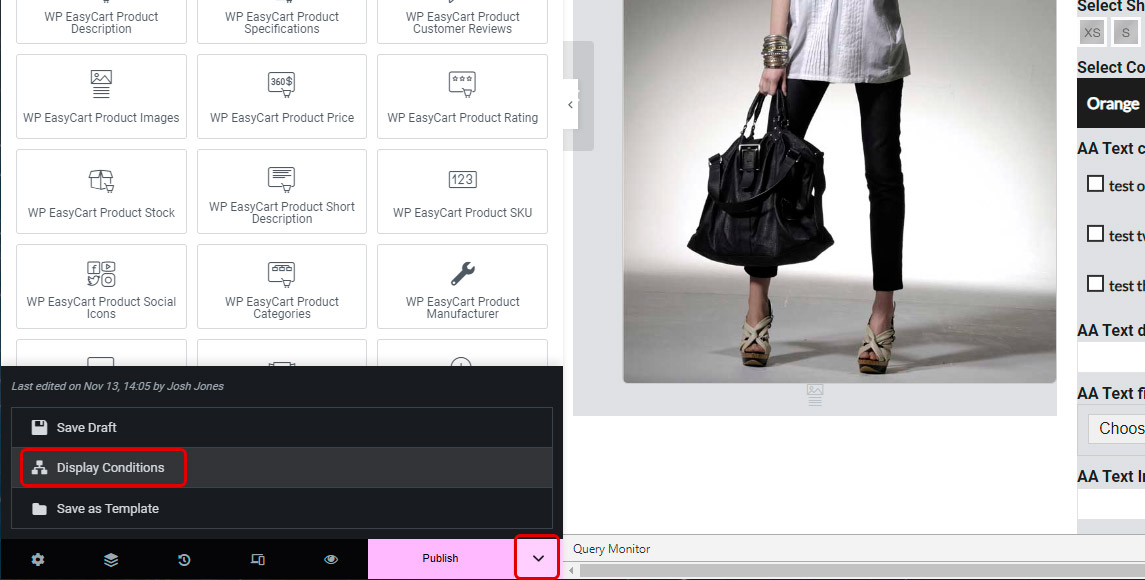
Elementor — Display Conditions Menu
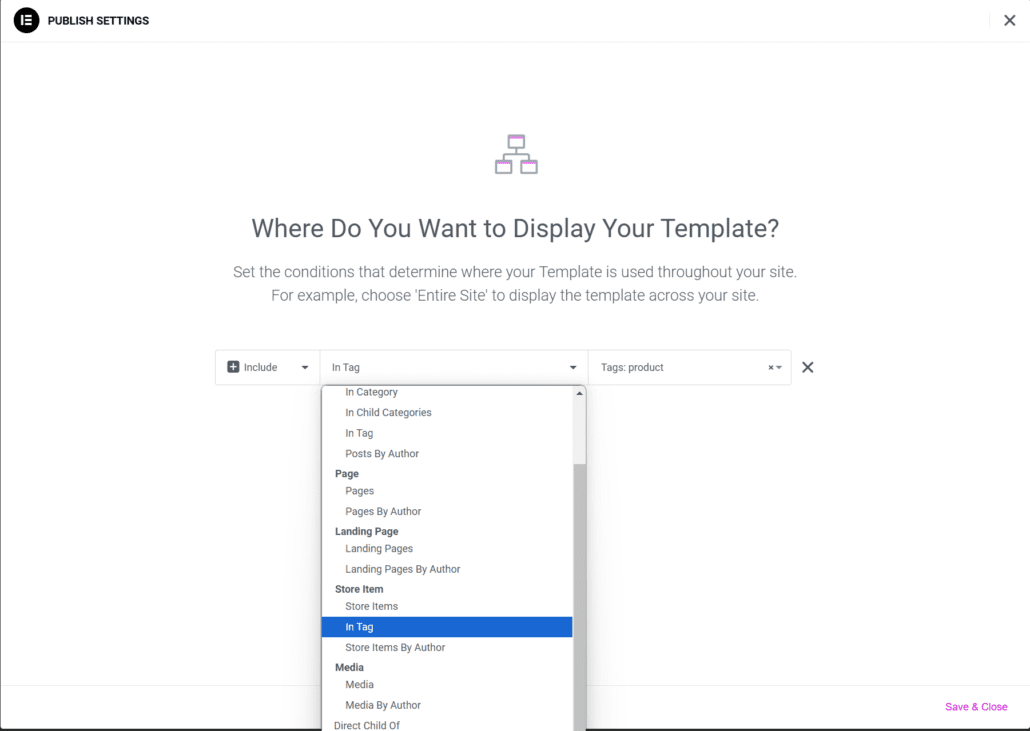
Elementor — In Tag Condition for All Products
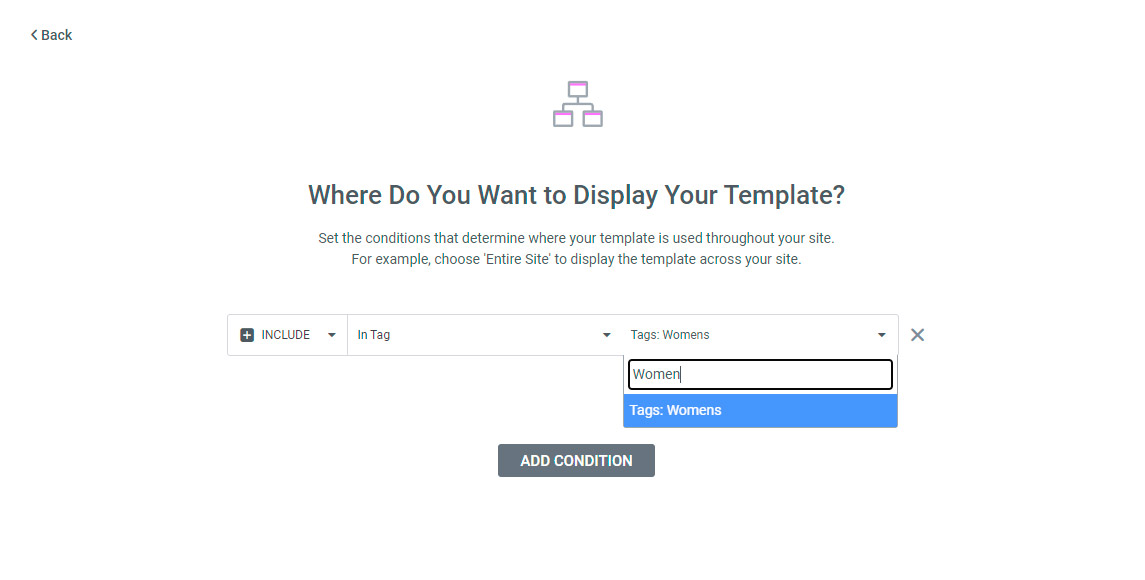
Elementor — In Tag Condition for a Single Category
Elementor — Edit Template & Conditions Later