
Installation Guide › Steps to install
Moving EasyCart to a New Website
Move a WP EasyCart store to a new host or domain: files, database, address, license, payment notifications and keys. 9 parts.
Quick links
Where to find it:WP Admin › EasyCart › Diagnostics
Before you start
Choose how to move
A whole-site move, a fresh start with your products, or the license alone.
Three ways to move
Pick the one that matches your move
Move the whole site. New host or new domain, same store. Copy the files and the whole database, and everything comes with it: theme, plugins, products, orders, customers and settings. This guide covers it step by step.
Start fresh and bring the products. Install a clean WP EasyCart on the new site and move the catalogue with a product export and import. Settings, orders and customers stay behind. See the last section.
Move only the license. Same store, you just need the key on another site. See Transferring Your License.
Copying single EasyCart tables and folders into another WordPress site is possible but easy to get wrong. We do not recommend it.
Move the whole site
Seven steps
Files, database and address, then the license, payments, keys and a final check.
Step 1. Copy the files
All of WordPress, including wp-easycart-data
Copy the whole WordPress folder to the new host with SFTP, your host’s file manager or its migration tool.
Make sure wp-content/plugins/wp-easycart-data comes too. It holds product images uploaded to EasyCart, your download files, customer uploads and any template copies you customised. Without it, downloads fail and some images go missing.
Also copy wp-content/uploads for the media library.
Step 2. Copy the whole database
Every table, not only the WordPress ones
Export the entire database from phpMyAdmin or your host’s control panel, and import it on the new host.
Check the WP EasyCart tables are in the export. Their names start with ec_, such as ec_product and ec_order, and they do not use your WordPress table prefix. Migration and backup plugins that copy only tables starting with your prefix, such as wp_, leave them behind, and the store arrives empty.
⚠️ Careful: Check the backup includes every table before you rely on it. One-click backup plugins that filter by the WordPress prefix miss the EasyCart tables.
Step 3. Point WordPress at the new address
wp-config.php, the site address, then a search and replace
Database connection. Edit wp-config.php on the new host with the new database name, user, password and host.
Site address. If the domain changes, set siteurl and home in the wp_options table (your prefix may differ) to the new address.
Old addresses in content. Pages, menus and some EasyCart data keep full addresses. Product images added by address, rather than from the media library, are stored with the old domain, for example. Run a search and replace from the old address to the new one across all tables, including the ec_ tables, with a tool that handles serialised data, such as WP-CLI’s search-replace.
Step 4. Move the license
Only if the address changed
The license is tied to the site address. On a new domain, open EasyCart › Registration on the new site and enter your key under Already have a license key?. It moves from the old site automatically.
Same domain on a new host? Nothing to do: the address has not changed, so the license has not either.
Details and the other method are in Transferring Your License.

💡 Note: Registering a staging copy on another address moves the license off your live store. Only register the site you sell from.
Step 5. Reconnect payment notifications
Gateways tell your store about refunds and late payments at its address
Stripe, Square and PayPal send refunds, disputes and payments that finish later to an address on your site: your site address followed by ?wpeasycarthook= and the gateway. A new domain means a new address, and the gateway does not know it yet.
Stripe. Open Settings › Payment, press Manage on Stripe and copy the Webhook address under Notifications from Stripe. In Stripe, add it under Developers, Webhooks, and paste the new Signing secret back into the same drawer.
PayPal. Open PayPal’s settings and use Register again (or Set up notifications) under Notifications.
Square. With Square sync on, the Square card shows a Webhooks line. After a test order it should say Last received. If nothing arrives, contact support.
Then place a small real order, check it reaches Orders, and refund it. For a step by step walkthrough, see How to Take Your First Payment.
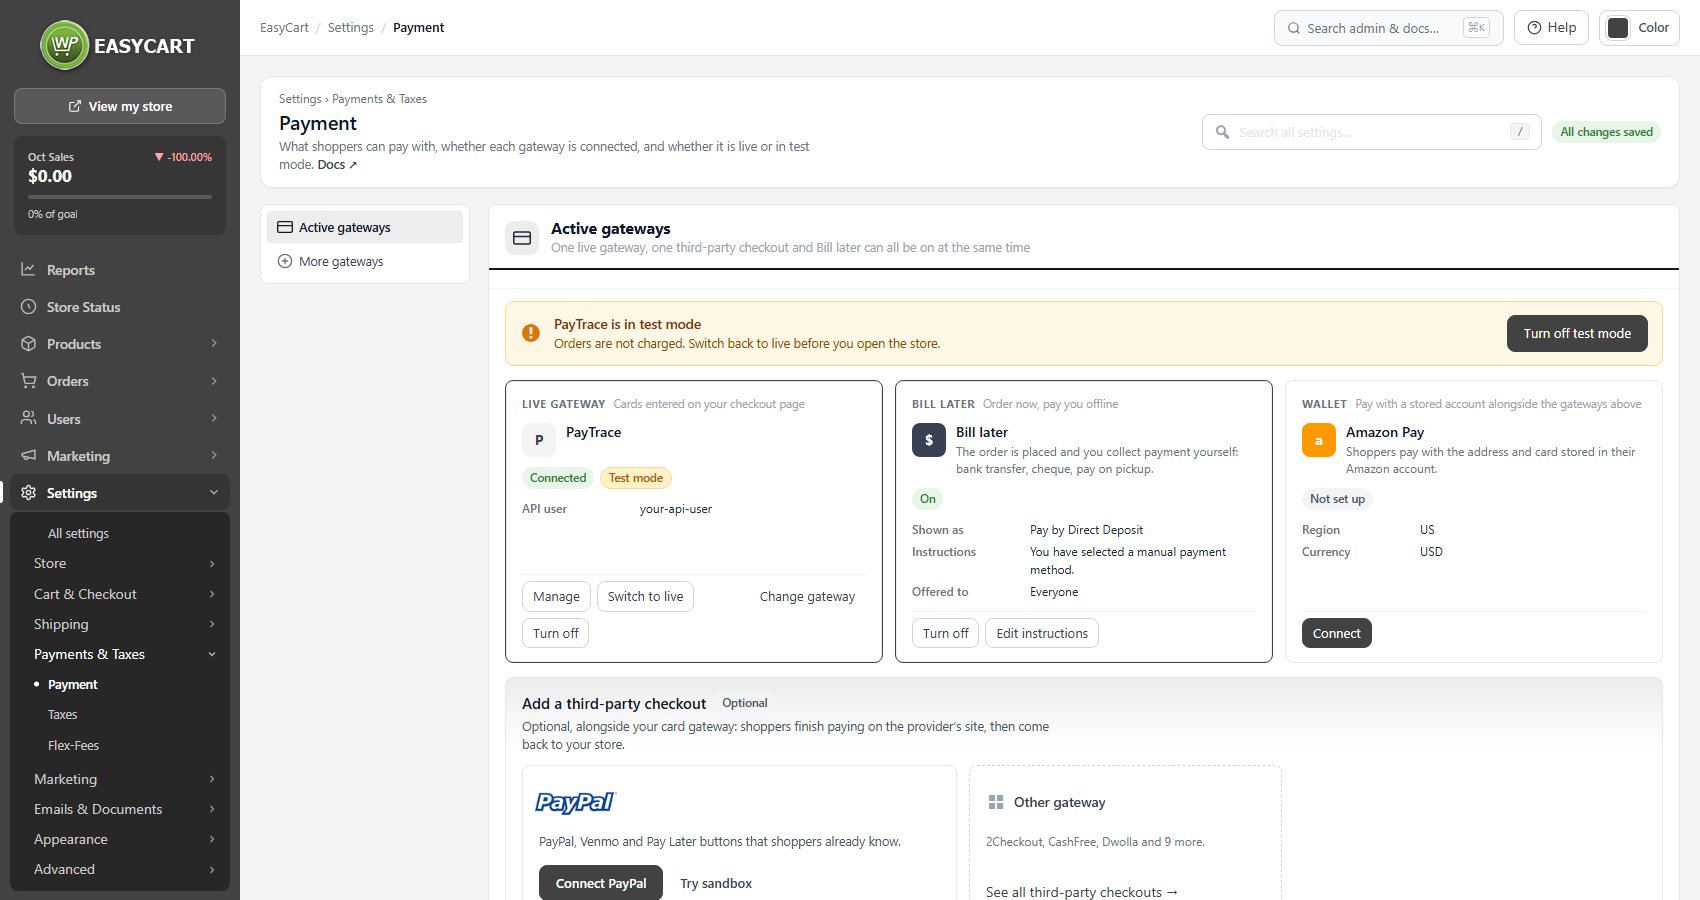
💡 Note: Every gateway card and its settings are covered in Settings › Payments & Taxes › Payment.
Step 6. Renew keys tied to the domain
reCAPTCHA and Turnstile
Bot checks are registered per domain, so the old keys fail on a new one.
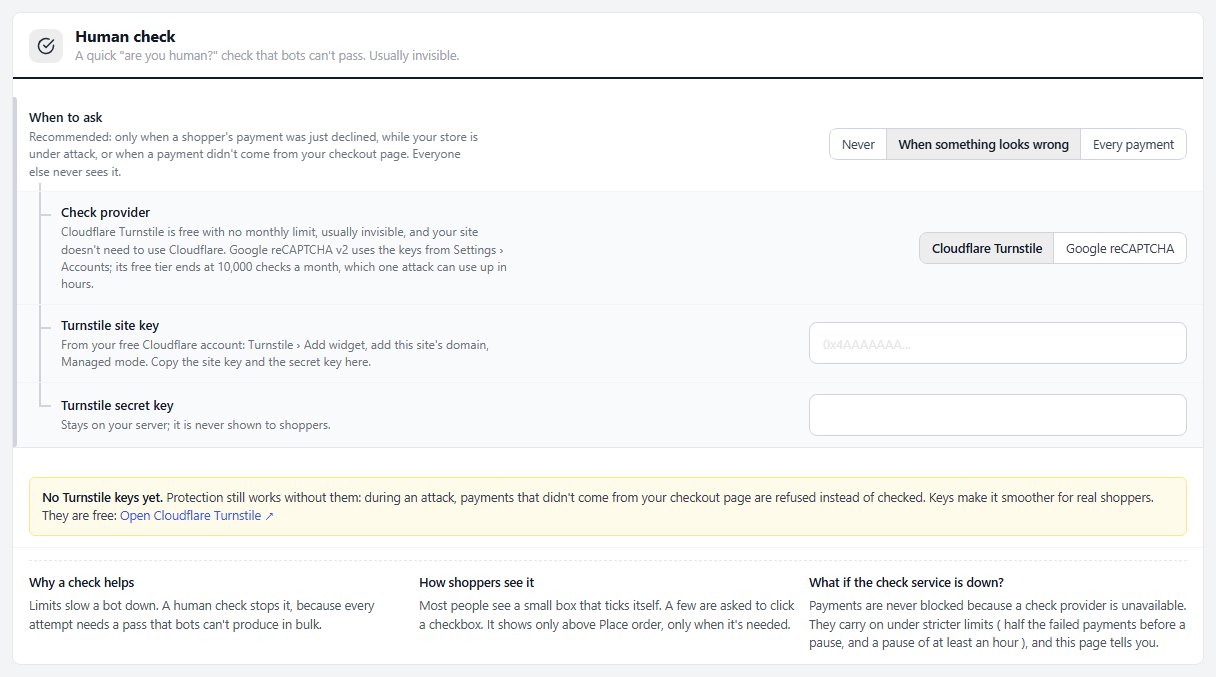
Google reCAPTCHA v2: Settings › Accounts › Spam protection. The screen says it: one key pair per site URL. Add the new domain in your Google reCAPTCHA console, or create new keys, and paste the Site key and Secret key.
Cloudflare Turnstile: Settings › Checkout protection, under Human check. Add the new domain to your Turnstile widget, or create one, and paste the Turnstile site key and Turnstile secret key.
Do this before you open the store. Broken keys can block real shoppers at login or checkout.
Step 7. Run Diagnostics and clear caches
Pages, permalinks, private files
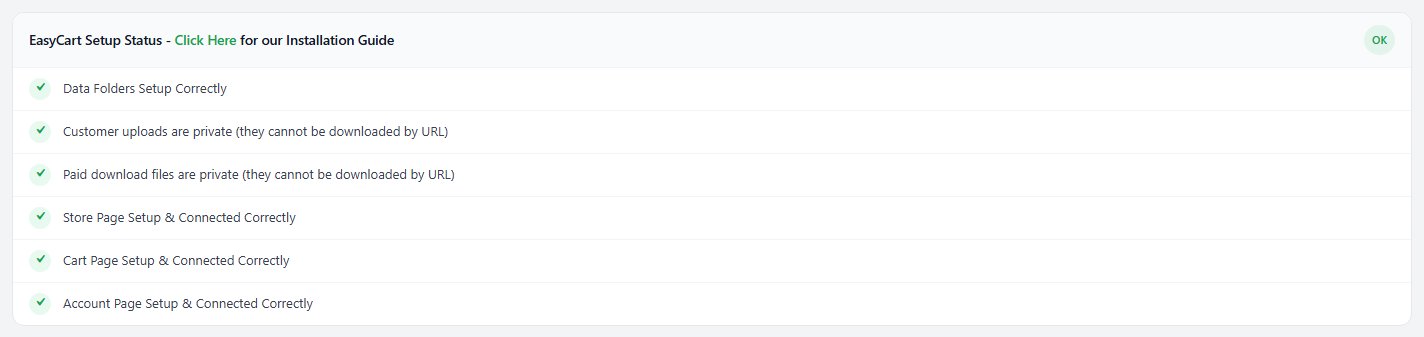
Open EasyCart › Diagnostics on the new site and fix anything it lists. After a move, look hardest at:
EasyCart Setup Status: data folders, the store, cart and account pages, and that customer uploads and download files are still private. A new server may ignore the protection files the old one honoured, and on nginx the card prints the rule to add.
Miscellaneous: if store links give page not found, use reset permalinks or rebuild permalinks.
Server Settings Status: a new host can have different PHP limits and extensions.
Clear every cache: your caching plugin, the host’s cache and any CDN. Then browse the store logged out and place a test order. See EasyCart Diagnostics for reading the results.
💡 Note: Caching rules for cart and checkout pages are in Caching and WP EasyCart: What to Exclude and Why.
Another way
Starting fresh
A clean install with your products imported.
Starting fresh instead
A clean install and a product import
On the new site, install WP EasyCart (and PRO, with your license) and run the setup, as in Installing the Plugin.
On the old site, open Products, press Export and choose Export all products. On the new site, press Import and load the file. The how-to How to Import Products from a CSV covers the columns.
Only products move this way. Set up payment, shipping, tax and email again on the new site, and check product images after the import.
Keep going
Related panels
Every check to run on the new site.
Moving and checking the license.
Gateways, notifications and test mode.
Checkout protection
Turnstile and reCAPTCHA keys at checkout.
Spam protection keys for login and registration.
Product export and import.
Ready to run your store on WP EasyCart?
Everything in this guide works with the free plugin. PRO and Premium add subscriptions, memberships, wholesale pricing and more. Try every PRO feature free for 14 days.



