What’s newCard-testing protection now guards every store, Free included. See checkout

Installation Guide › Steps to Install

Installing the EasyCart Plugin

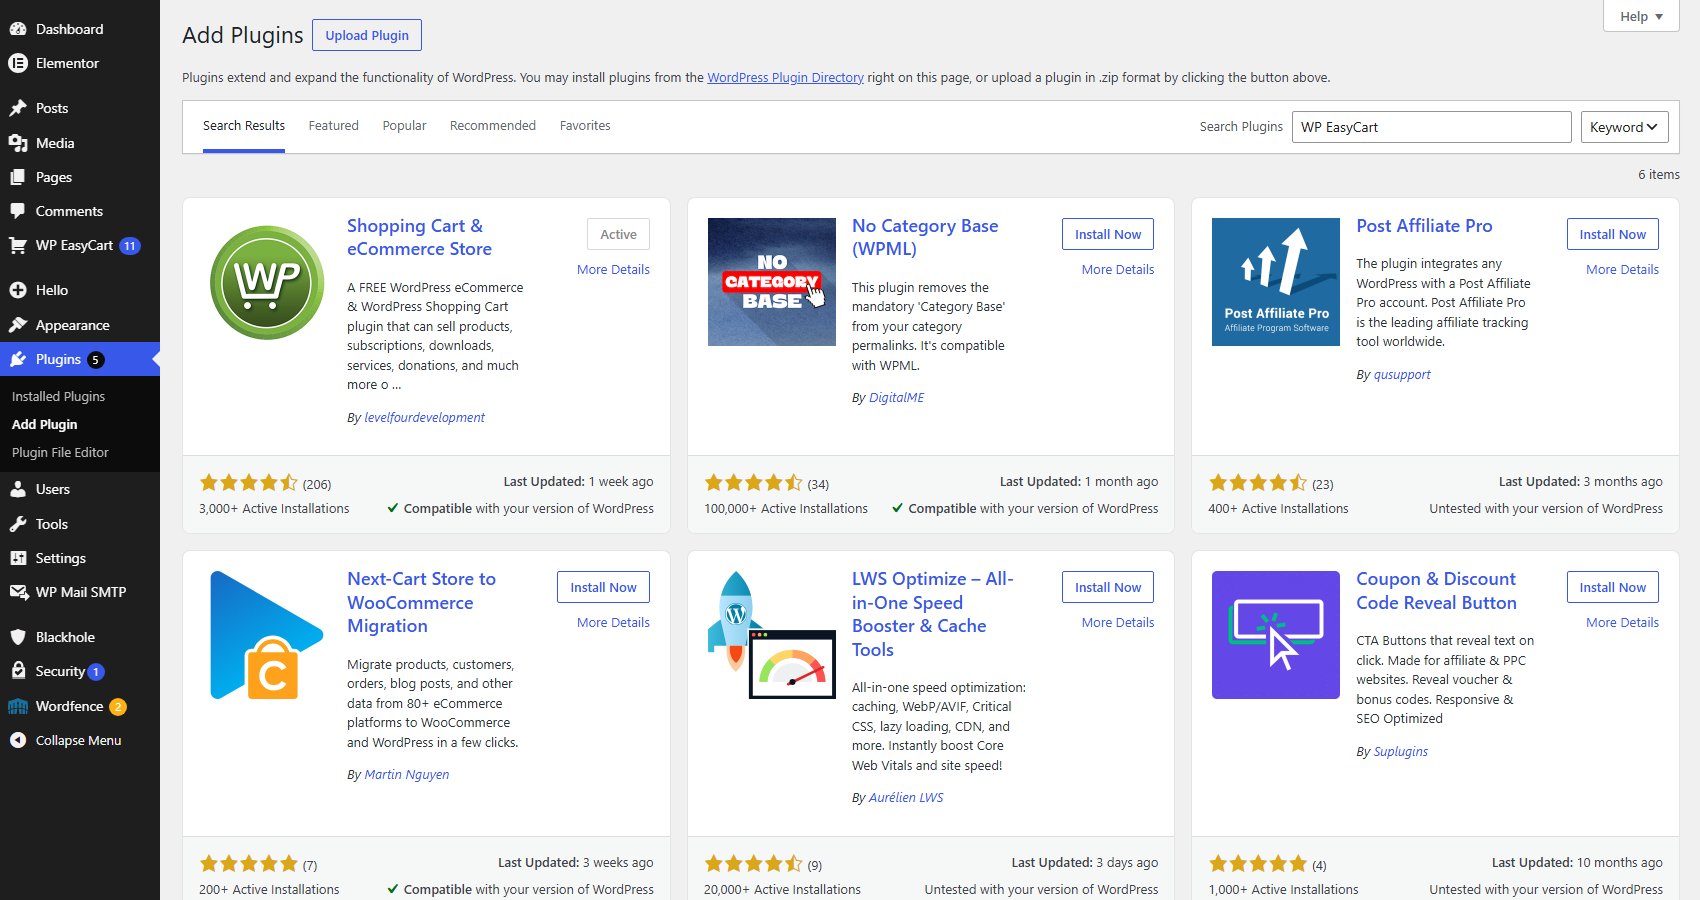
Install the free WP EasyCart plugin from WordPress or by upload, activate it and run the setup wizard. 7 parts.

Quick links

Where to find it:WP Admin › Plugins › Add Plugin

Before you start

What you need

What the free plugin needs, and the two ways to install it.

What you need

A WordPress site and an administrator login

What you need. A WordPress site on WordPress 6.5 or newer and PHP 7.3 or newer, and an administrator account that can install plugins. No key is needed: the free plugin includes unlimited products, orders and customer accounts.

There are two ways in. Install straight from WordPress (Step 1), or upload the .zip file yourself (the manual install below). Either way you then activate the plugin and run the setup wizard.

New to WordPress? Start with Installing WordPress.

Install it

Three steps to a working store

Install, activate and run the wizard, or upload the plugin yourself.

Or install it manually

Upload the .zip file, or copy the folder over SFTP

1. Download the plugin from wordpress.org/plugins/wp-easycart. You get a .zip file. Do not unzip it.
2. In WordPress open Plugins › Add Plugin and press Upload Plugin at the top.
3. Press Choose File, pick the .zip file, then press Install Now.
4. Press Activate Plugin.

Using Safari on a Mac? Safari can unzip downloads by itself. Turn off Open “safe” files after downloading in Safari’s settings, or WordPress gets a folder instead of the .zip file.

Host blocks uploads? Unzip the file on your computer and copy the wp-easycart folder into wp-content/plugins/ with SFTP or your host’s file manager. Then activate it on the Plugins screen.

The same steps work for the WP EasyCart PRO plugin, which comes as its own .zip file. See Installing EasyCart PRO.
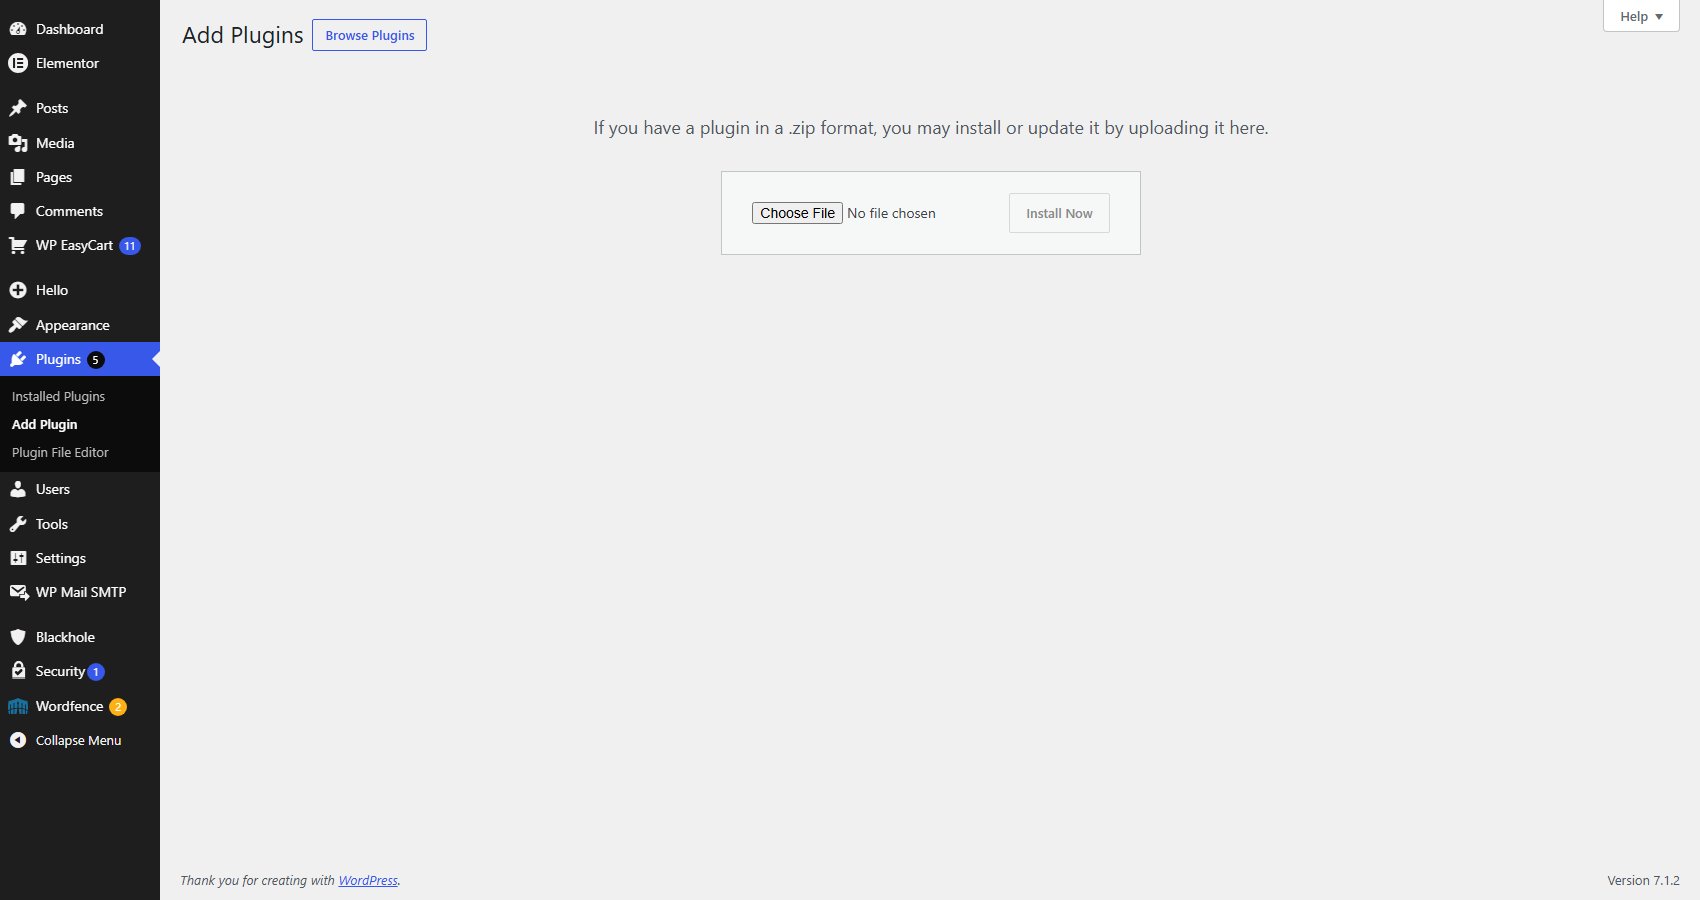
Upload Plugin: choose the .zip file, then Install Now.

Step 2. Activate it

WP EasyCart adds its menu and creates your store pages

Once activated, WP EasyCart shows on Plugins › Installed Plugins and gets its own WP EasyCart menu in the dashboard sidebar.

Activation takes you straight to WP EasyCart › Settings. The first time an administrator opens the dashboard, WP EasyCart also creates three pages, Store, Cart and Account, holding the [ec_store], [ec_cart] and [ec_account] shortcodes. If your site already has pages with those shortcodes, it uses them instead of making new ones.
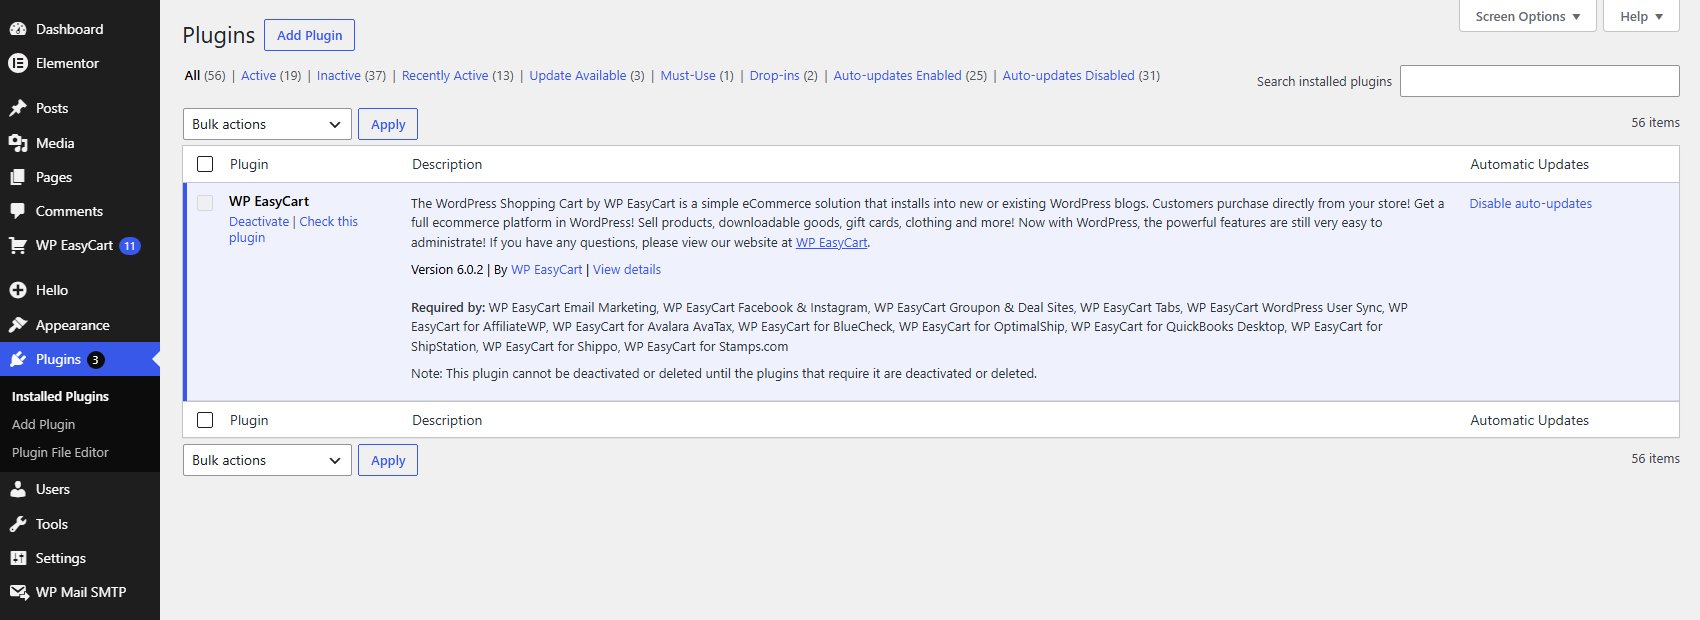
WP EasyCart on the Plugins screen once it is active.

💡 Note: The page settings live in Settings › Store › Store details. If a page goes missing later, its Create button makes a fresh one.

Step 3. Run the setup wizard

Four short steps, about five minutes

On a new store, Settings opens on the Set up your store wizard. It asks where you are based, how customers pay, how you charge for shipping, and where order emails come from, then shows a launch checklist.

Short on time? Skip setup in the top corner leaves the recommended settings and your store pages in place, and you can change everything later in WP EasyCart › Settings.

Every wizard screen is explained in Basic Setup.
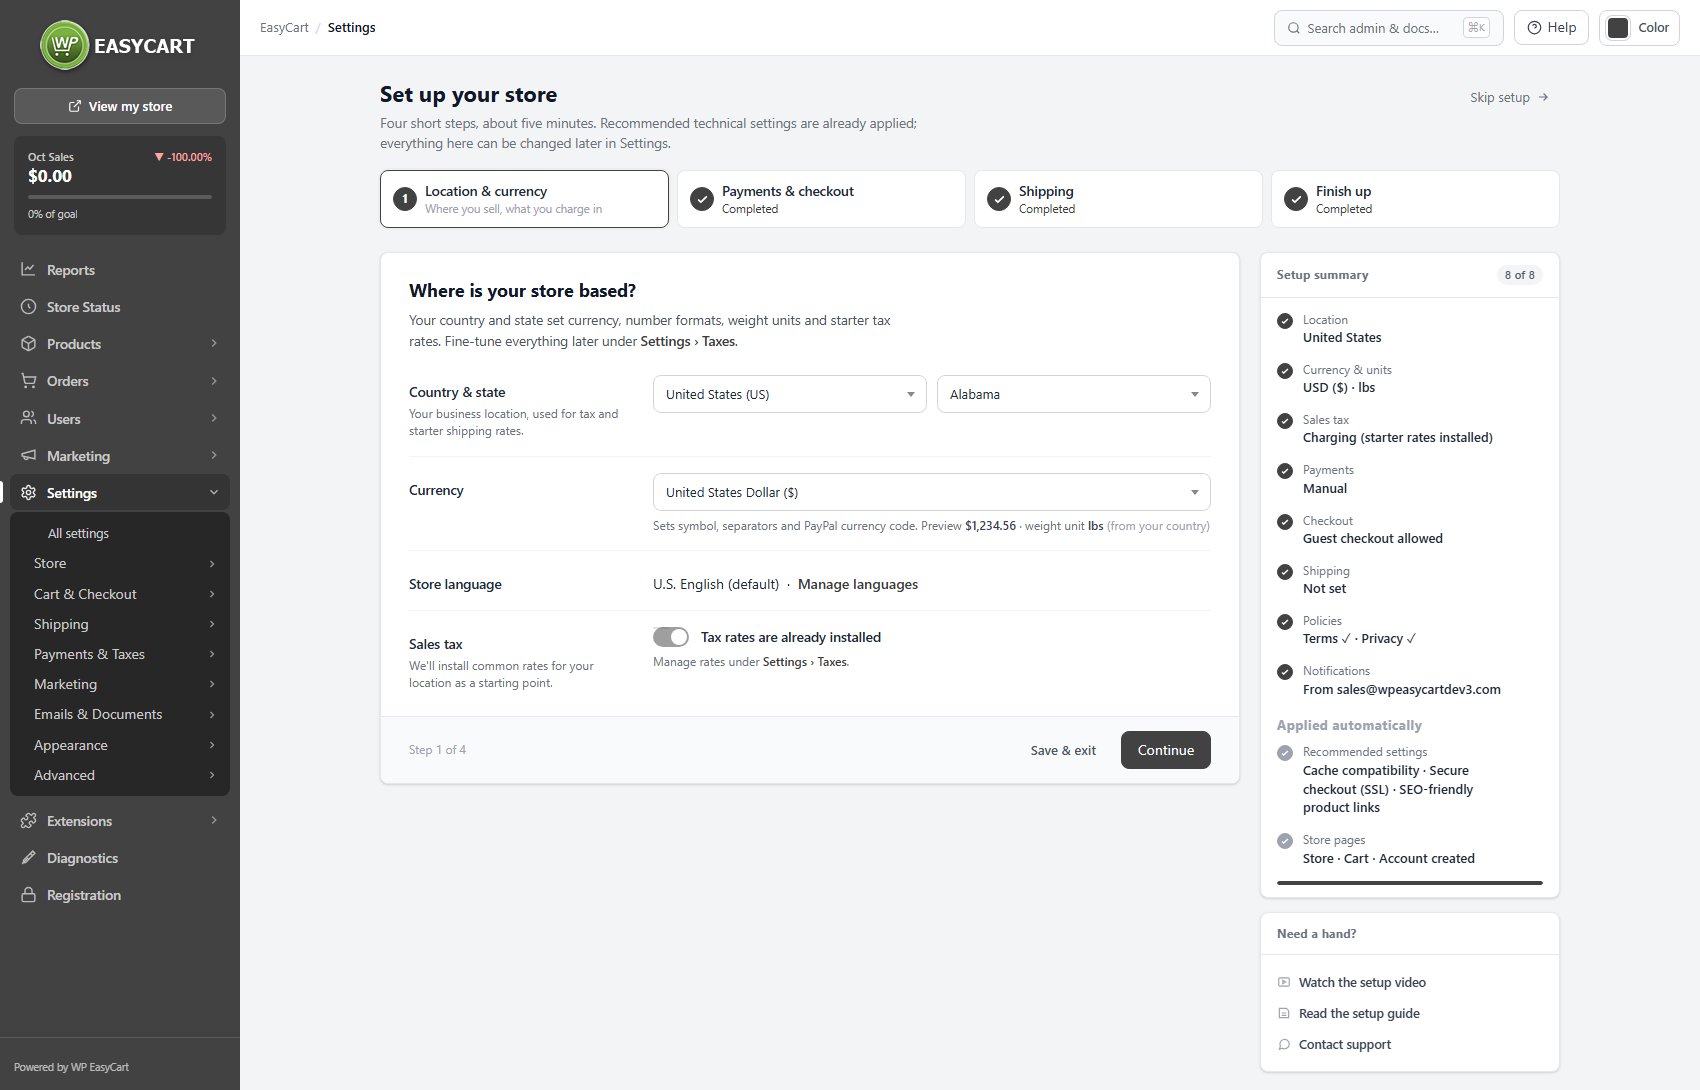
The setup wizard opens on Location & currency, with the setup summary on the right.

Good to know

PRO, and when something goes wrong

How PRO fits alongside the free plugin, and the usual installation problems.

Adding PRO later

A second plugin, not a replacement

PRO and Premium add the WP EasyCart PRO plugin next to the free one. Keep both installed and active: PRO extends the free plugin, it does not replace it.

Want to try it first? WP EasyCart › Registration starts a 14-day free trial with no card, and installs PRO for you. Nothing you set up on the free edition is lost when you move to a trial, Pro or Premium. The steps are in Installing EasyCart PRO, and plans are on the pricing page.

⚠️ Careful: Never uninstall the free WP EasyCart plugin to install PRO. Both plugins must stay installed and active.

If it does not work

The usual installation problems

The upload fails or says the file is too large. Your host’s upload limit is too low. Install from the plugin directory instead (Step 1), copy the folder over SFTP, or ask your host to raise the limit.

The package could not be installed. WordPress was given a folder, not the .zip file. Download it again and upload the .zip file without opening it.

The setup wizard did not appear. The wizard only opens by itself on a store with no products. Open it any time from WP EasyCart › Settings › Store details, where the Store pages card has an Open the setup wizard link.

Product links look like ?model_number=. WordPress permalinks are set to Plain. Change them to Post name under Settings › Permalinks.

Something else looks wrong. Open WP EasyCart › Diagnostics. It checks your server, folders and store pages in one screen. Still stuck? Open a ticket at wpeasycart.com/my-account.

Keep going

Related panels

Store details

The Store, Cart and Account pages and currency.

Registration

Start a PRO trial or enter a licence key.

Store Status

Your licence and the four readiness checks.

Diagnostics

Server, folder and store page health checks.

Installing Extensions

Premium extensions, installed from WP EasyCart.

Ready to run your store on WP EasyCart?

Everything in this guide works with the free plugin. PRO and Premium add subscriptions, memberships, wholesale pricing and more. Try every PRO feature free for 14 days.

The WP EasyCart admin: orders and offers
Updated on October 2, 2026