
Connection
The email marketing service your store sends to
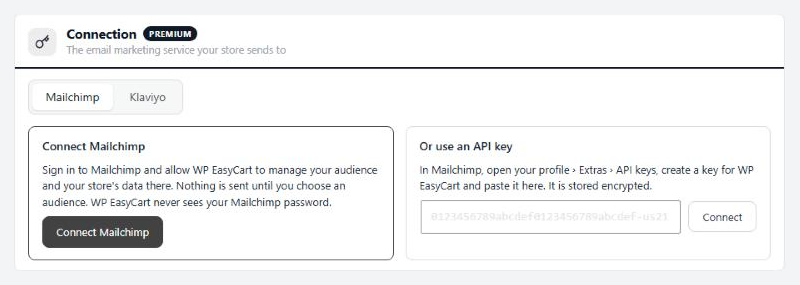
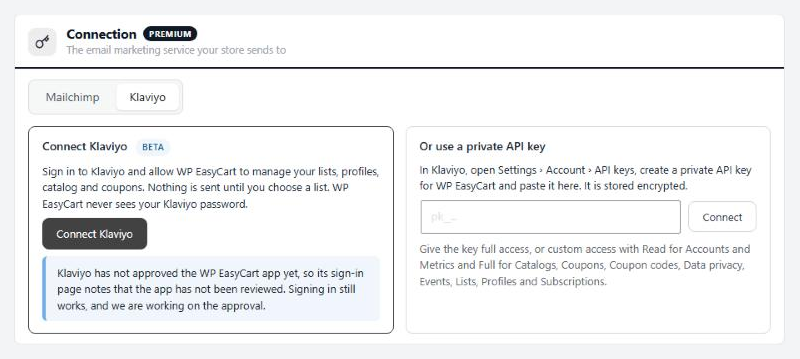
no stored settingsPick Mailchimp or Klaviyo, then connect one of two ways.
Sign in with Connect Mailchimp or Connect Klaviyo, and allow WP EasyCart to manage your data there. WP EasyCart never sees your password. The button reads Coming soon while the sign-in is not open yet. Klaviyo’s shows Beta until Klaviyo approves the WP EasyCart app; signing in still works.
Or use a key. In Mailchimp, open your profile › Extras › API keys and create a key; it ends with a dash and your data center, like -us21. In Klaviyo, open Settings › Account › API keys and create a private key, with full access, or Read for Accounts and Metrics and Full for Catalogs, Coupons, Coupon codes, Data privacy, Events, Lists, Profiles and Subscriptions. Paste it and press Connect. It is stored encrypted.
Choose the audience or list. Nothing is sent until you do, and the first sync starts straight away, so check What is sent first. Mailchimp makes a store tied to that audience for good. A Klaviyo list can be changed later with Change list; new sign-ups join the new list.
Connected, the section shows the account, the audience or list and how you connected.
Test connection: checks the service still accepts the connection.
Disconnect: stops sending. Your contacts stay in the service. With Mailchimp you can also delete the store’s products, orders and carts there.
First sync
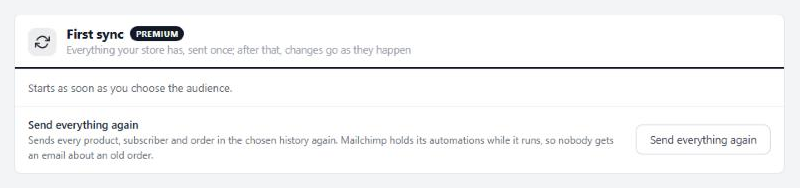
Everything your store has, sent once; after that, changes go as they happen
1 settingSend everything again
Send everything again sends every product, subscriber and order in the chosen history once more. Nothing already there is duplicated: Mailchimp holds its automations while it runs, and Klaviyo keeps one copy of each order. Use it after changing your Klaviyo list, to add your existing subscribers to the new one. It waits while a first sync is still running.
What is sent
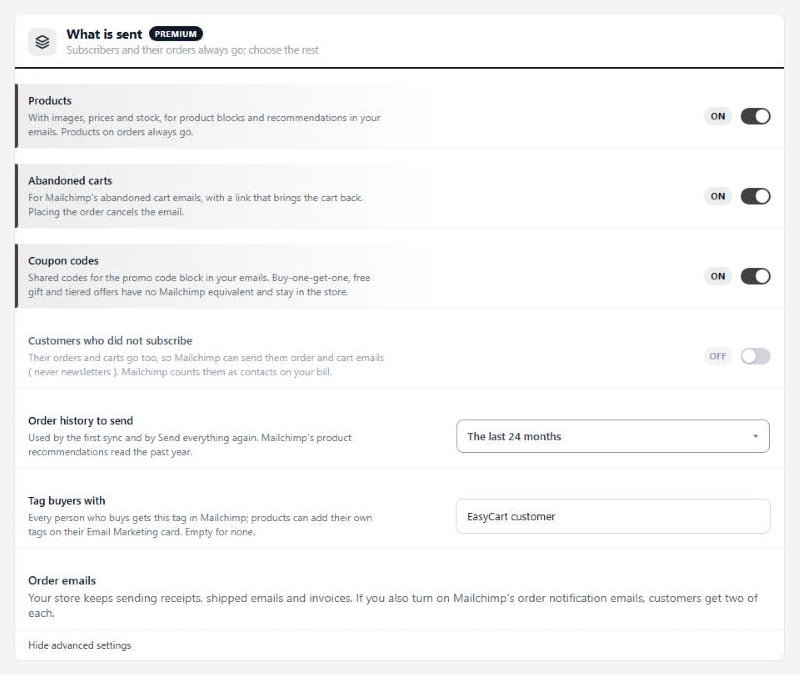
Subscribers and their orders always go; choose the rest
7 settingsProducts
Your products, with images, prices and stock, for product blocks and recommendations in your emails, and in Klaviyo for browse abandonment emails too. Variants go with them. In Mailchimp, products on orders always go, even with this off. The page flags this row when it is off.
Abandoned carts
Carts shoppers leave, with a link that brings the cart back. Mailchimp gets them for its abandoned cart emails; Klaviyo gets a Started Checkout event for its abandoned cart flow. Placing the order cancels the email or ends the flow. Each cart waits a couple of minutes to settle before it goes, and a nightly run removes carts your store no longer keeps open.
Coupon codes
Discount codes from Offers, or from classic coupons when Offers are off. Mailchimp gets shared codes for its promo code block; buy-one-get-one, free gift and tiered offers have no Mailchimp match and stay in the store. Klaviyo gets offers with single-use codes as Klaviyo coupons, so each email hands out a code of its own; shared codes need nothing sent, you type them into your emails.
Customers who did not subscribe
Customers who did not tick the newsletter box. Their orders and carts go too, so the service can send them order and cart emails, never newsletters. Mailchimp counts them as contacts on your bill, and Klaviyo bills every profile it can email.
Order history to send
How far back the first sync and Send everything again reach: 12, 24 or 36 months, or every order. Mailchimp’s product recommendations read the past year. Klaviyo takes past orders as history, filling in segments and lifetime value without starting a flow.
Tag buyers with
Mailchimp only. Everyone who buys gets this tag in Mailchimp, for segments. Products can add tags of their own on their Email Marketing card. Leave it empty for no tag.
Klaviyo on your store
Klaviyo only. Loads Klaviyo’s script on your store for its sign-up forms, and for Viewed Product and Added to Cart, which drive browse abandonment emails. When your store asks for cookie consent, it waits for marketing consent first. Disconnecting takes the script off.
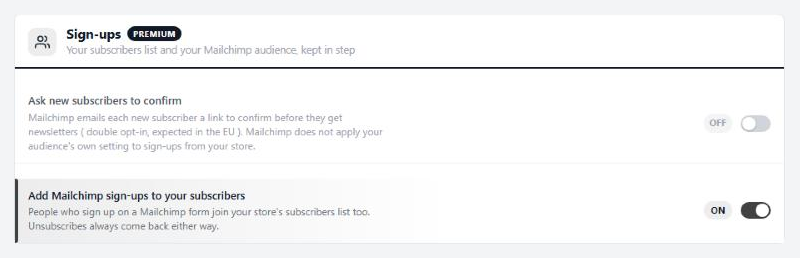
Sign-ups
Your subscribers list and your Mailchimp audience or Klaviyo list, kept in step
2 settingsAsk new subscribers to confirm
Mailchimp only. Mailchimp emails each new subscriber a link to confirm before they get newsletters, as expected in the EU. Mailchimp does not apply your audience’s own setting to sign-ups from your store, so switch it on here. With Klaviyo this row is a note instead: the list’s own double opt-in setting in Klaviyo decides.
Add Mailchimp or Klaviyo sign-ups to your subscribers
People who sign up on a Mailchimp or Klaviyo form join your store’s subscribers list too; from Klaviyo within the hour. Unsubscribes always come back to the store, whether this is on or off.
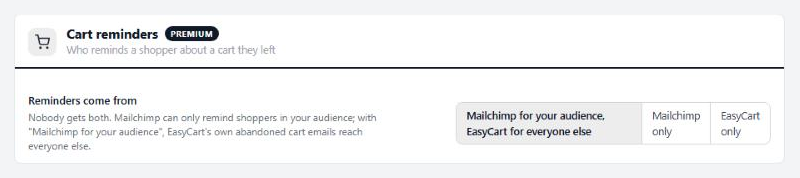
Cart reminders
Who reminds a shopper about a cart they left
1 settingReminders come from
Nobody gets both. The first choice, Mailchimp for your audience or Klaviyo for your list, lets the service remind shoppers it holds a cart for, and EasyCart’s own abandoned cart emails reach everyone else. Mailchimp only or Klaviyo only leaves every reminder to the service; EasyCart only leaves them all to your store. It only applies while Abandoned carts is on and the service is connected.
Activity
What was sent to Mailchimp or Klaviyo, and what came back
no stored settingsEvery record sent, everything the service reported back, and anything it refused, with the service’s own wording. Look here first when a customer, order or product is missing from Mailchimp or Klaviyo. During the first sync, refused records are also counted on its bars.
Ready to run your store on WP EasyCart?
Everything in this guide works with the free plugin. PRO and Premium add subscriptions, memberships, wholesale pricing and more. Try every PRO feature free for 14 days.
