Shipping setup within EasyCart is flexible, powerful, and has a lot of features for a variety of domestic and international users.
Shipping Options
- Enable Shipping on Site: You may globally disable shipping to the entire EasyCart site by turning this feature on/off.
- Hide Shipping on Initial Cart Page: You may choose to hide shipping on the cart page and only show it after the user has entered their billing/shipping address to show a more accurate calculation since many live shipping rates will only show AFTER they enter their shipping address.
- Global Handling Rate: This handling fee is thrown on top of any shipping rate your customer sees. you can optionally edit the labeling to say ‘Shipping & Handling’ in our language editor or use this extra fee to alter all shipping rates.
- Expedite Shipping Cost: If you use any table rate or static rate such as percentage, weight, quantity, price triggers, you may also offer a simple additional ‘expedite’ option to your customers. This does not apply to live shipping rates. If you leave this field at 0.00, the customer will simply only have their table rate appear and no expedite feature. If enabled, they will have an extra check box for expedite the order, which will show this cost.
- Dimension Unit: This setting establishes what the dimensions unit will be when sending data to the live shipping carrier API’s. If you choose not to use live shipping, then this setting is not used.
- Add Free Local Delivery: This option allows you to add a free local delivery option above all the other shipping choices.
- Tax Shipping: You can choose whether or not to tax shipping, or leave it disabled and not include shipping in tax calculations.
- Show Delivery Days: This only applies to live shipping API’s and will display how many approximate days the carrier returns for each shipping rate.
- Shipping Address on Subscriptions: Normally subscriptions are not shipped, but if you also have a product that is shipping with a subscription you can choose to enable shipping at the subscription level or not. Do not confuse shipping rates being added to a subscription as that is not possible. Recurring payments are a set price and should always include shipping costs since the subscription is not a variable priced item. Stripe creates one subscription priced item and then attaches users to it.
- Each Product Ships Separately (Live Shipping): If enabled, every product the user adds to the cart will calculate its own shipping rate and get totaled. Otherwise, we combine the weights and dimensions to make one package if possible.
- Each Product Ships Separately (Static Method): If enabled, every product the user adds to the cart will calculate its own shipping rate and get totaled. Otherwise, the user is shown one set of static rates and they chose how to ship the entire order.
- Apply FedEx Account Discounts: FedEx has special account discounts that can be applied and used or ignored and regular rates used.
- Live Override Rates always show: If you establish a live shipping override rate, it will only appear IF that rate is returned. Enable this setting if you wish for the live override rate to ALWAYS show on your customers checkout shipping panel.
- Disable Shipping Address (Ship to Billing Only): Typically users can enter a custom shipping address IF items in the shopping cart are shippable. But if you wish to only ship to the billing address, then you can disable shipping address collection here.

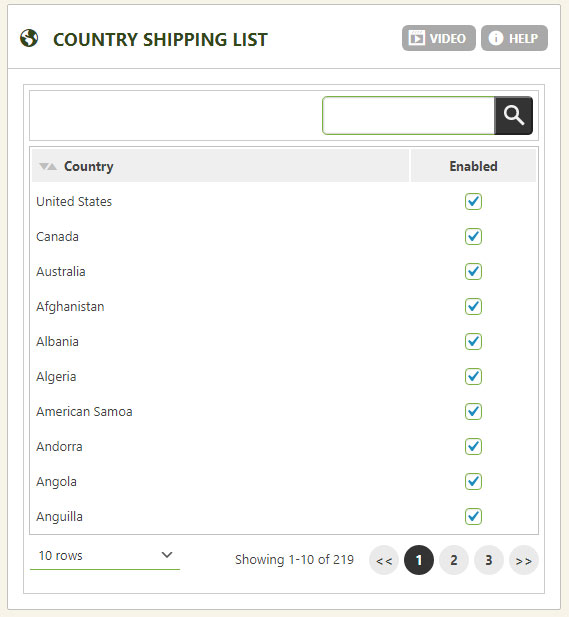
Country Shipping List
This section allows you to specify which countries you are willing to allow users to ship from. It will only show the following countries in the billing/shipping section. You may also enable/disable countries within the Settings -> Countries panel.
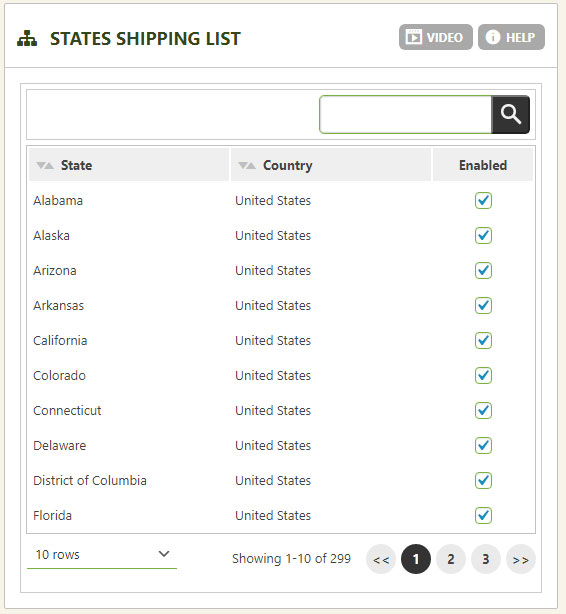
State/Province Shipping List
This section lets you specify which country states will appear to the user in the billing/shipping signup section. This is the best way to disallow/allow a state/province to use your store. You will notice the states/provinces are applied under their given country and allow you to micro-adjust which states/provinces will appear. You may also enable/disable countries within the Settings -> States panel.
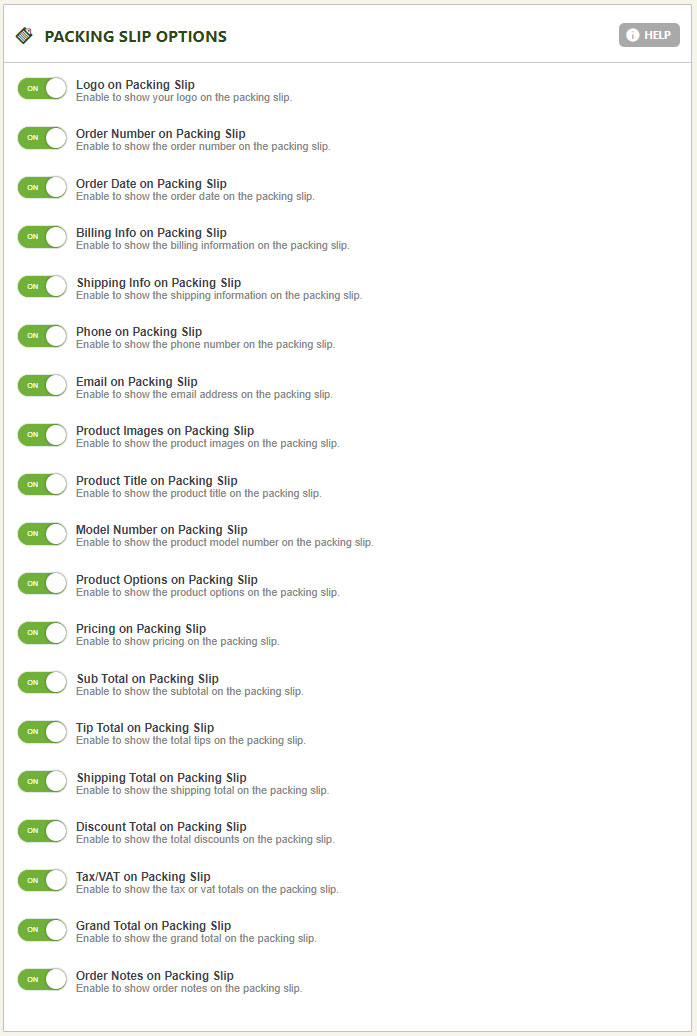
Packaging List Customization
You can customize the packaging slips that appear in the order management -> editing order panel. When you click the packaging slip option, it gives you an alternative receipt customized using the following parameters that can be useful in many business applications where you do not need a full itemized receipt or value totals. Simply slide each section on/off to show/hide those elements on the packaging receipt.
Shipping Zone Management
You may specify shipping zones in this location by creating new zones, adding zone items to that zone. We provide some rather basic groupings of shipping zones to use and begin with, but you may edit and fine tune the zones to your need. You may add new zones, add new zone items, edit and delete these zone groups as you see fit to customize to your specific area.
You will have a chance to apply shipping rates to a specific zone if you want to, but often this is not needed and only used if you understand how they work.
Special Note: Shipping zones are a post address filtering system. So after the user enters their billing/shipping address, EasyCart will look for a matching shipping zone rate. If none is found, it will use the default shipping rate. Setup is critical for shipping zones, and most of the time is not needed.
Special Note: Shipping zones are not used to eliminate countries from orders or places you will ship to. To only ship to a certain country, for example, you would go above to the country list and eliminate countries that you do not want to show in the billing/shipping address section.
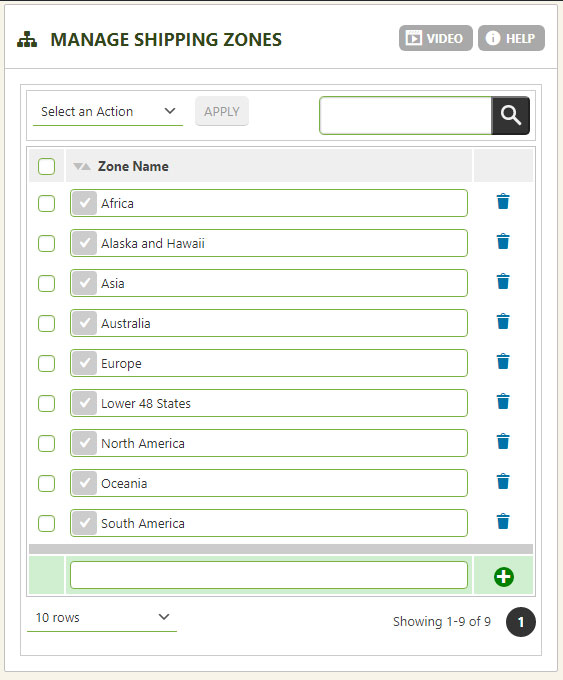
Here you can add or create new shipping zones to your liking. We have default shipping zones here, but you can certainly create your own. This is merely a name and group for the zone. You must add shipping zone areas below to make them work.

This is where you can add actual countries and states to a shipping zone created above. You can adjust our default zones or build your own.
Live Shipping Setup
Use this area to also connect to a live shipping API system. It is critical that you understand that shipping live rates require more attention than other shipping methods, so be accurate in your setup, rates, and logic.
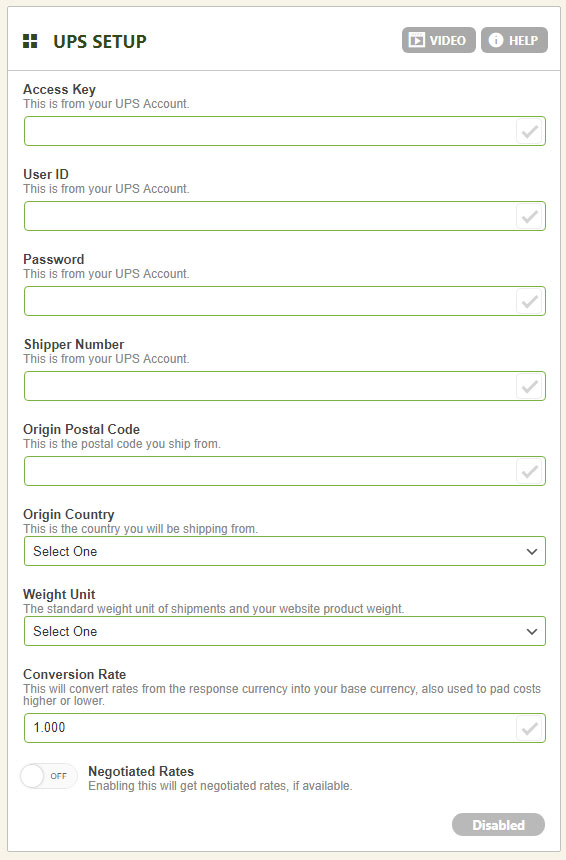
UPS Setup
For full setup and account guide to UPS Live, Click Here.
PRO/Premium users may establish and use UPS API live shipping rates by entering the information in this section.
- Access License Number – Enter your access license number from UPS account.
- User ID – Enter your user id from UPS account.
- Password – Enter your password from UPS account.
- Shipper Number – Enter your shipper number from UPS account.
- Ship from Postal Code – This is the zip code where you will ship products from your business.
- Country Code – Select the country from which you will ship products from your business.
- Weight Unit – These weight units are sent to UPS and represent what your weight of products will be calculated in.
- Conversion Rate – The default is 1:1, but you may adjust a conversion rate to establish and alter the returned rates globally.
- Negotiated Rates – If you have special rates, this is a way to enable that feature.
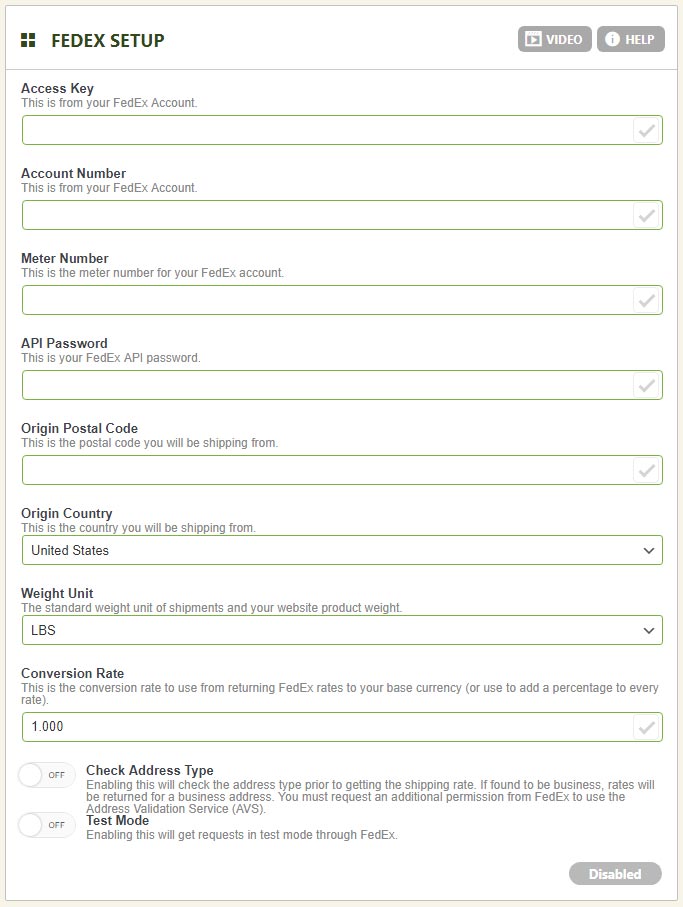
FedEx Setup
PRO/Premium users may establish and use FedEx API live shipping rates by entering the information in this section.
- FedEx Access Key – Enter your access key from FedEx account.
- Account Number – Enter your account number from FedEx account.
- Meter Number – Enter your meter number from FedEx account.
- Ship from Postal Code – This is the zip code where you will ship products from your business.
- Password – Enter your password from FedEx account.
- Country Code – Select the country from which you will ship products from your business.
- Weight Unit – These weight units are sent to FedEx and represent what your weight of products will be calculated in.
- Conversion Rate – The default is 1:1, but you may adjust a conversion rate to establish and alter the returned rates globally.
- Check Address Type – When enabled, this will force FedEx to check the address type as (business or residential). This setting will only work if you select the shipping rate (FedEx Ground) and return the correct rate based on the address type.
- The shipping rate FedEx Ground Home Delivery will always use a residential delivery type, but FedEx Ground can be dynamically checked as business or residential with this setting turned ON.
- You must also request Address Verification Services be enabled with your FedEx representative for this to work properly
- Test Mode – This is usually best left off and simply use your live rates.
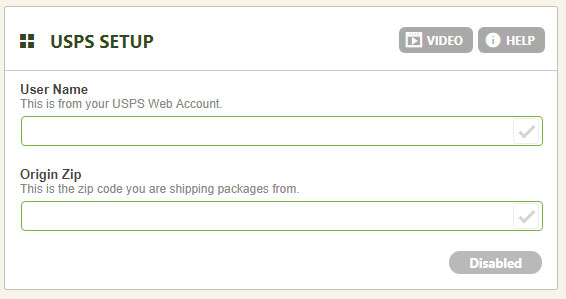
USPS Setup
For full setup and account guide to USPS Live, Click Here.
PRO/Premium users may establish and use USPS API live shipping rates by entering the information in this section.
- USPS User Name – This is not your login to USPS, but rather the USPS API key user name (ex: 123ABCDE1234) Contrary to most usrs, a password is not required, your API user name is your key to connect with USPS and is all that is required.
- Ship from Postal Code – This is the zip code where you will ship products from your business.
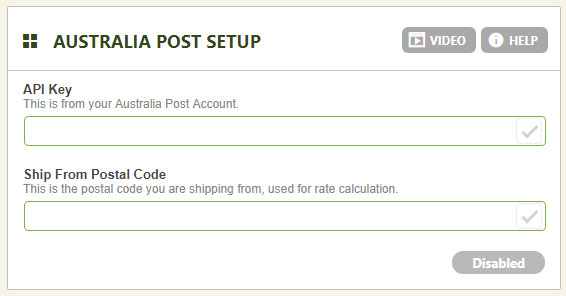
Australia Post Setup
PRO/Premium users may establish and use Australia Post API live shipping rates by entering the information in this section.
- API Key– This is the API Key found in your Australia Post account.
- Ship from Postal Code – This is the zip code where you will ship products from your business.
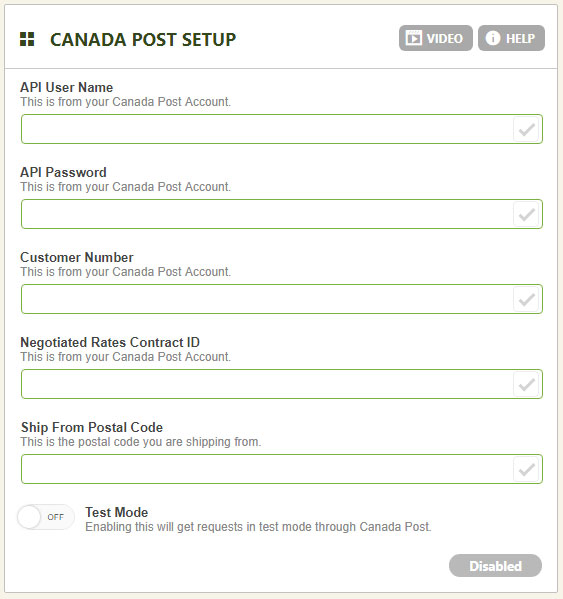
Canada Post Setup
PRO/Premium users may establish and use Canada Post API live shipping rates by entering the information in this section.
- API User Name– This is the API Key found in your Canada Post account.
- API Password – This is the API password found in your Canada Post account.
- Customer Number – This is the customer number found in your Canada Post account.
- Negotiated Rates Contract ID – If you have a negotiated rates contract ID from Canada Post, you can enter it here.
- Ship from Postal Code – This is the zip code where you will ship products from your business.
- Test Mode – If you would like to run in test mode with your Canada Post account, you can enable this here.
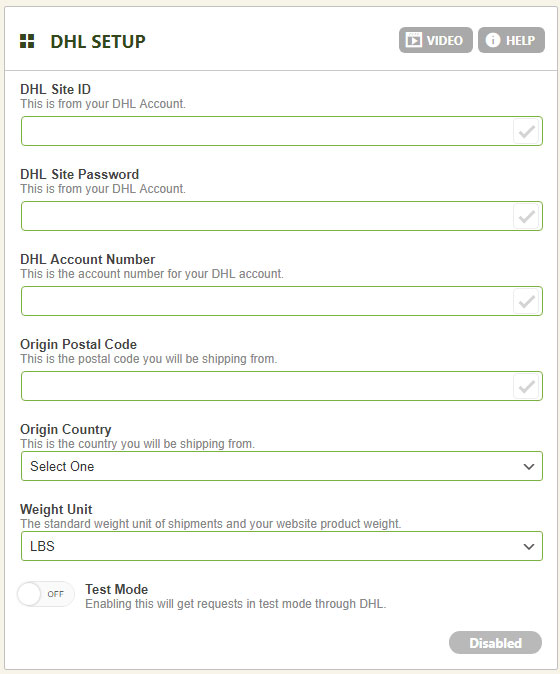
DHL Setup
PRO/Premium users may establish and use DHL API live shipping rates by entering the information in this section.
- DHL Site ID – This is the DHL Site ID established in your DHL account.
- Password – This is your DHL API password.
- Ship from Postal Code – This is the zip code where you will ship products from your business.
- Country Code – This is the country from where you will ship products from your business.
- Weight Type – This setting lets you establish different units for product weight measurements.
- Test Mode – If you would like to run in test mode with your DHL account, you can enable this here.