Designing your EasyCart system is a very simple process to do basic, intermediate, and advanced changes.
Basic design changes can be done via our admin sidebars. Adjusting button colors, changing number of columns to display products, switching basic layout designs, and other rollover effects are all adjusted via a simple sidebar.
Intermediate design changes might include custom CSS to adjust an EasyCart element and can easily be added to our custom CSS panel.
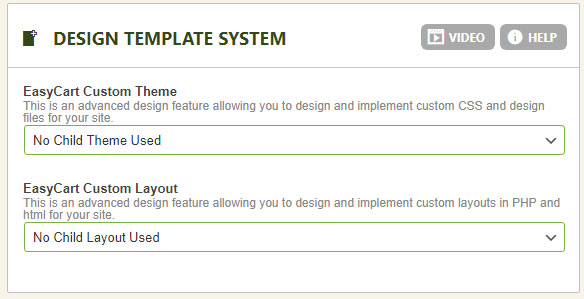
Advanced design changes would include custom layout and style files that use EasyCart child systems in order to maintain changes during plugin updates.
Customizing
Change basic design with Fonts, Colors, and custom CSS easily with WP EasyCart.
ADVANCED DESIGN WITH CHILD LAYOUT FILES
For the most flexibility in design, web designers may need to customize layout files to their liking. While you can always customize around the EasyCart shortcode for the store, cart, and account pages, sometimes you need maximum flexibility in design by using a child system similar to that found in WordPress.What is a EasyCart Child Theme and Child Layout?
This is a great option to help developers keep their clients?? stores up to date and functional at a single click of the button. With this great new feature we know developers still need the ability to override certain files, images, css, etc?¦ In order to make the store customized for their specific project (a great example of this is customizing the email receipt). This is where a child layout becomes an extremely important feature! Child themes and layouts allow you to specify a child theme or layout folder in which you can place individual files to override a specific functionality of the store, while simultaneously allowing your theme and layout to keep the latest features for the rest of store.How Does the Store Find a Layout or Theme File?
Every file loaded from the design folder of your shopping cart system goes through the following check to find the correct file:- Does the file exists in the plugins folder at wp-easycart-data/design/layout/{your selected child layout}/file.php?
- If not, use the latest file in the wp-easycart/design/layout/base-reponsive-v3/file.php

